Ken Hattori
The Pen tool is one of the few tools that span across the whole adobe universe from Photoshop to Premier. In general terms, the Pen tool creates segments or paths with starting and ending points. Technically speaking, the Pen tool works with Vector Graphics which are mathematical statements and points used to create shape and other characteristics. Using the Pen tool you can create straight lines, curves and even customized shapes. This tool is extremely useful for creating and adjusting shapes in Illustrator but it also becomes useful for creating custom selections in either Photoshop or Premier.
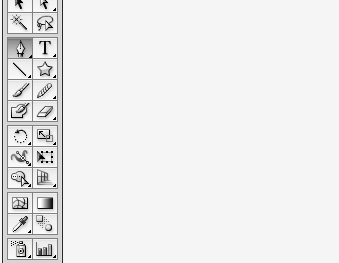
The Pen tool can be found on the Tools Palette (Photoshop Essentials). It literally looks like the tip of a pen. In Photoshop, there are three pen tools from which to choose: the Standard Pen tool, the Freeform Pen tool and the Magnetic Pen tool. All three utilize the tip of the pen icon, but the Freeform and Magnetic Pen tools have an added symbol such as a tiny magnet to the upper right side of the pen tip.
 Ken Hattori Ken Hattori
 Ken Hattori
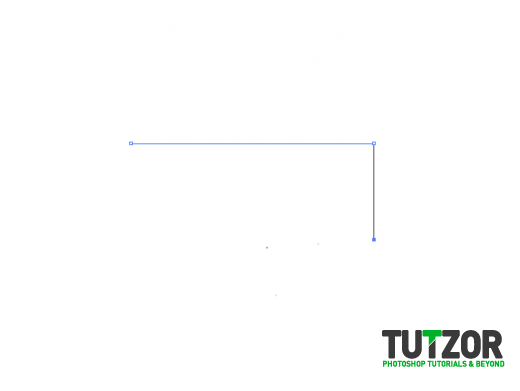 Ken Hattori
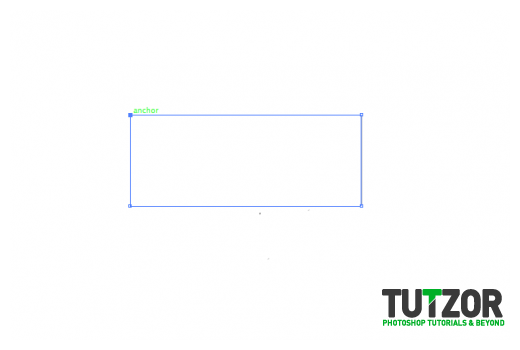 Ken Hattori
 Ken Hattori
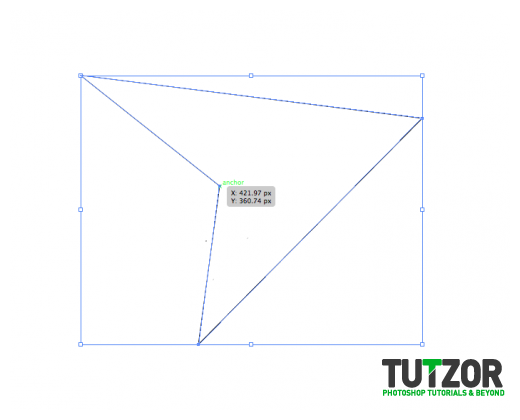
The creation of a curve can be achieved by adding an anchor point to the spot where a curve changes direction, and then dragging the direction lines to form the curve.
Select the Pen tool by clicking on it.
Decide where you want your curve to begin, and place the Pen tool in that spot by holding down the mouse button. The first anchor point will appear and your Pen tool will turn into an arrowhead.
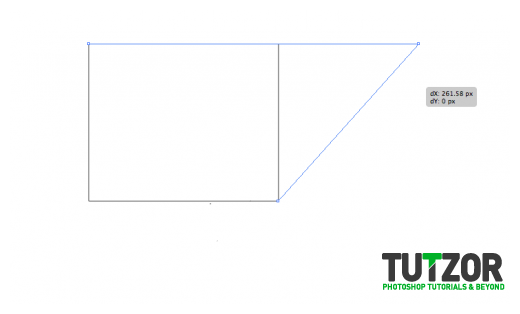
Drag to set the slope of your curve path and release the mouse button. The most essential snippet of information you need to know about using the pen tool is that the determining factor in getting the shape you want is placing the anchor points in the correct position. When you create a curve you want to place the actor points where the curve changes direction.
 Ken Hattori
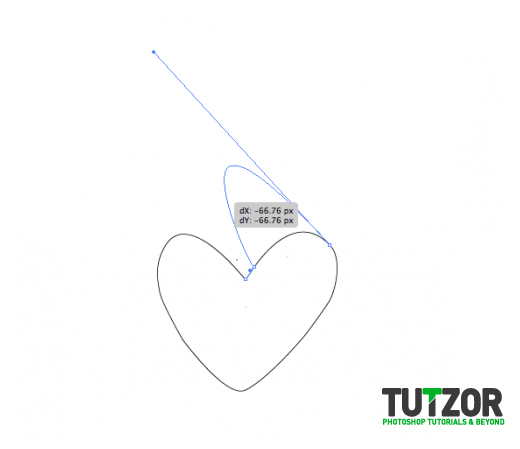 Ken Hattori
Copyright© 2012 Tutzor All Rights Reserved | Developed by: Iceous Design