

 cosmin
Hi there, Now I'm going to show you how to create a energy ball from a high voltage energy station. Hope you like it.
Here are the stuff I've used:
Let's get started!
 cosmin
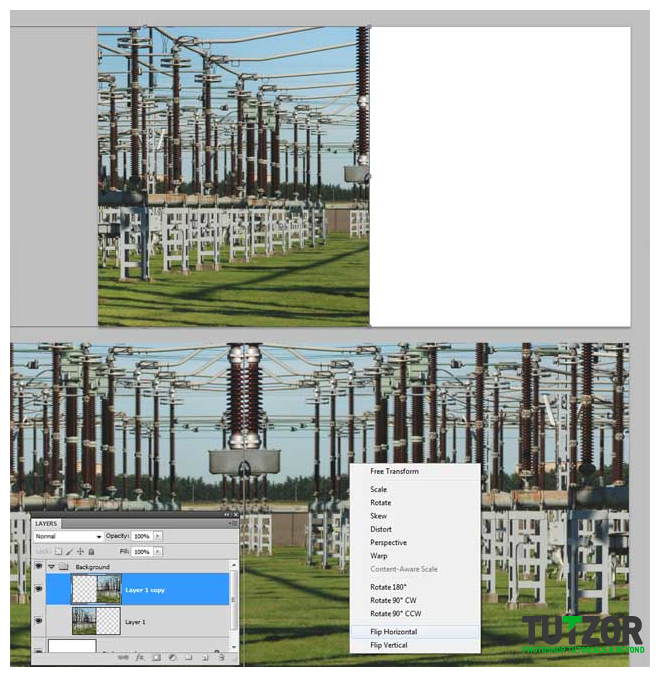 cosmin
 cosmin
 cosmin
 cosmin
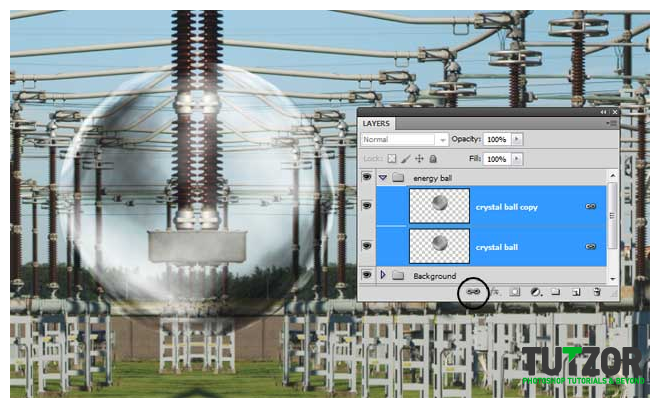 cosmin
 cosmin
 cosmin
 cosmin
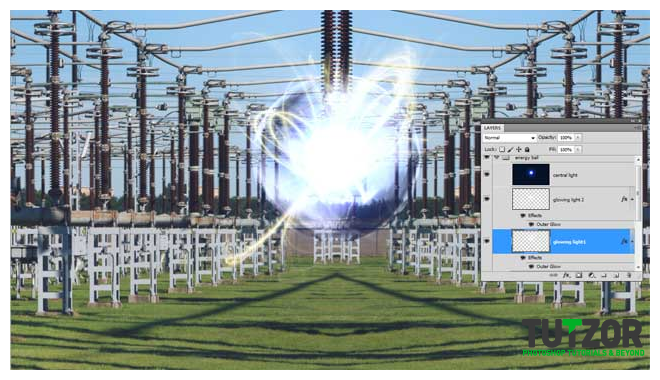 cosmin
 cosmin
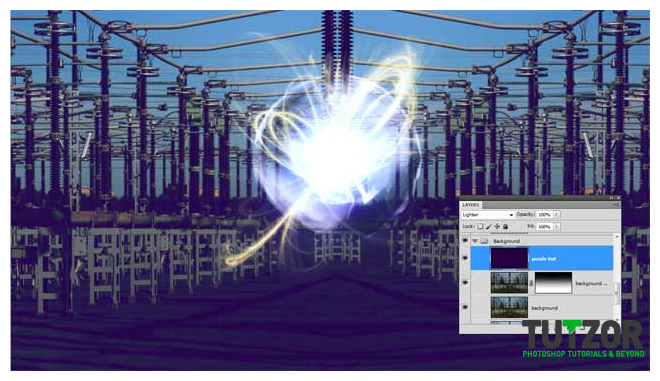 cosmin
 cosmin
 cosmin
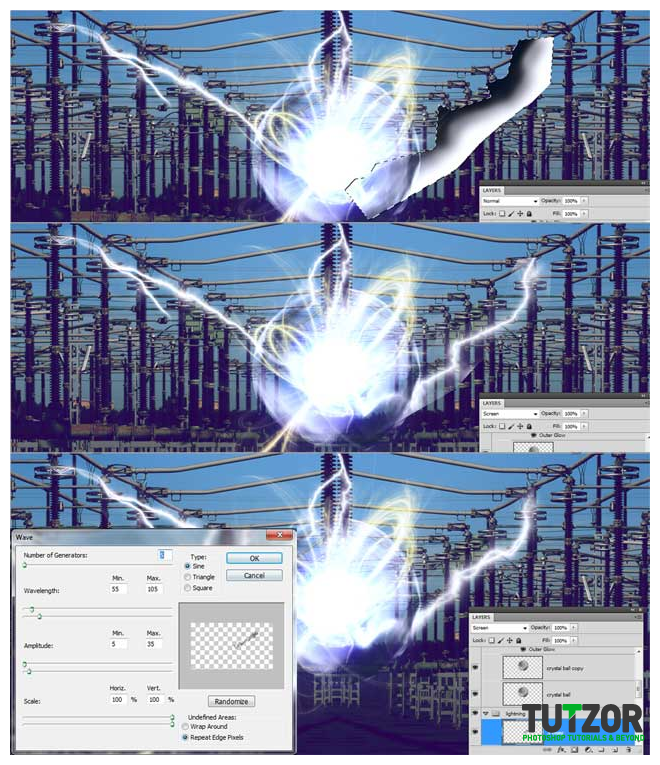 cosmin
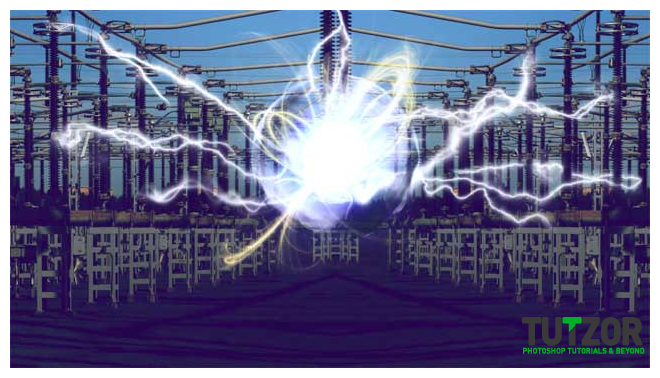 cosmin
 cosmin
 cosmin
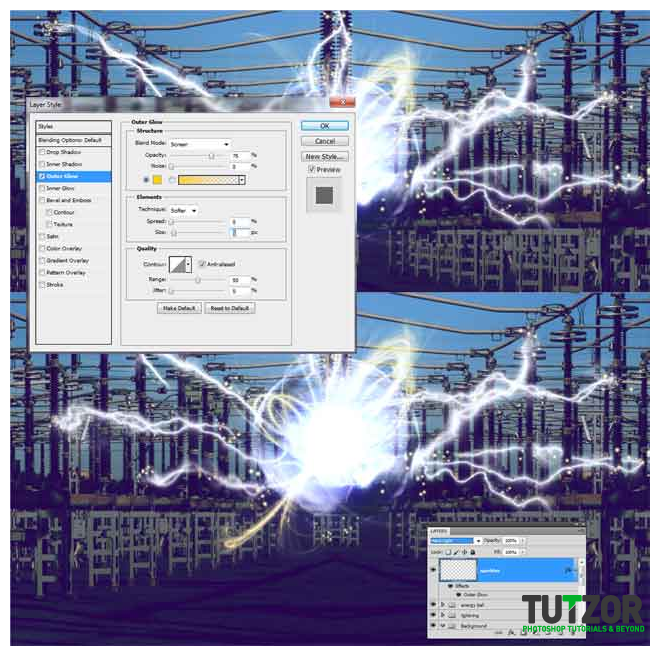 cosmin
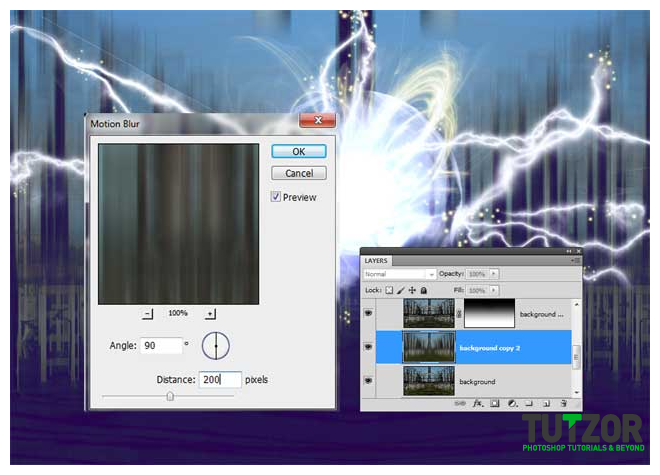 cosmin
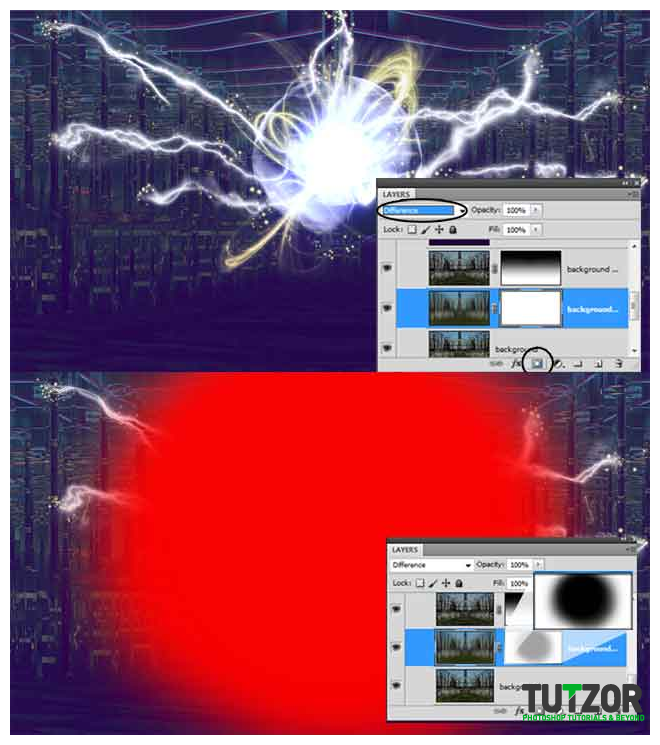 cosmin
 cosmin
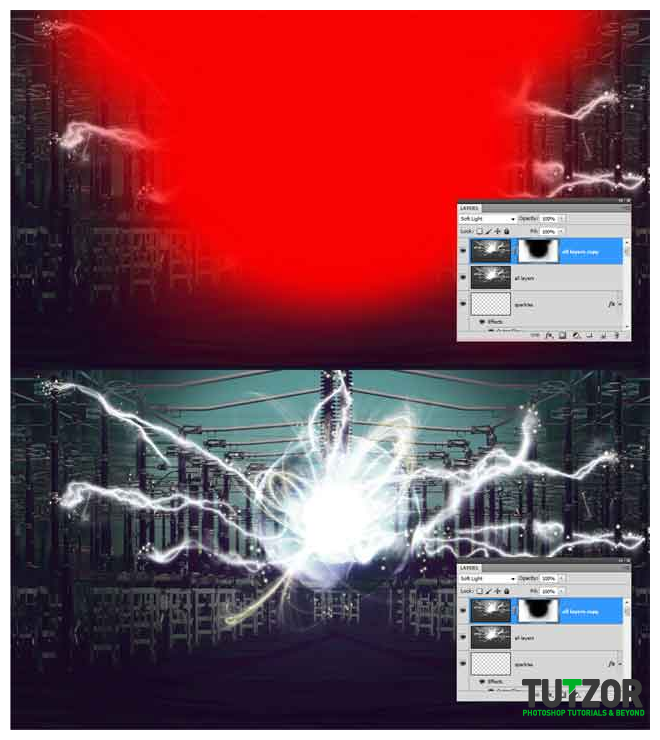 cosmin
Copyright© 2012 Tutzor All Rights Reserved | Developed by: Iceous Design


Comments
Re: Creating an Electrifying Energy Ball with CS5
Thank you so much it's amazing.
Re: Creating an Electrifying Energy Ball with CS5
THanks a bundle. Exellent Tut.
Thats my effort.
Thanks Again.
Re: Creating an Electrifying Energy Ball with CS5
Wow that is amazing worked perfectly - incredible tutorial thanks very much!
Re: Creating an Electrifying Energy Ball with CS5
absolutely coool and electrifying!One of my favoriti tutorials here. Thank yiu!