grafixmaster
This tutorial is composed of 4 different stock photos the road, wings, girl, and the sky. In following every steps of this tutorial you will learn how to crop images, blend/adjust colors, merge layers/pictures, and attach a wing on a man. By the end of this tutorial you will learn on how to create your own winged-man.
Below are the sources of the photos i've used:
 grafixmaster
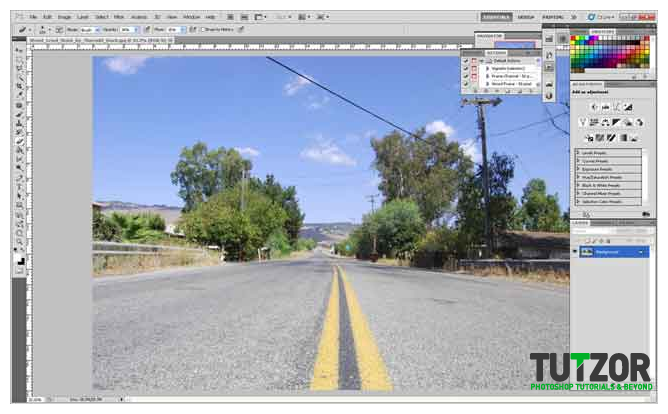 grafixmaster
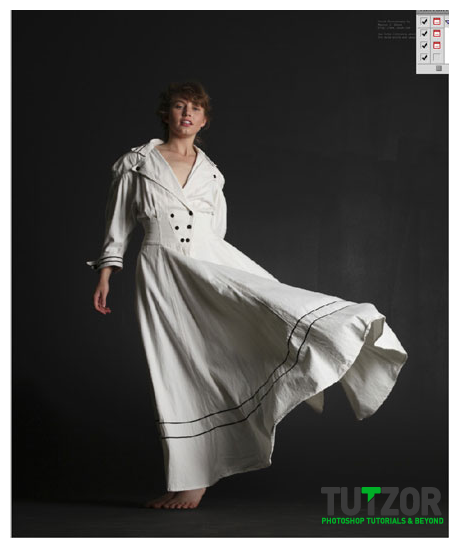 grafixmaster
 grafixmaster
 grafixmaster
 grafixmaster
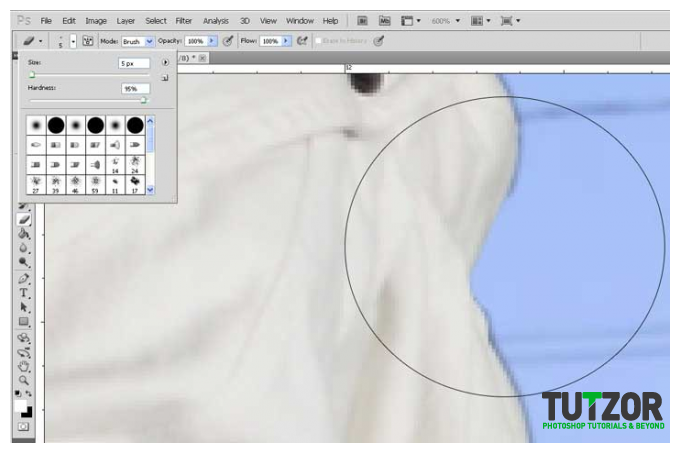 grafixmaster
 grafixmaster
 grafixmaster
 grafixmaster
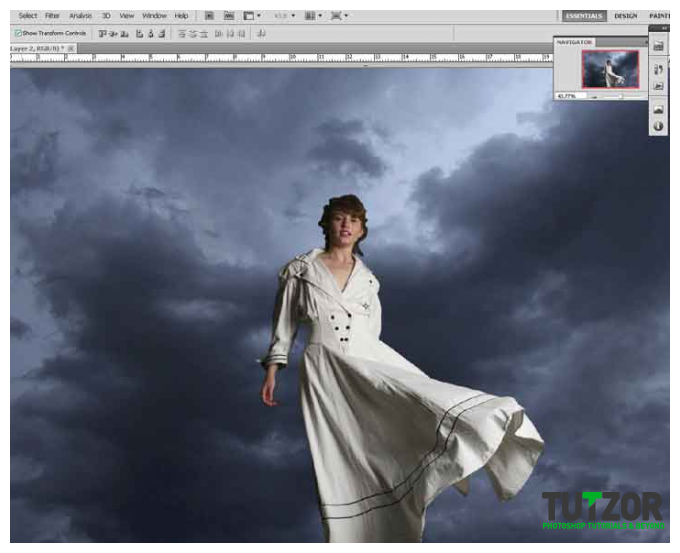 grafixmaster
 grafixmaster
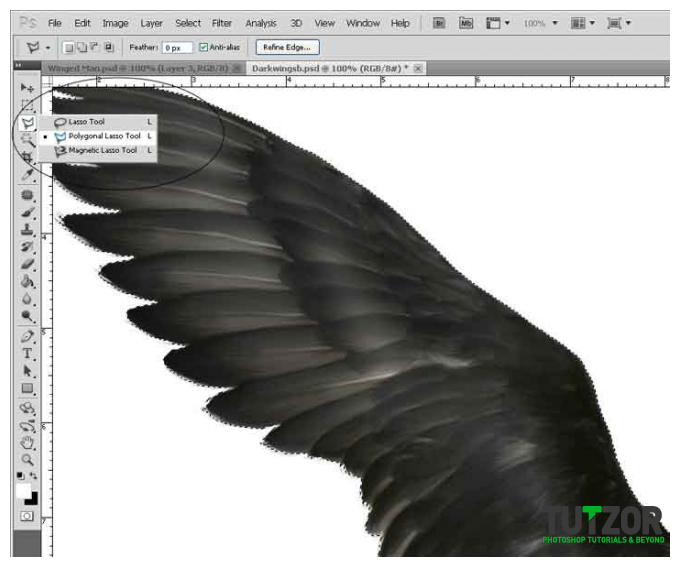 grafixmaster
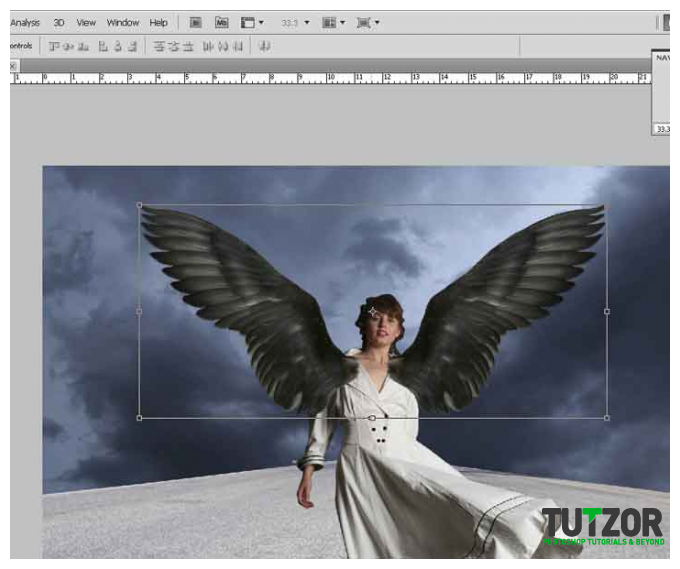 grafixmaster
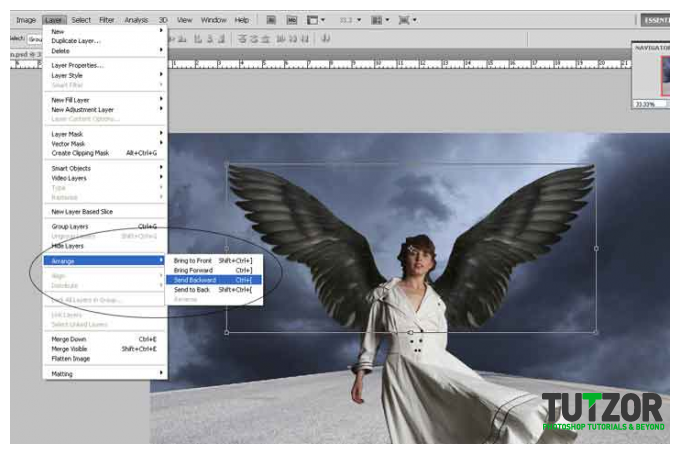 grafixmaster
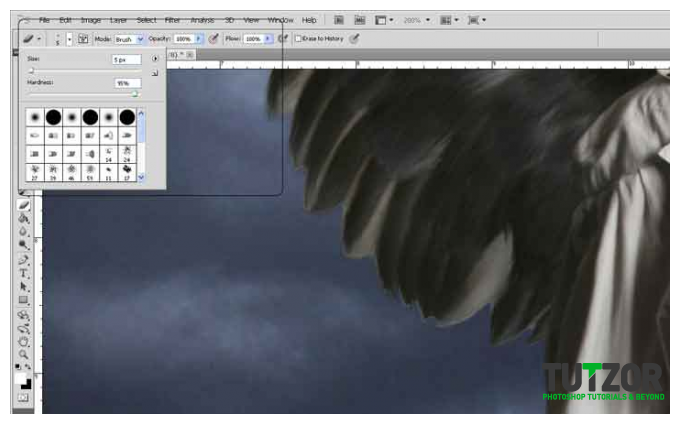 grafixmaster
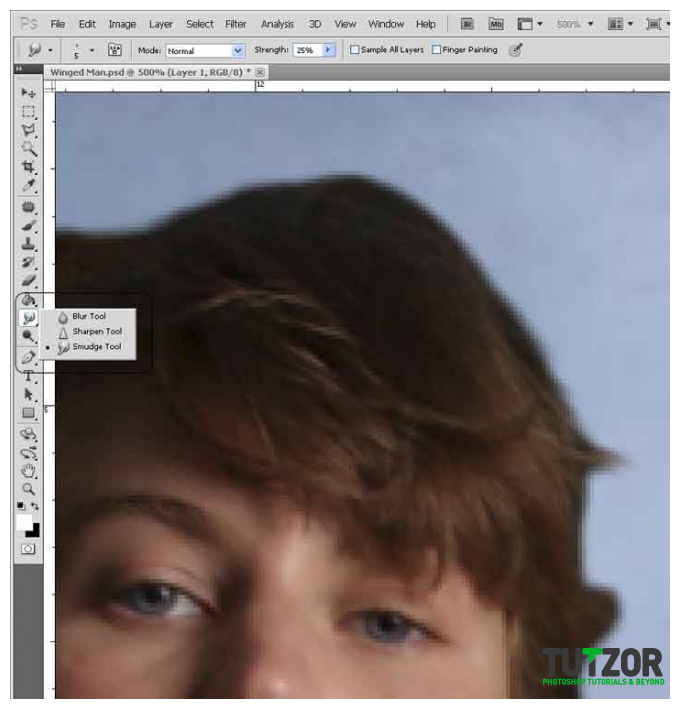 grafixmaster
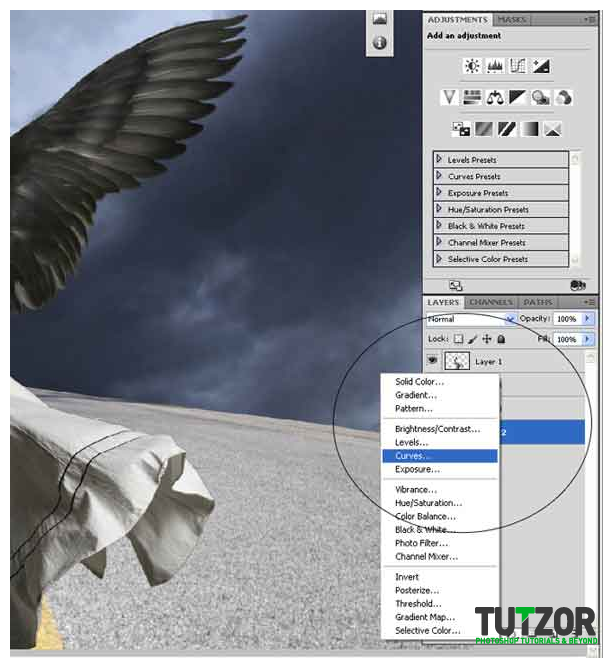 grafixmaster
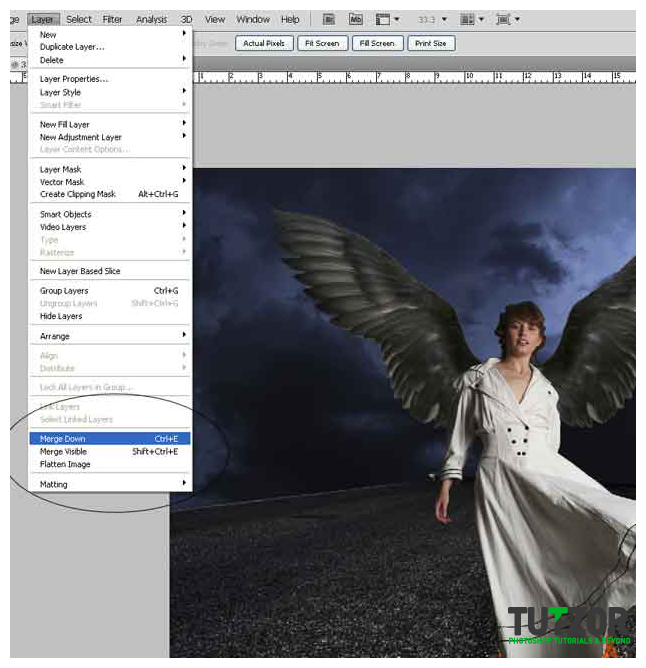 grafixmaster
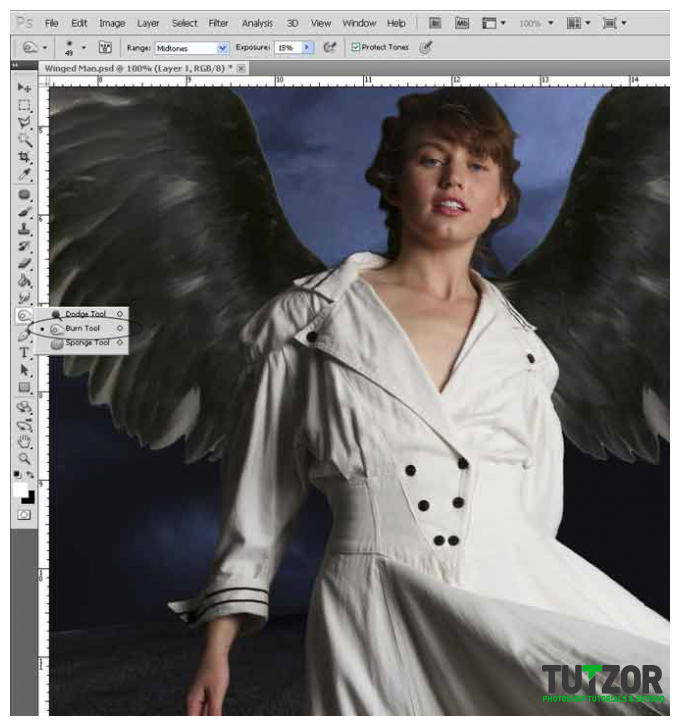 grafixmaster
 grafixmaster
Copyright© 2012 Tutzor All Rights Reserved | Developed by: Iceous Design