

 cosmin
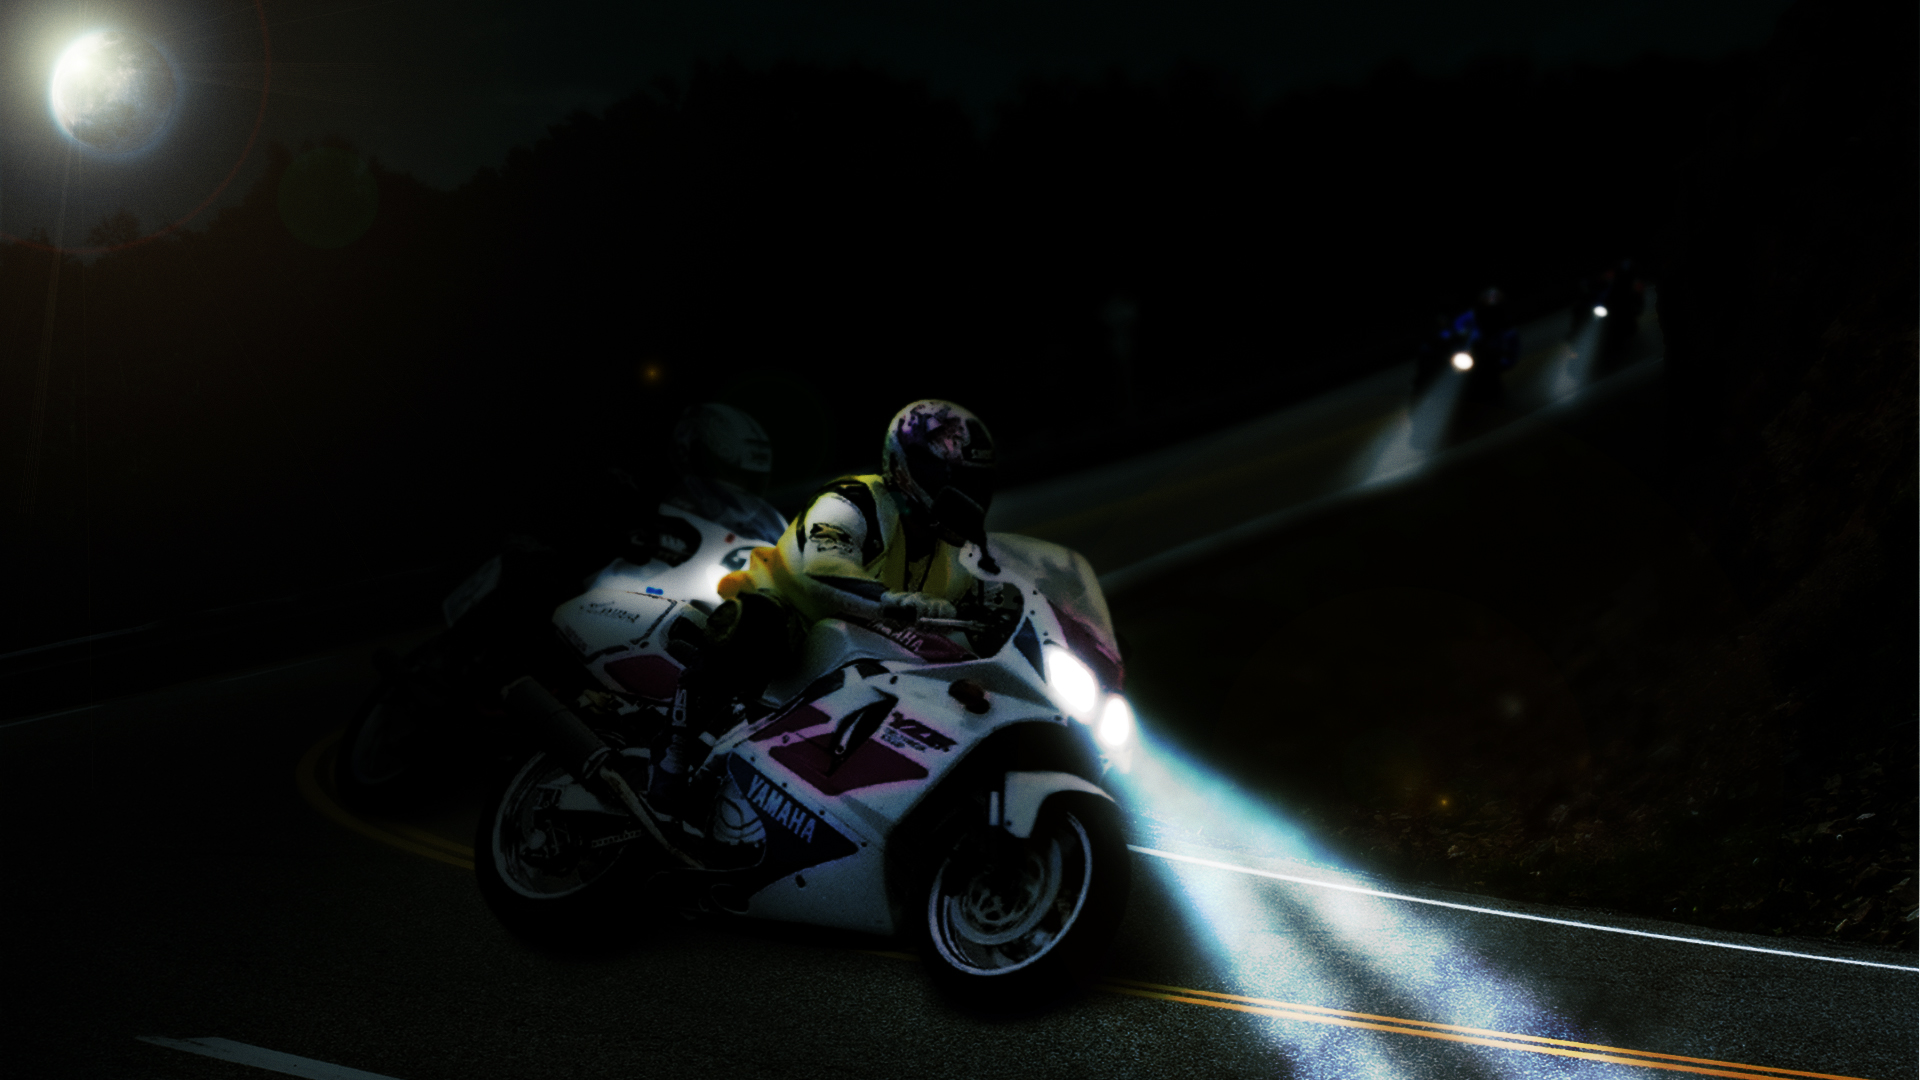
Hi there, today I'm going to show you guys how to create a moonlit night effect.
Here are the following images I used:
I was inspired by this tutorial:
http://psd.tutsplus.com/tutorials/photo-effects-tutorials/create-a-moonlit-night-scene-in-photoshop/
 cosmin
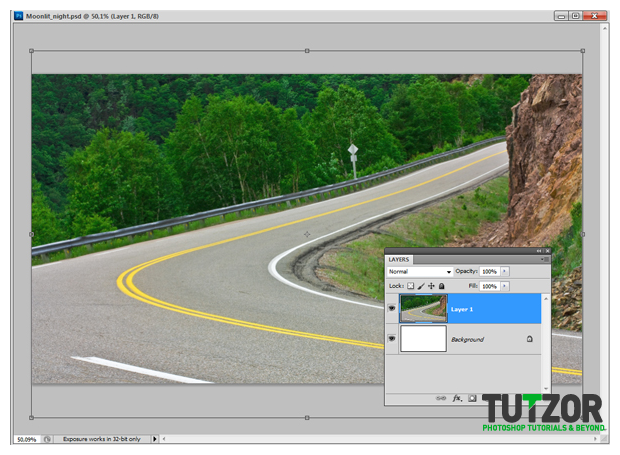 cosmin
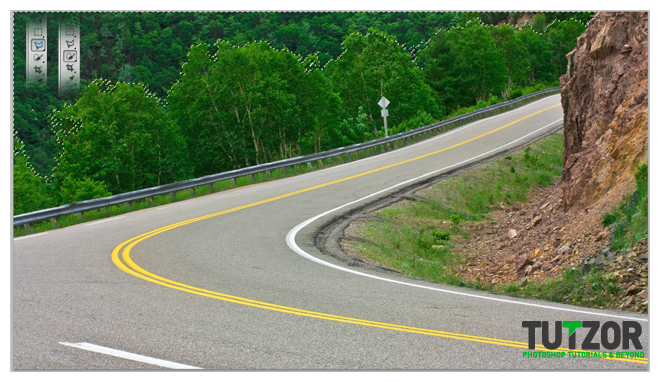 cosmin
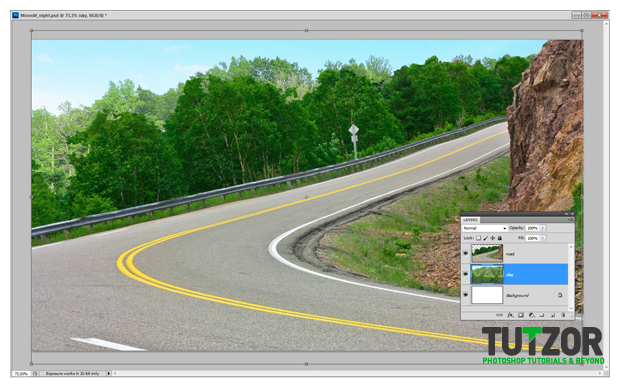 cosmin
 cosmin
 cosmin
 cosmin
 cosmin
 cosmin
 cosmin
 cosmin
 cosmin
 cosmin
 cosmin
 cosmin
 cosmin
 cosmin
 cosmin
 cosmin
 cosmin
 cosmin
 cosmin
 cosmin
 cosmin
 cosmin
Copyright© 2012 Tutzor All Rights Reserved | Developed by: Iceous Design


Comments
Re: Creating a moonlit night scene - PART 1
This will come in hand next July when my husbands MC does their "Bark At The Moon" run. Thanks!
Debra Asencio
http://youbetterasksomebodygd.carbonmade.com
Cool tutorial
Thanks for the detailed tutorial, i could use the light trick on my next project.