

 cosmin
Hello,
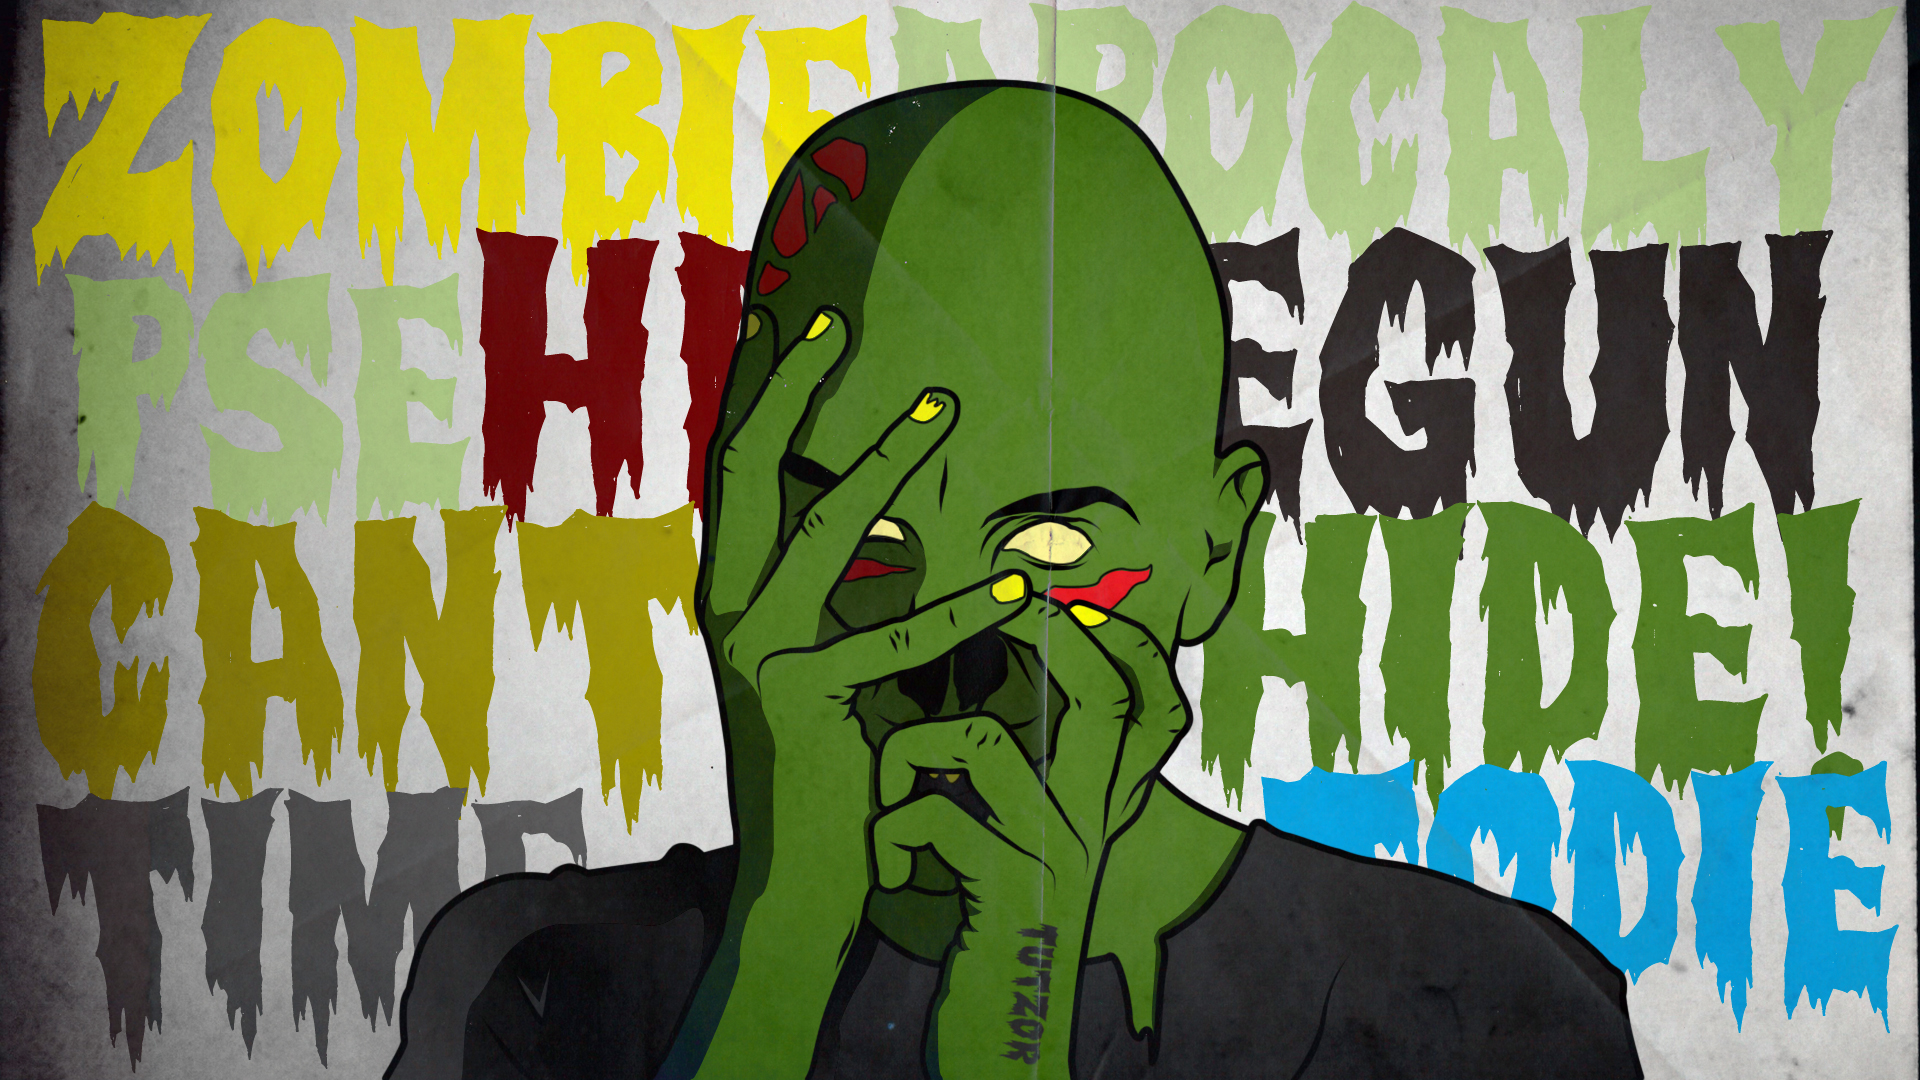
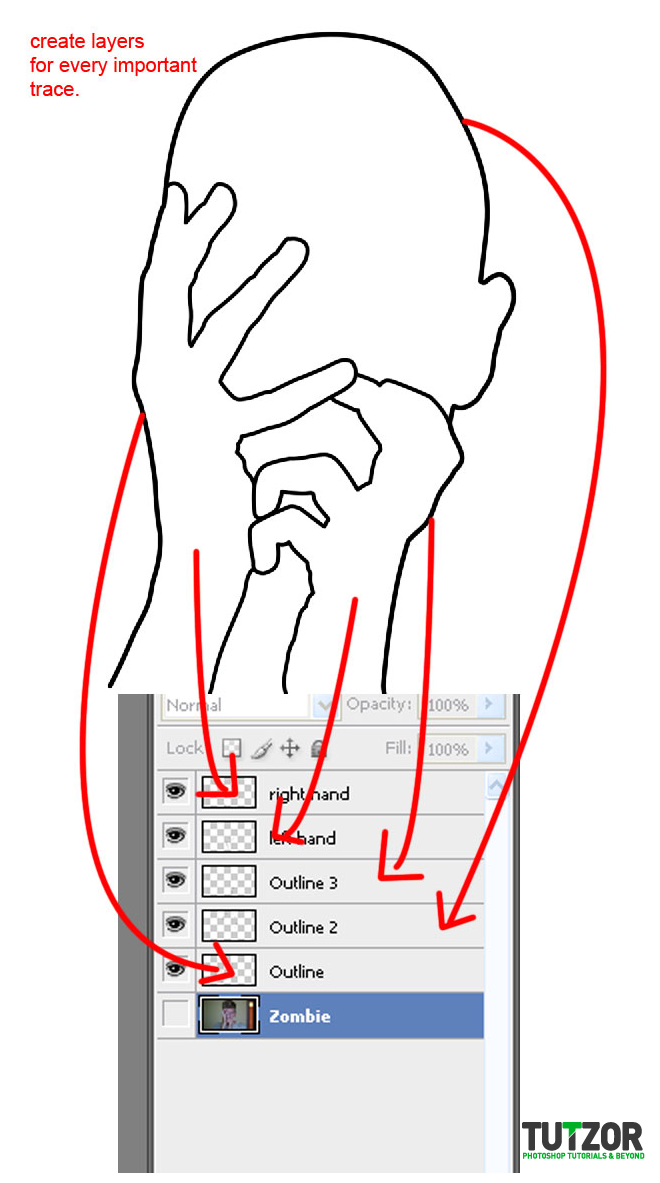
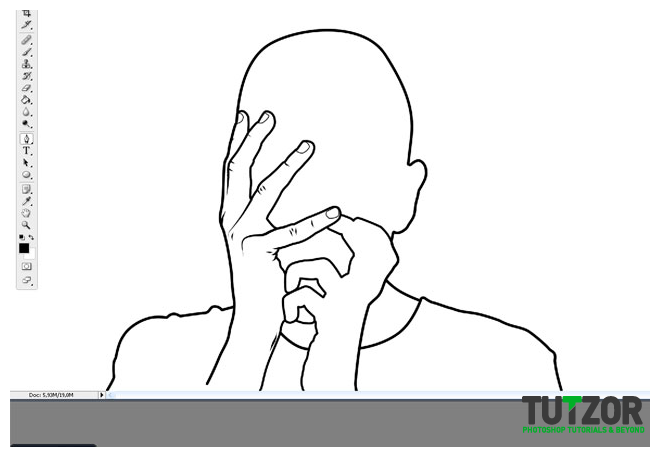
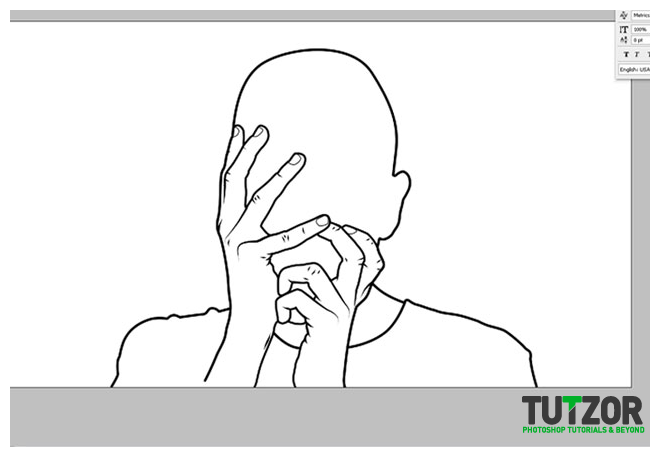
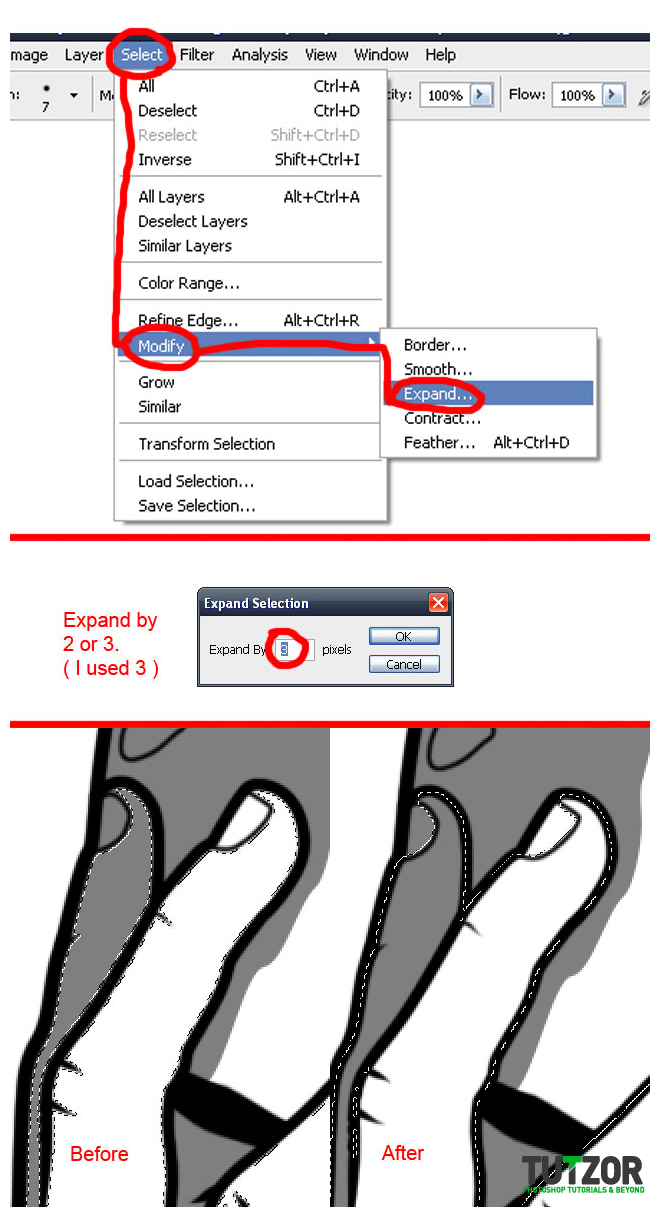
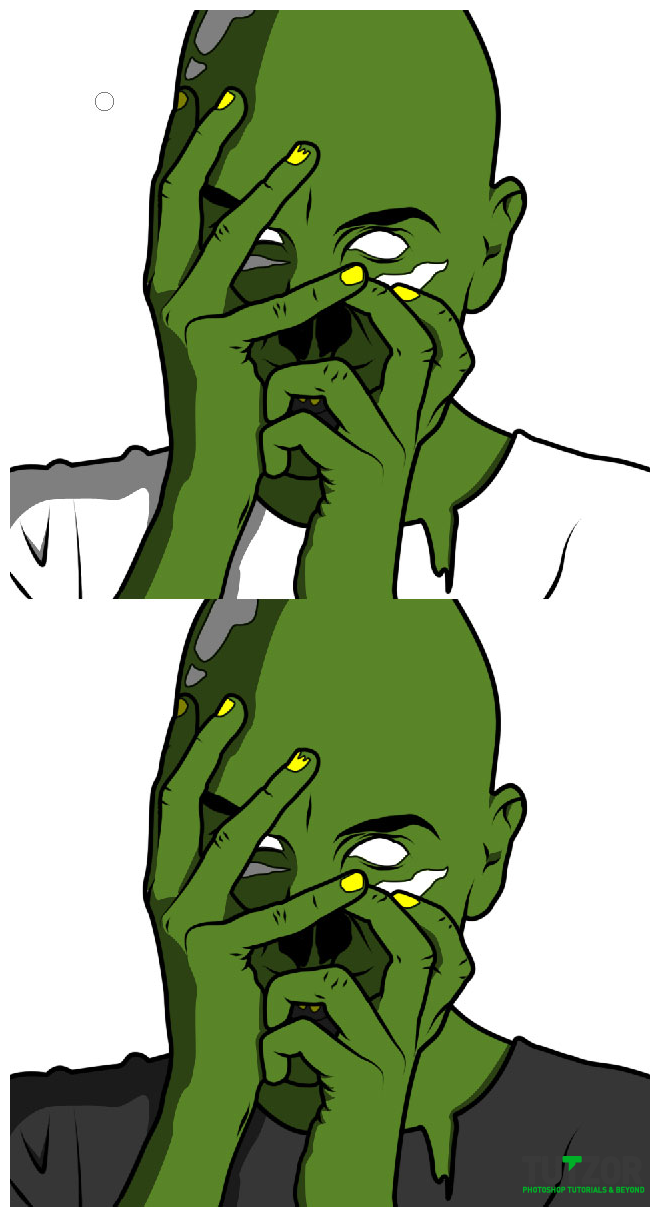
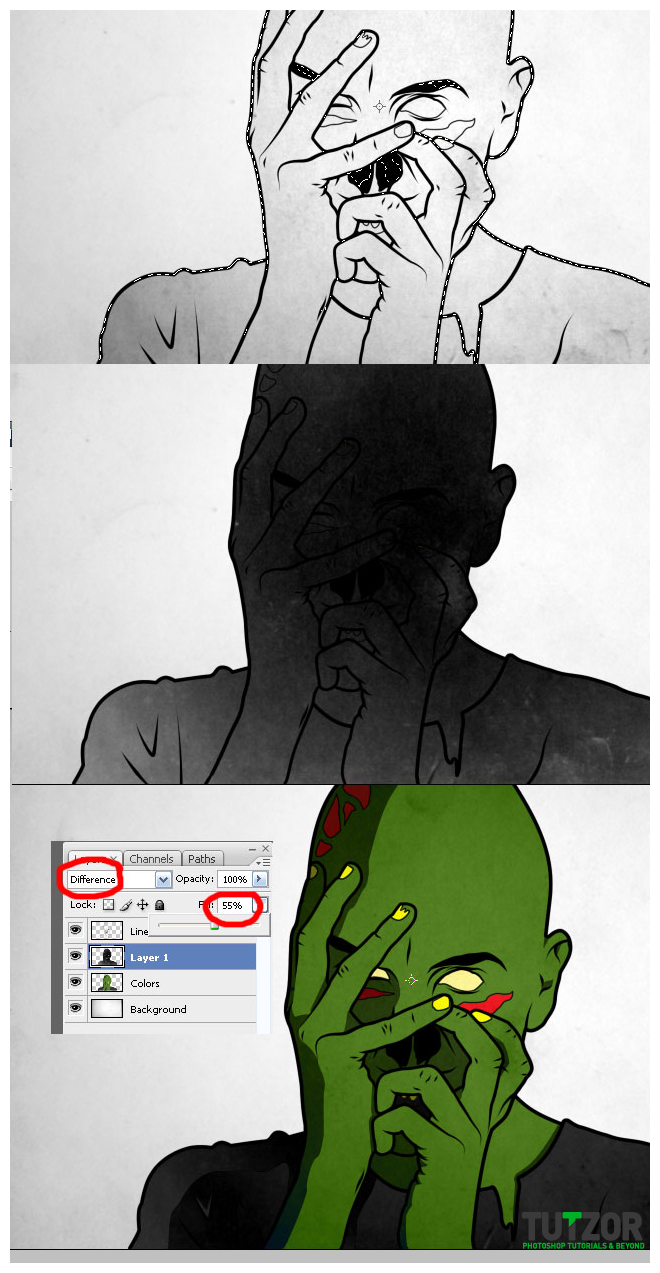
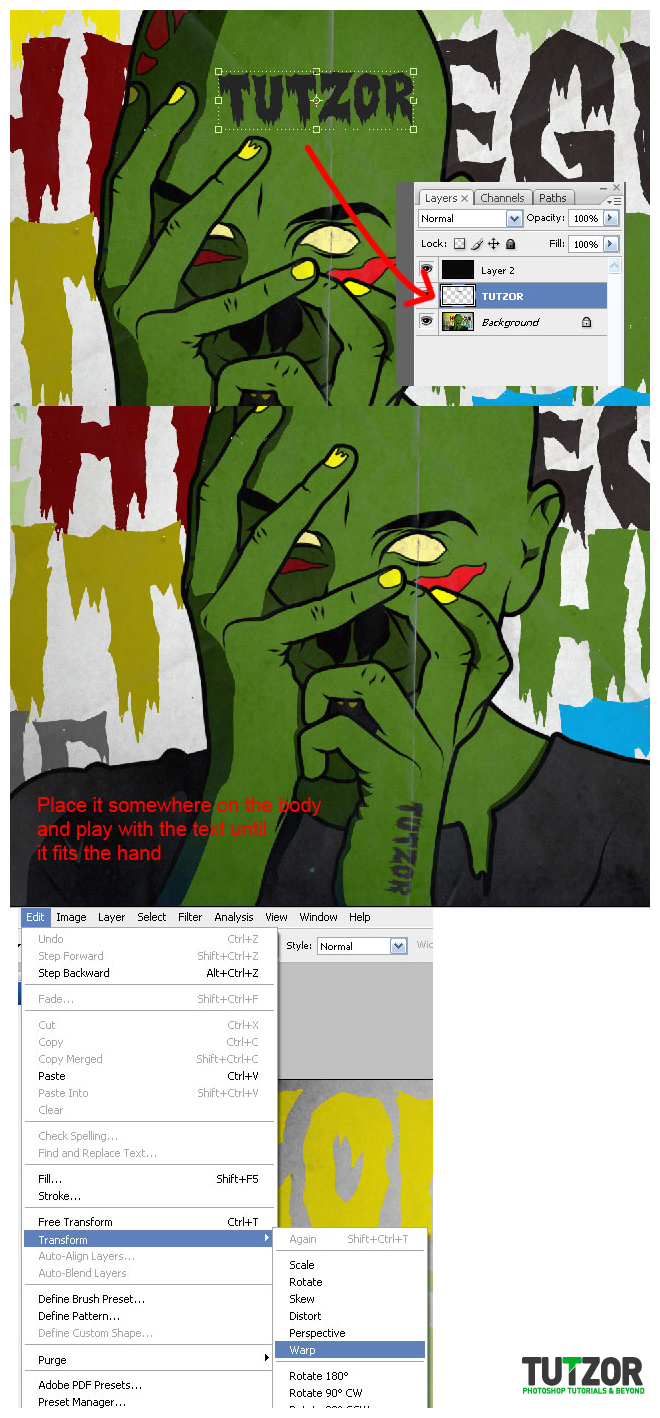
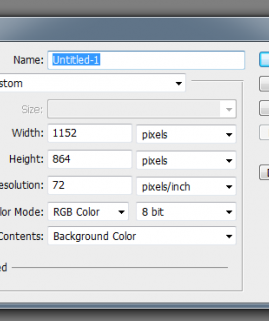
We're gonna talk today about transforming your own portrait into a vintage looking zombie. Maybe you're familiar with the process of line art in photoshop, or maybe not, but after this tutorial I hope you'll learn something new.
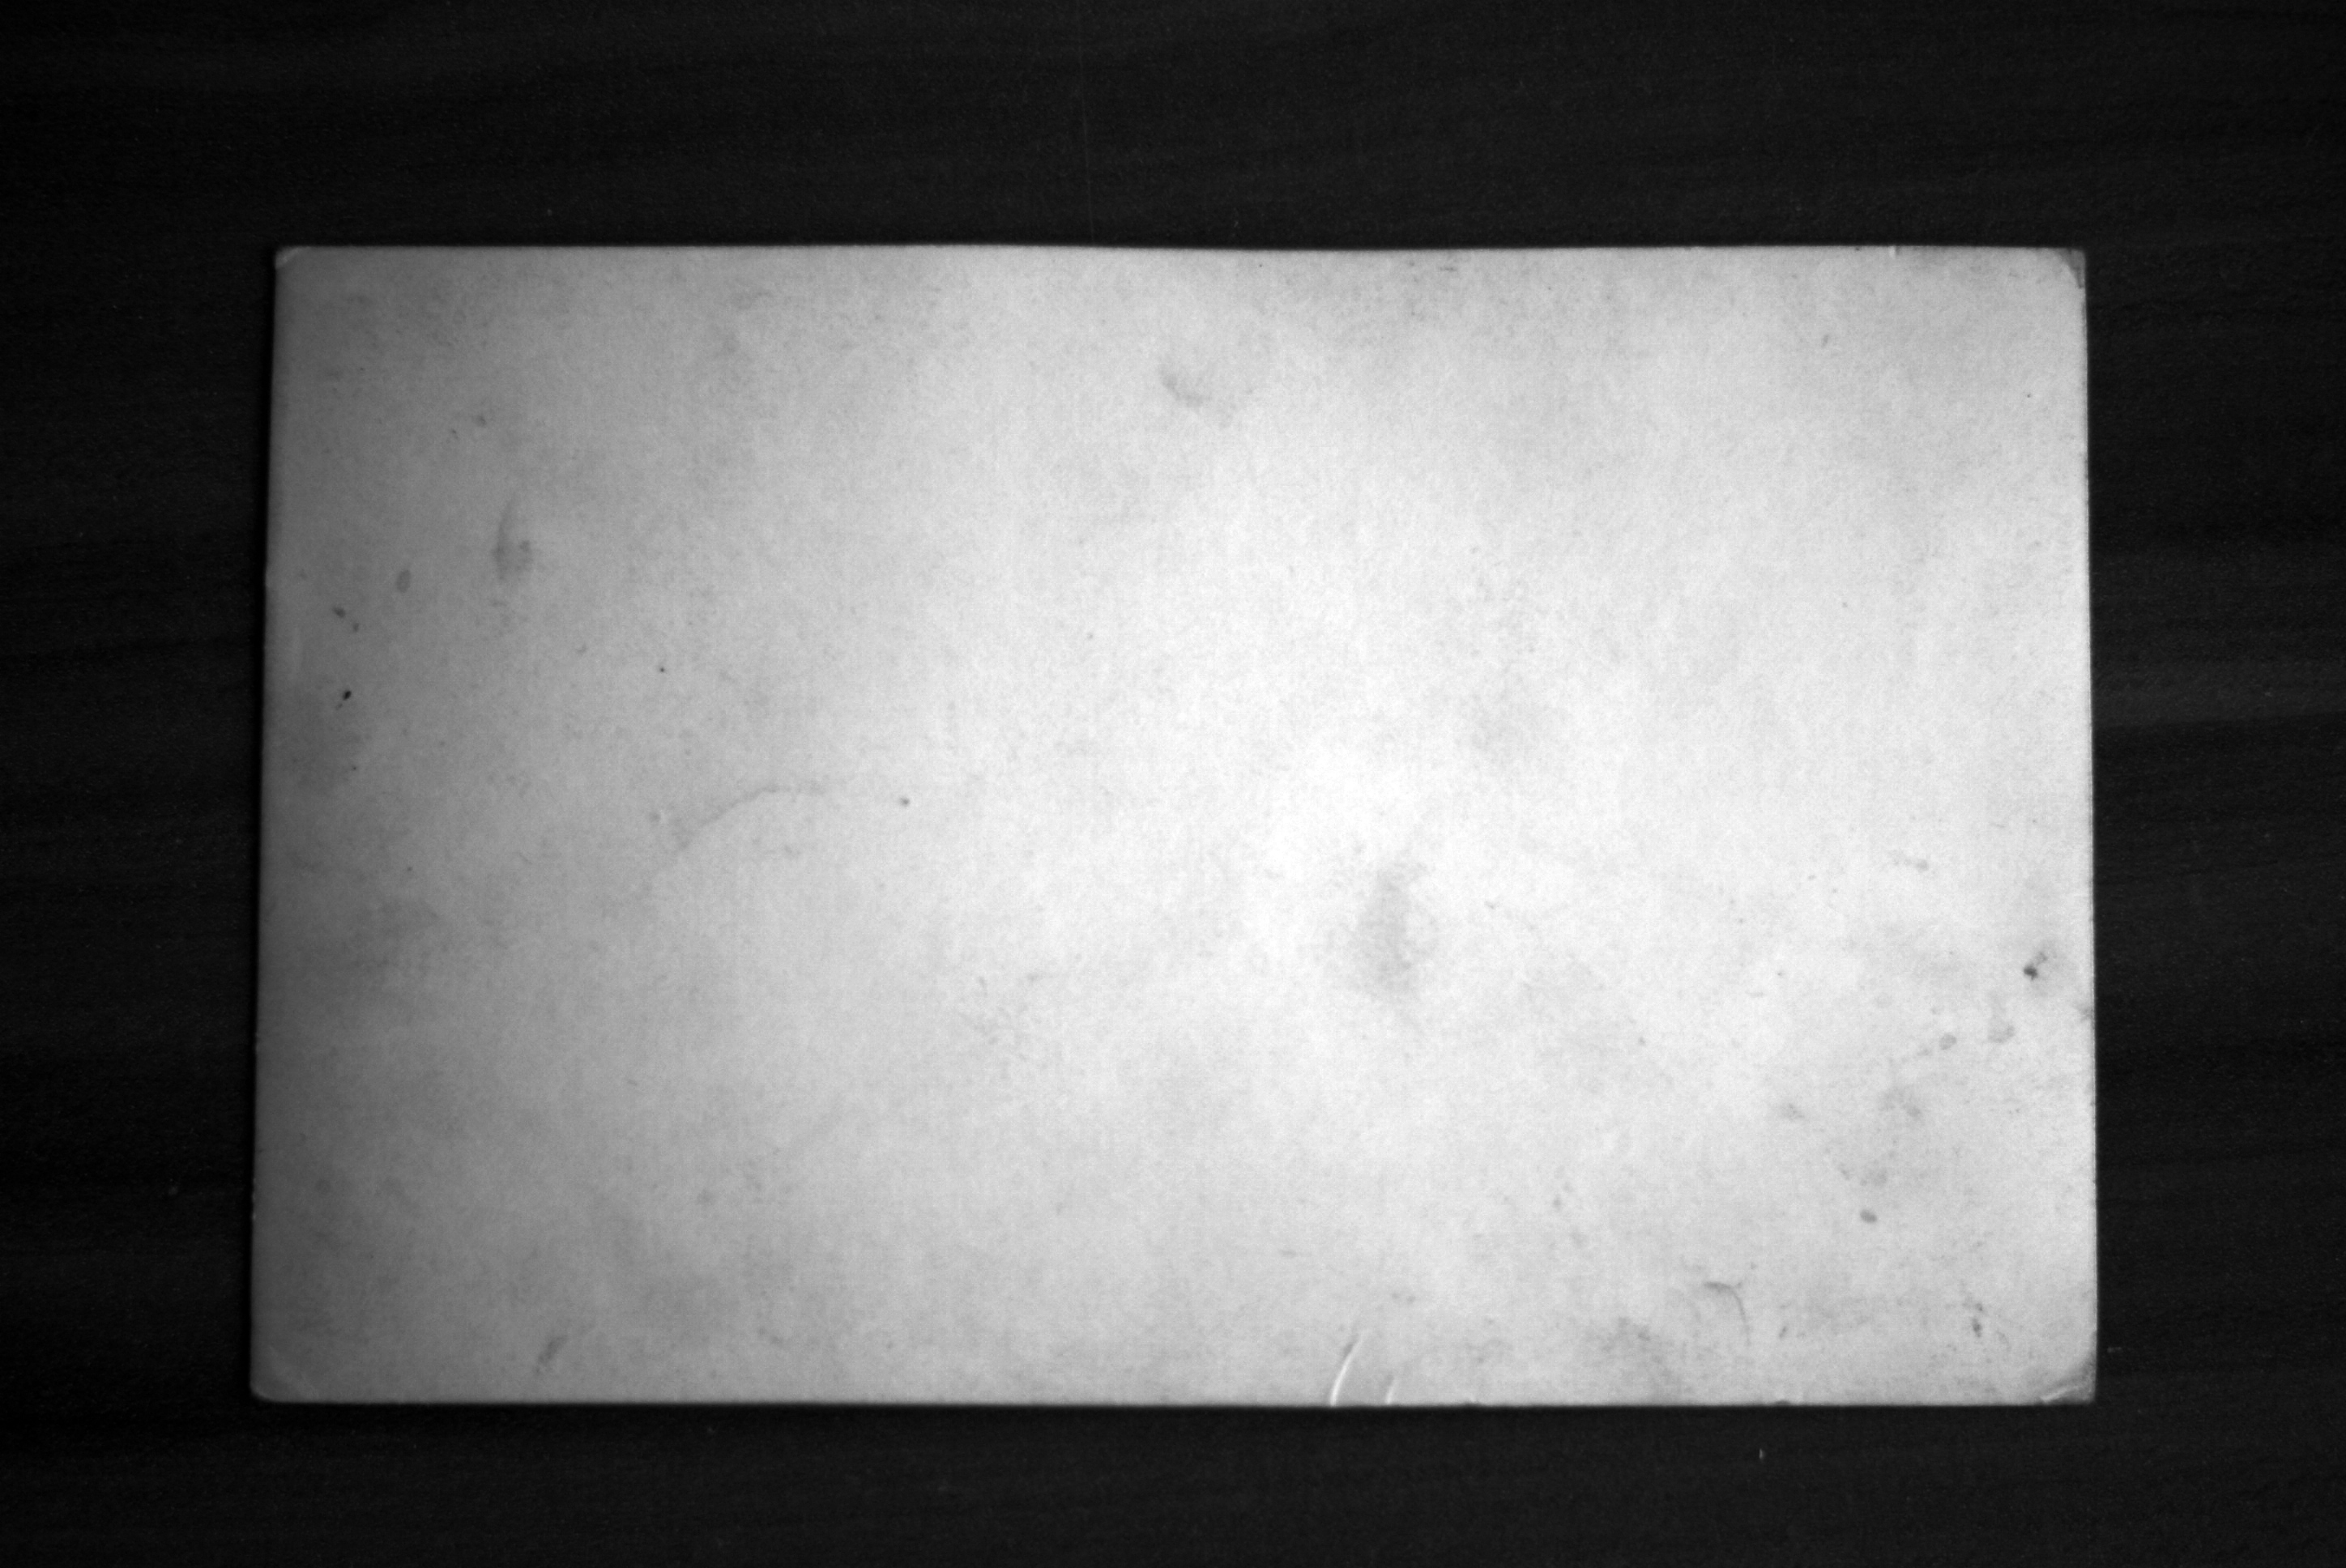
I used a portrait of a friend of mine and my own textures. You can download them all from the required files.
Also you can download this font:
http://www.dafont.com/creepsville.font
Enjoy!
 cosmin
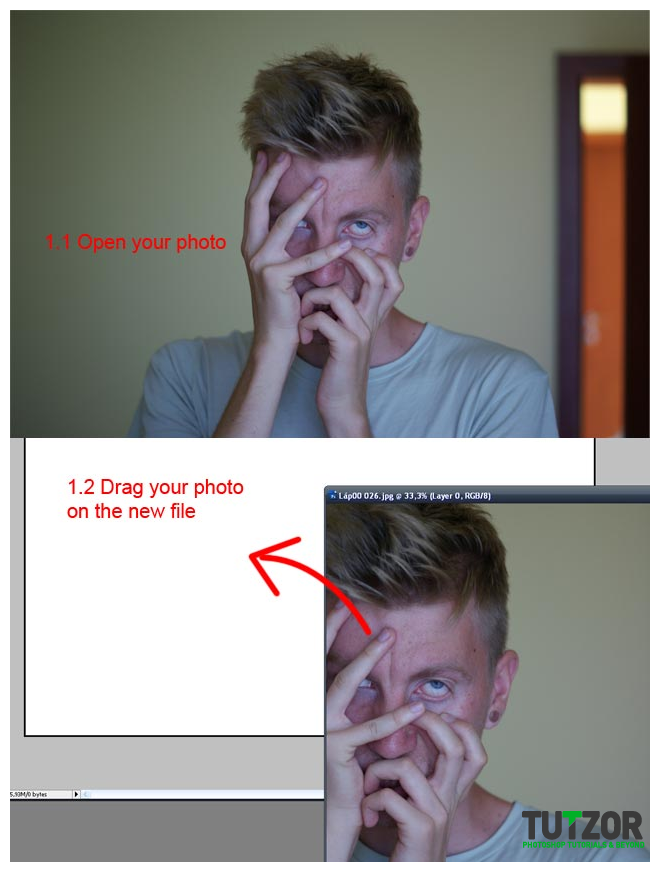 cosmin
 cosmin
 cosmin
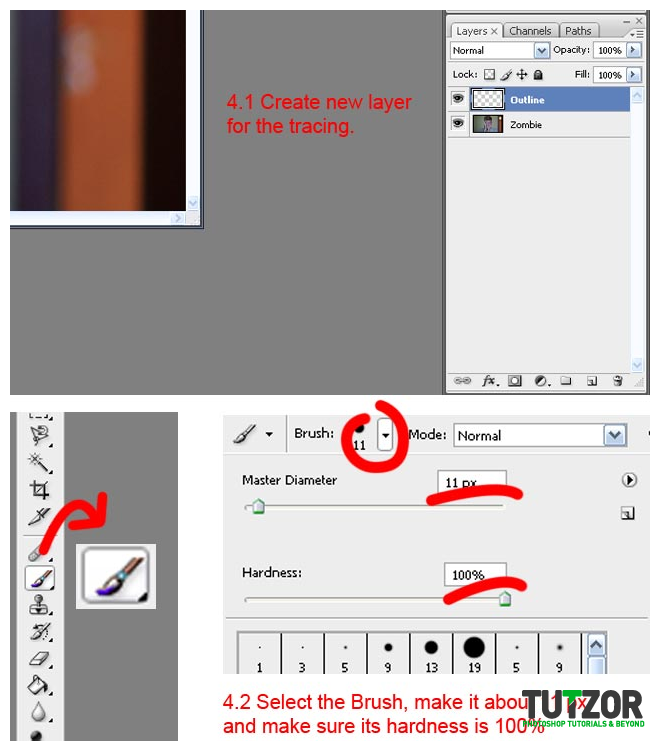 cosmin
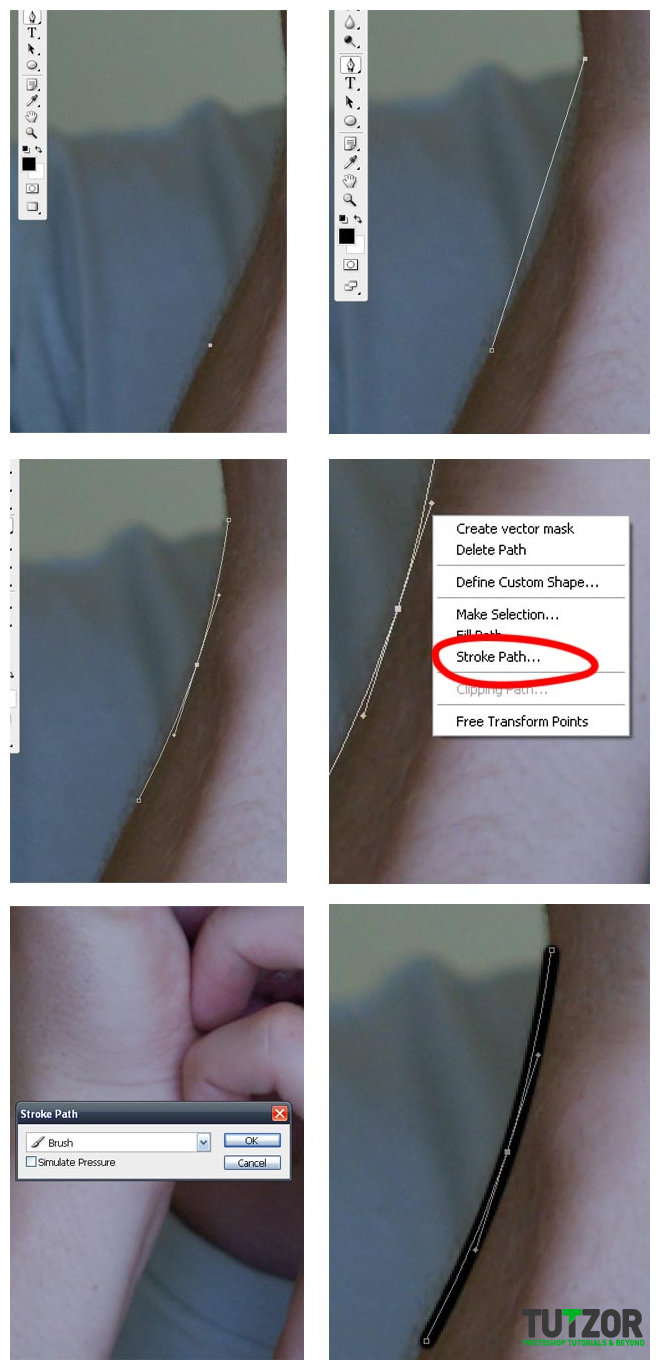 cosmin
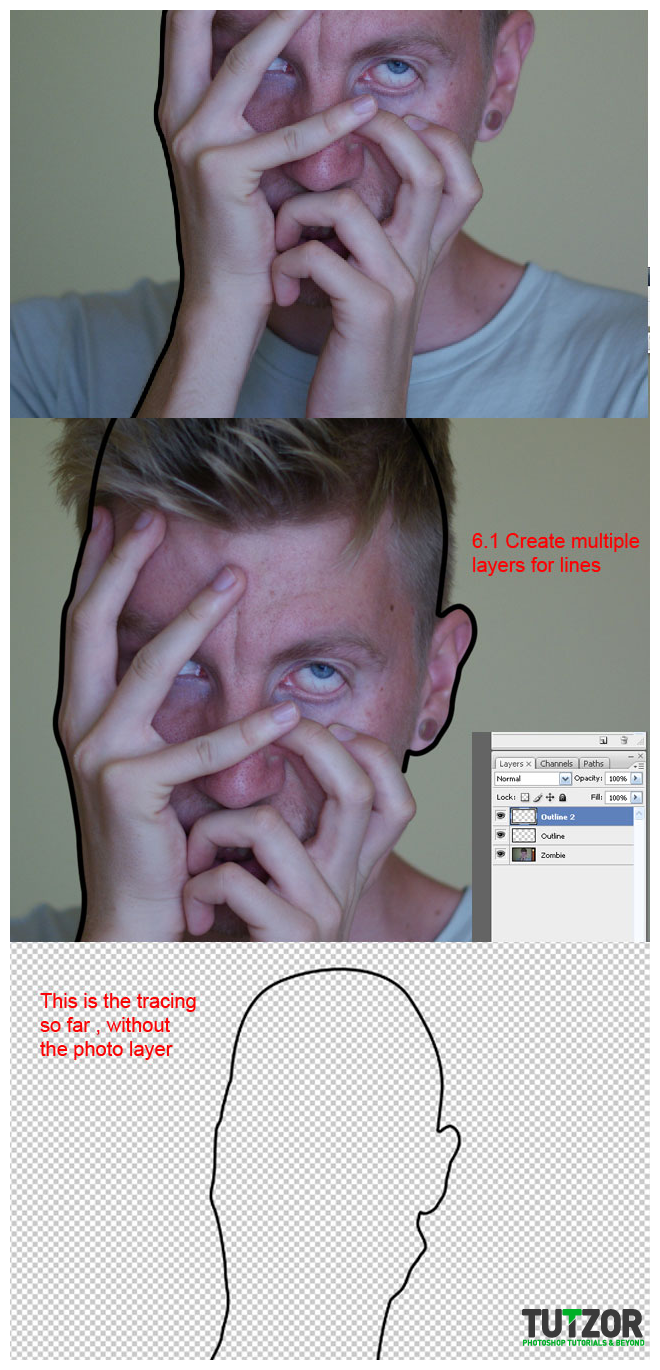
 cosmin
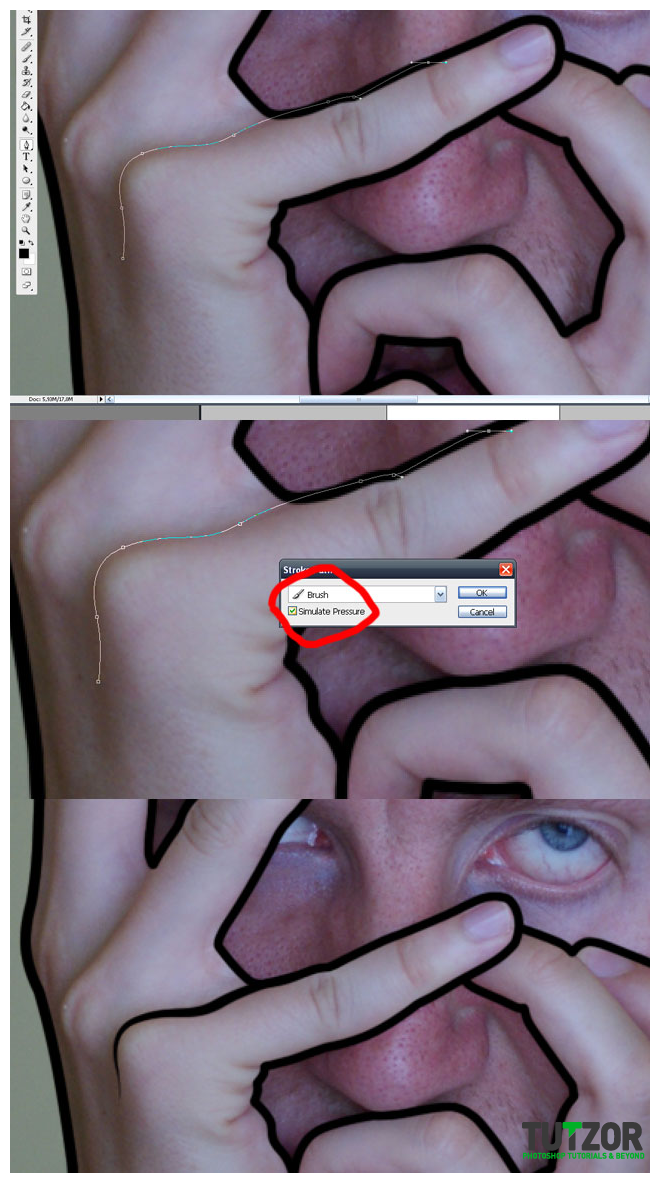
 cosmin
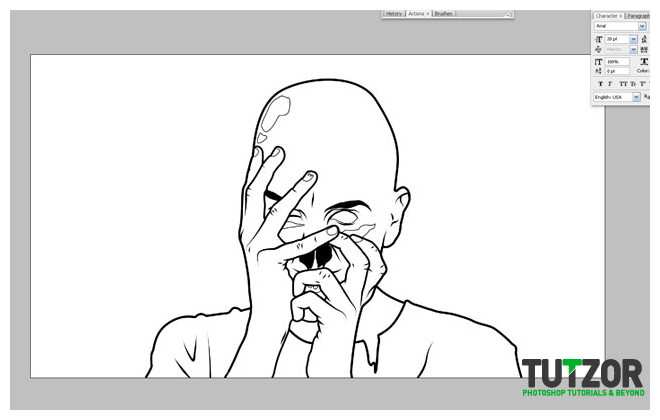 cosmin
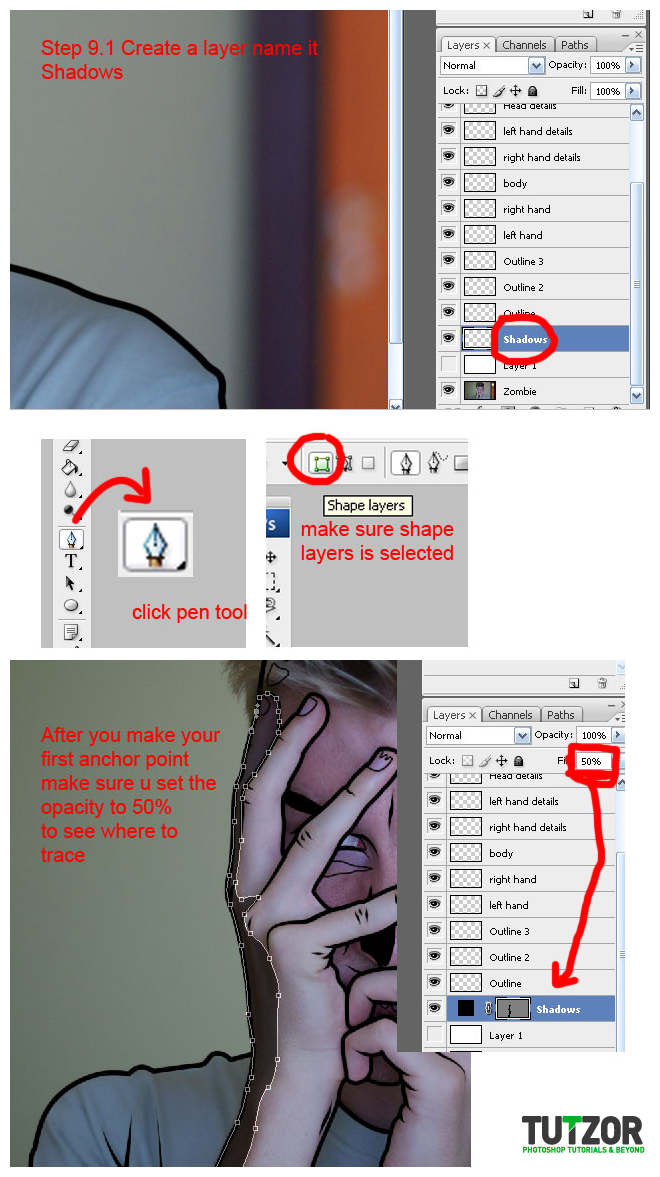 cosmin
 cosmin
 cosmin
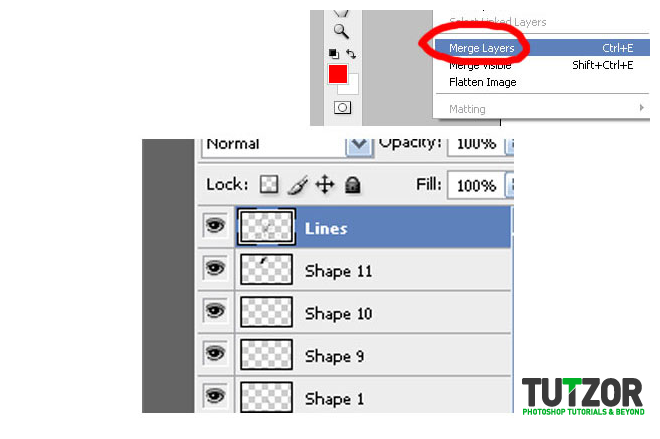 cosmin
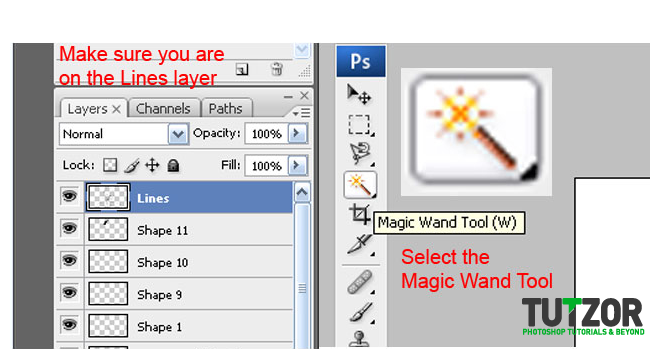 cosmin
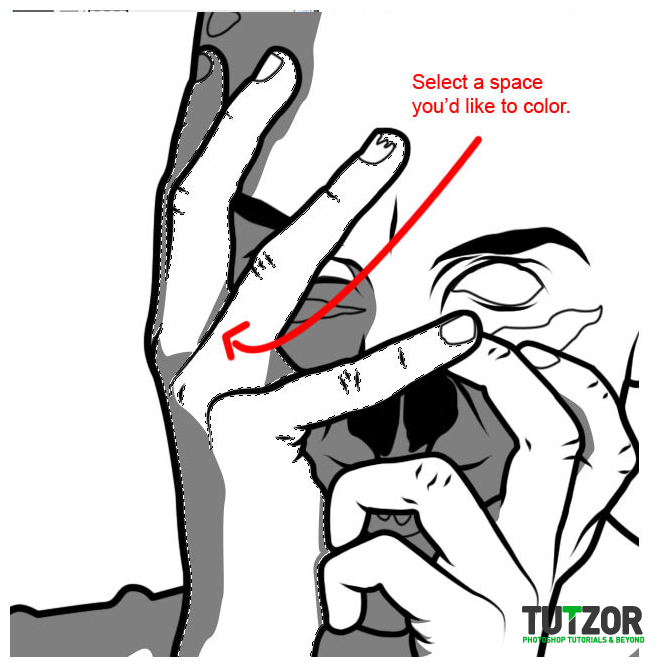
 cosmin
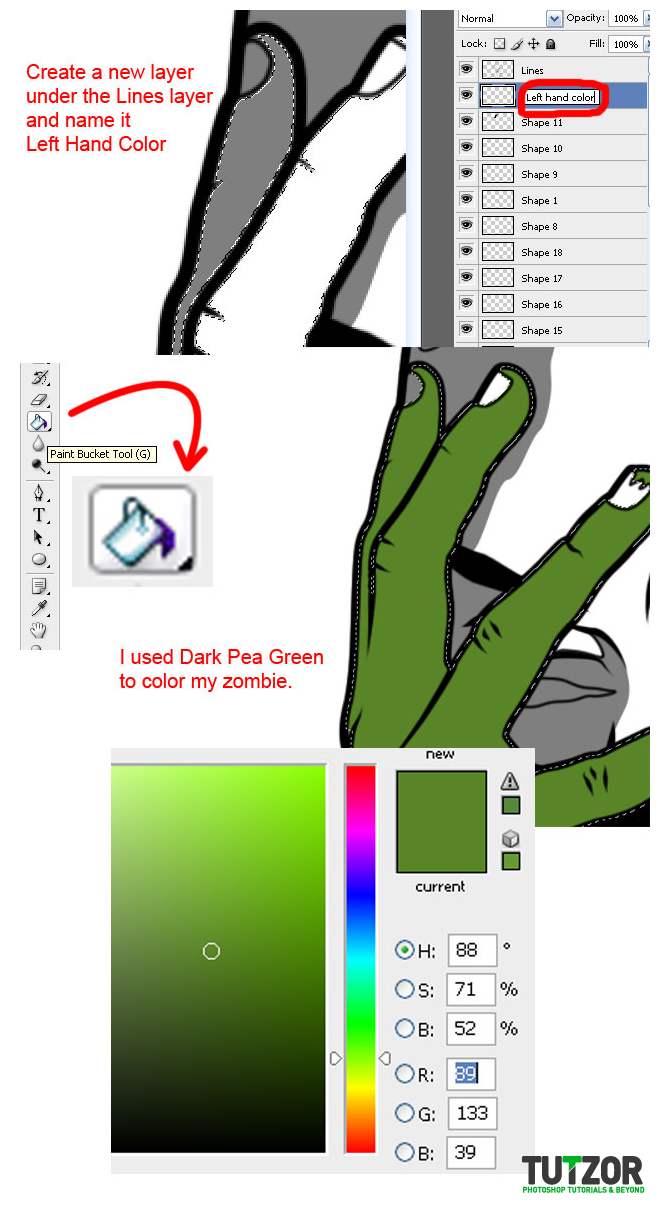 cosmin
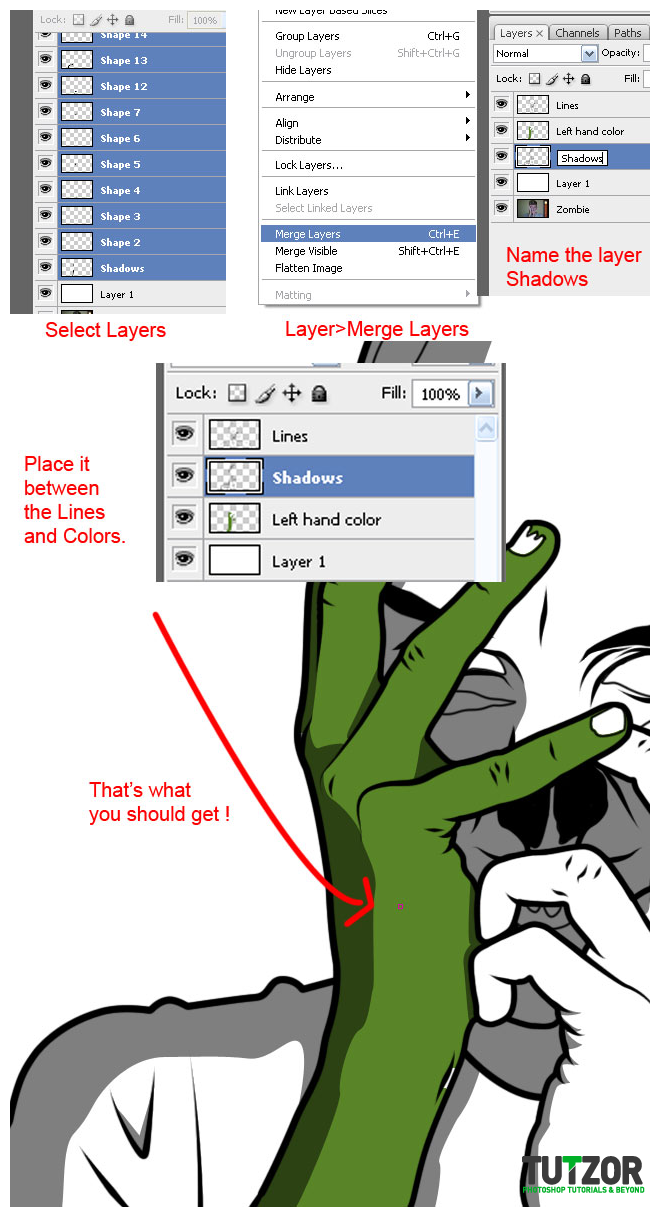 cosmin
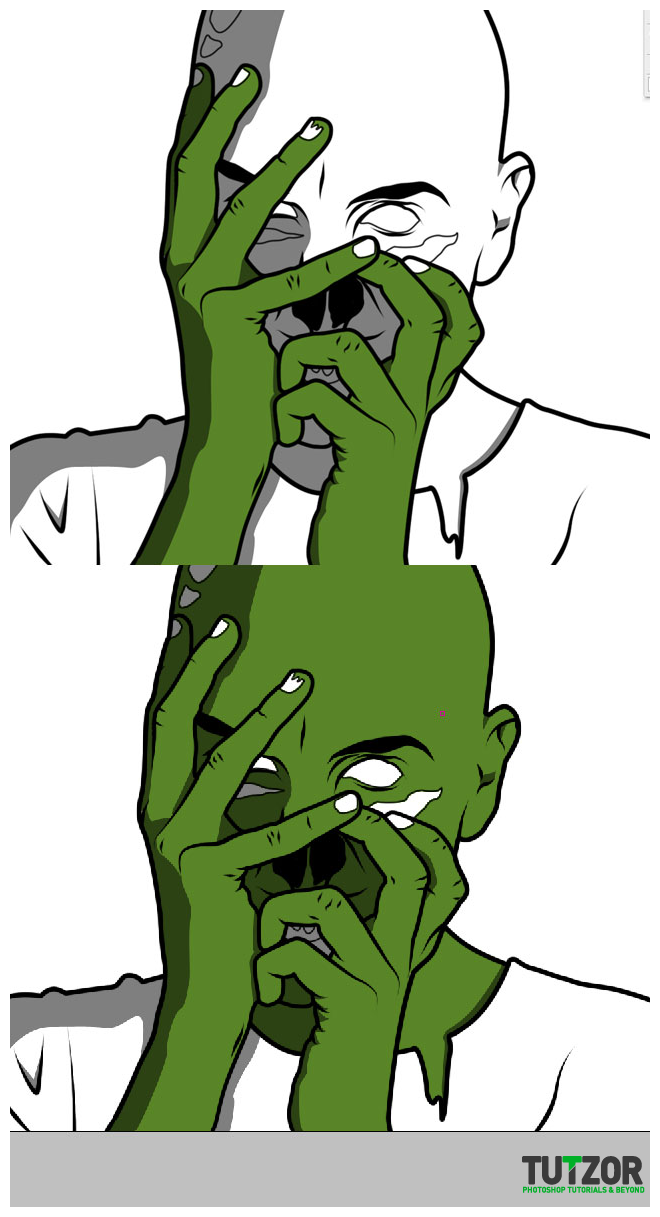
 cosmin
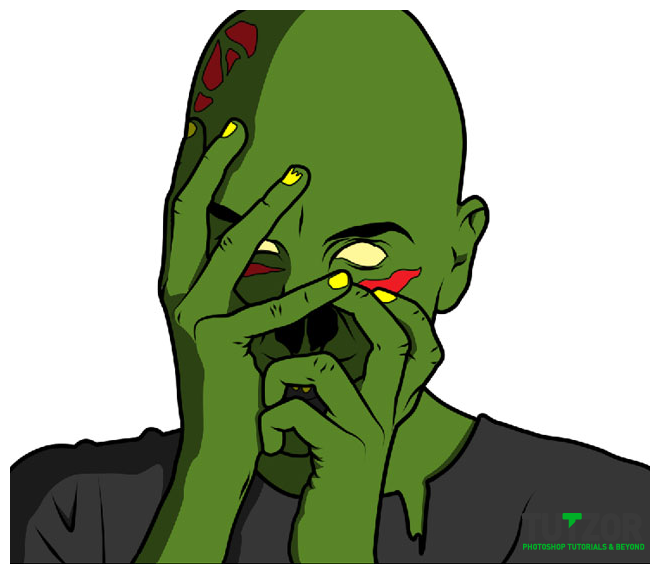 cosmin
 cosmin
 cosmin
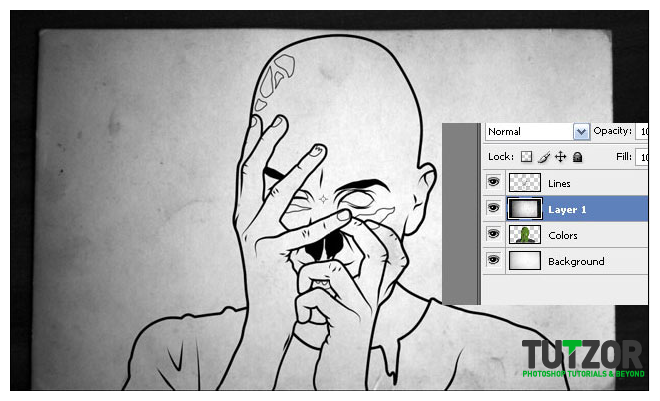 cosmin
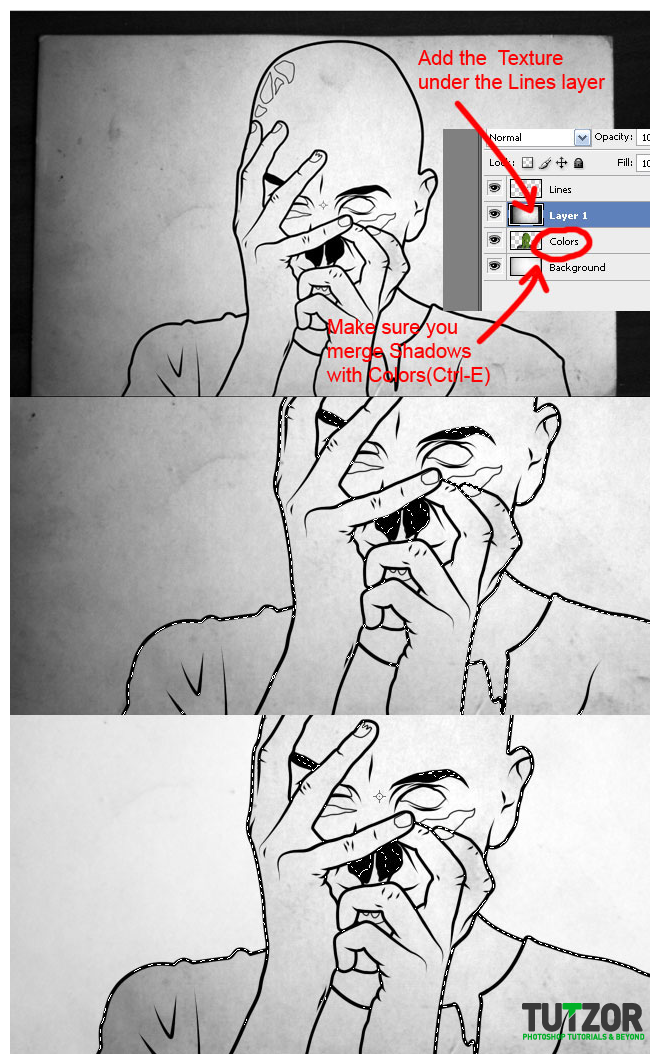 cosmin
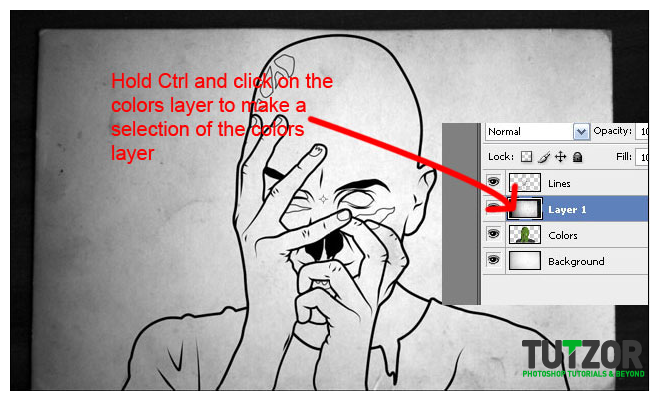
 cosmin
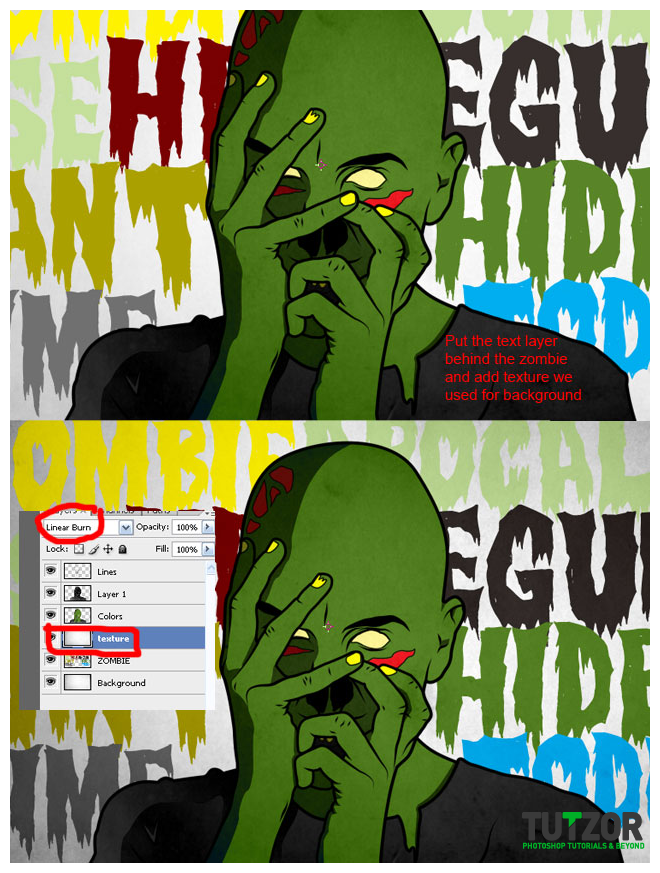 cosmin
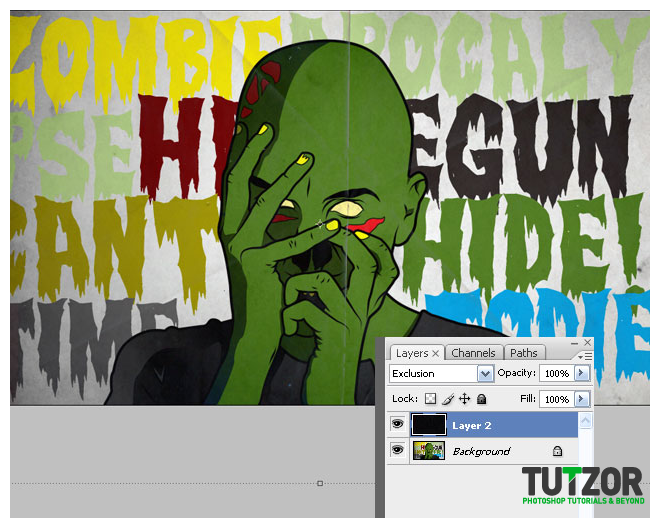

Copyright© 2012 Tutzor All Rights Reserved | Developed by: Iceous Design


Comments
please check my works and tell me wat i have to imporve...
looking for job also..help me out
Re: How to transform your portrait into a zombie
Awesome Tutorial, Just had a quick go myself and am happy with result.
I cheated with background as I really like this picture found on google images :D
Let me know what you think
http://s389.photobucket.com/albums/oo339/alyiscute2008/Photoshop/
Re: How to transform your portrait into a zombie
Glad you like it!:)
Re: How to transform your portrait into a zombie
Really creative work, I might try it for Halloween :)
Re: How to transform your portrait into a zombie
Its an awesome tutorial.I would love to work on it.Thank you for sharing.