

 cosmin
Hello everyone,
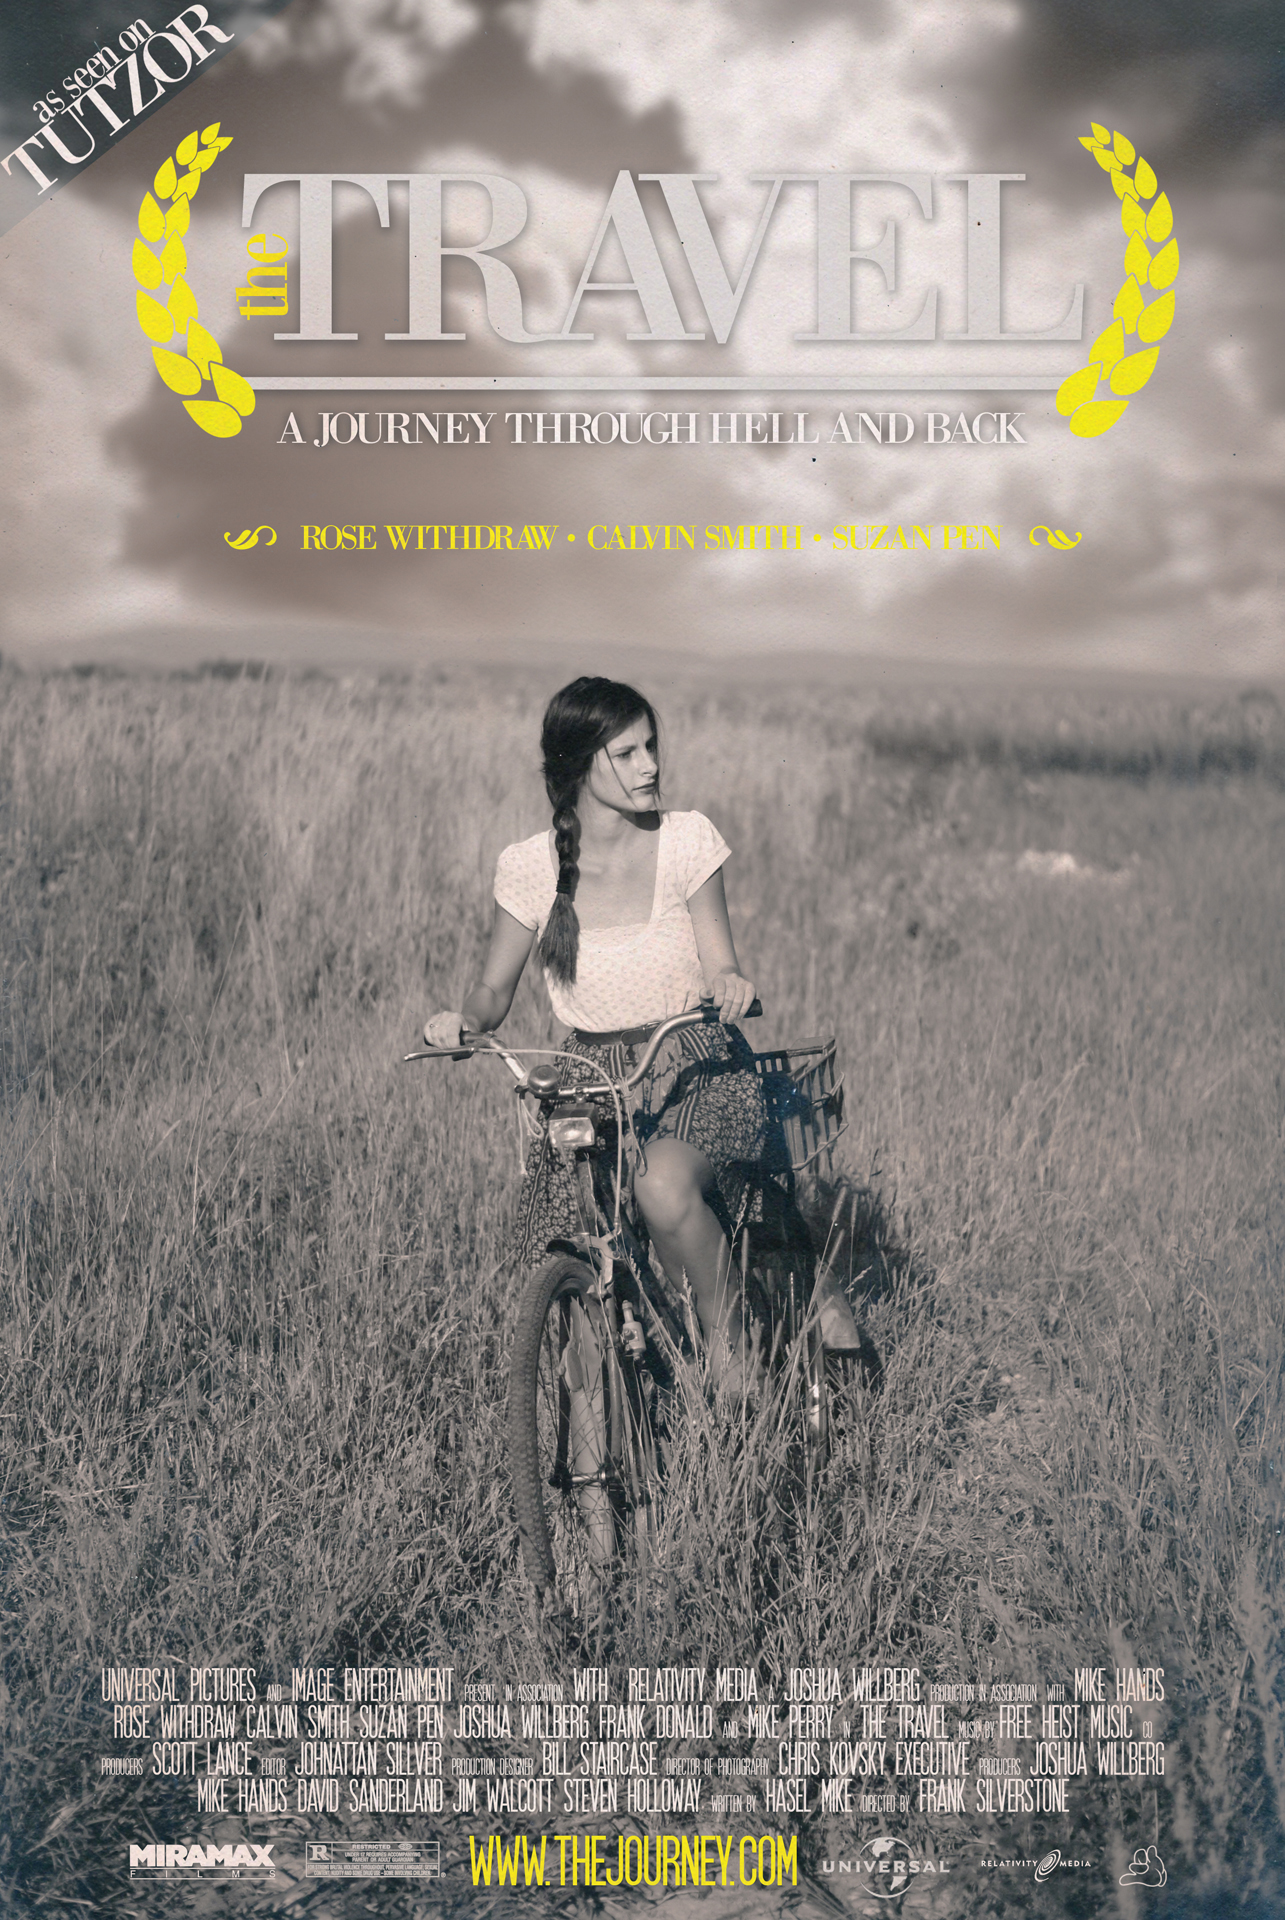
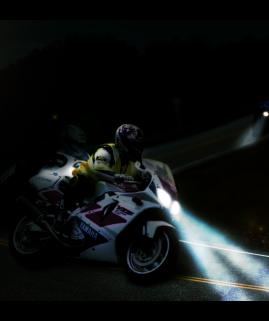
I'll show you today how to create a movie poster like those you see on the streets or DVD cases.
You can use the photos my friend took for me or you can use your own.
Also download this fonts:
Bodoni XT
http://www.fontex.org/download/Bodoni-xt.ttf
SFMovie Poster
http://www.dafont.com/sf-movie-poster.font
 cosmin
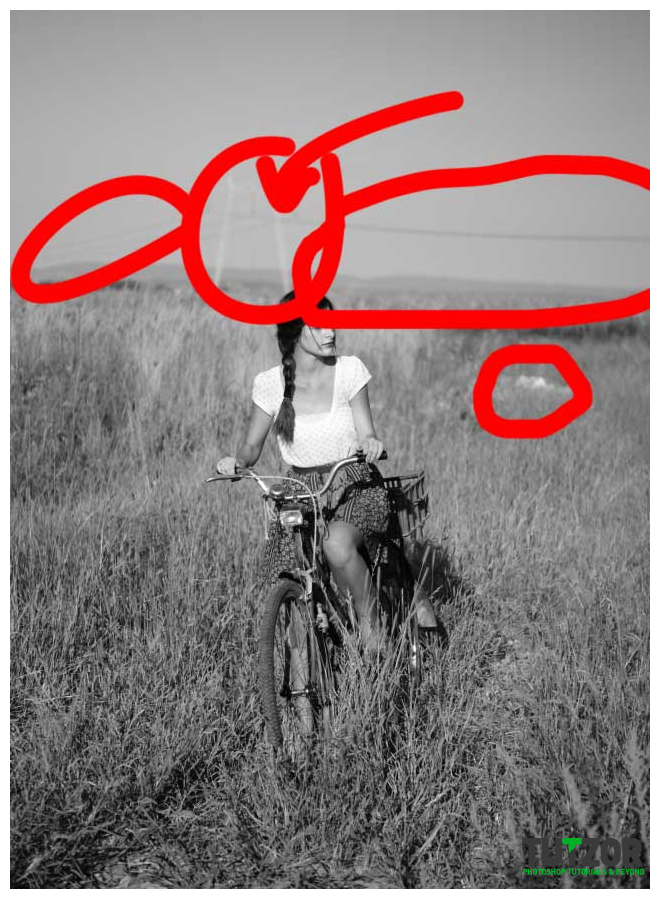 cosmin
 cosmin
 cosmin
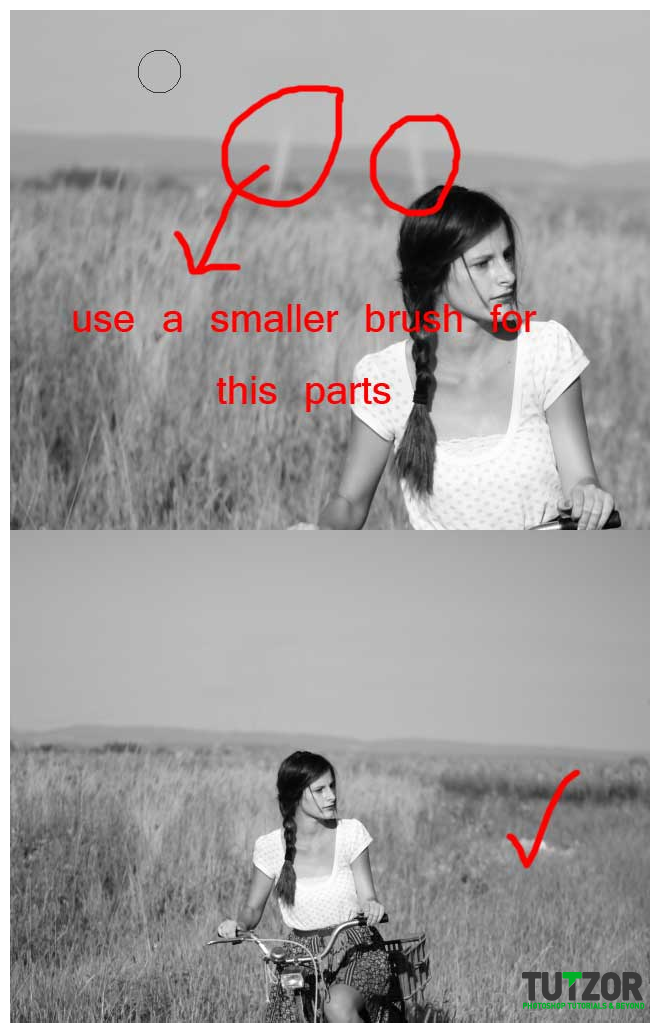 cosmin
 cosmin
 cosmin
 cosmin
 cosmin
 cosmin
 cosmin
 cosmin
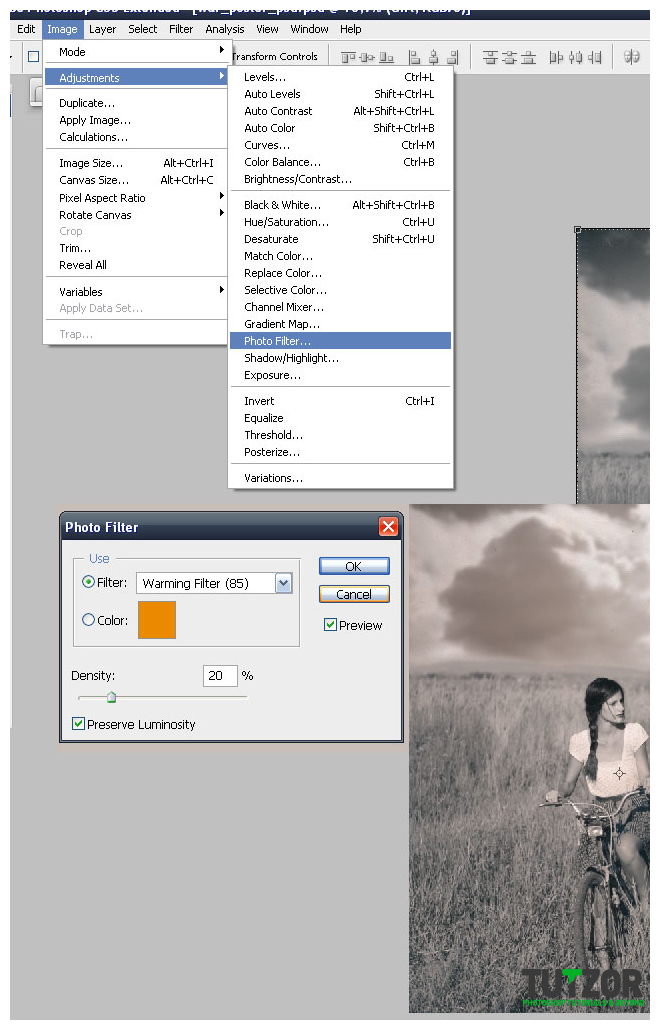 cosmin
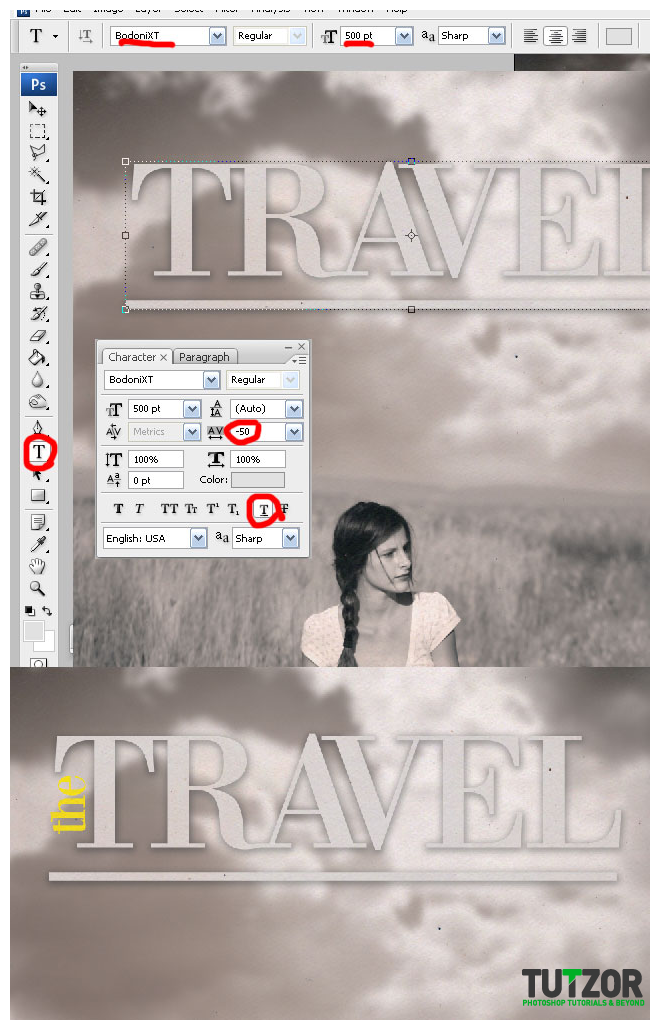 cosmin
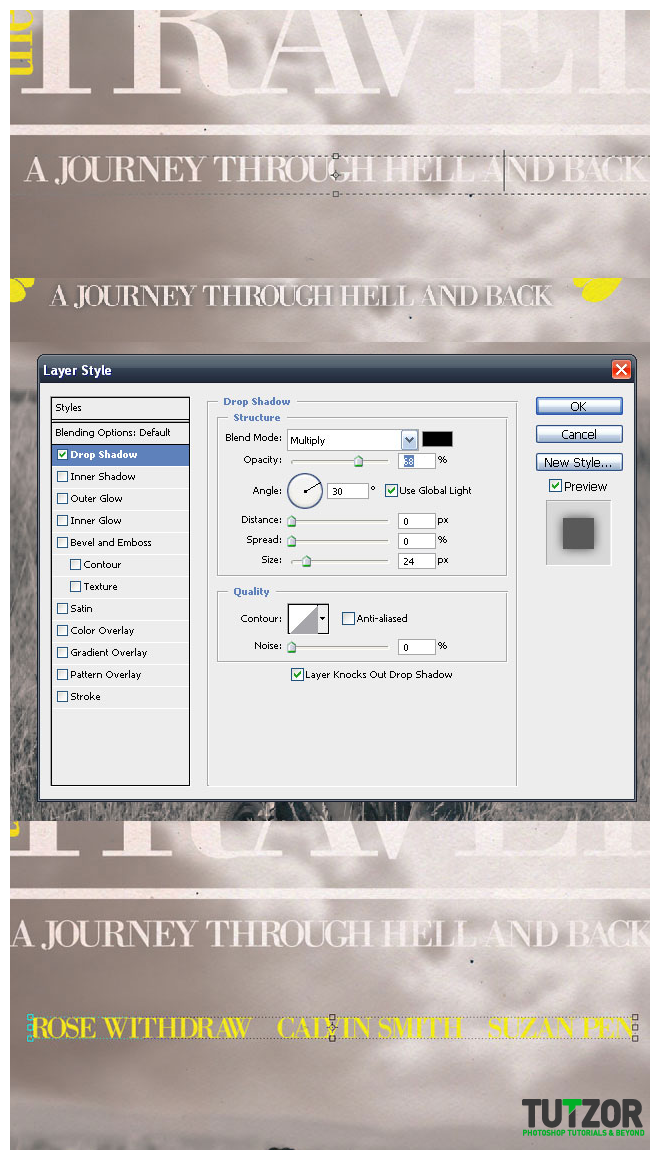 cosmin
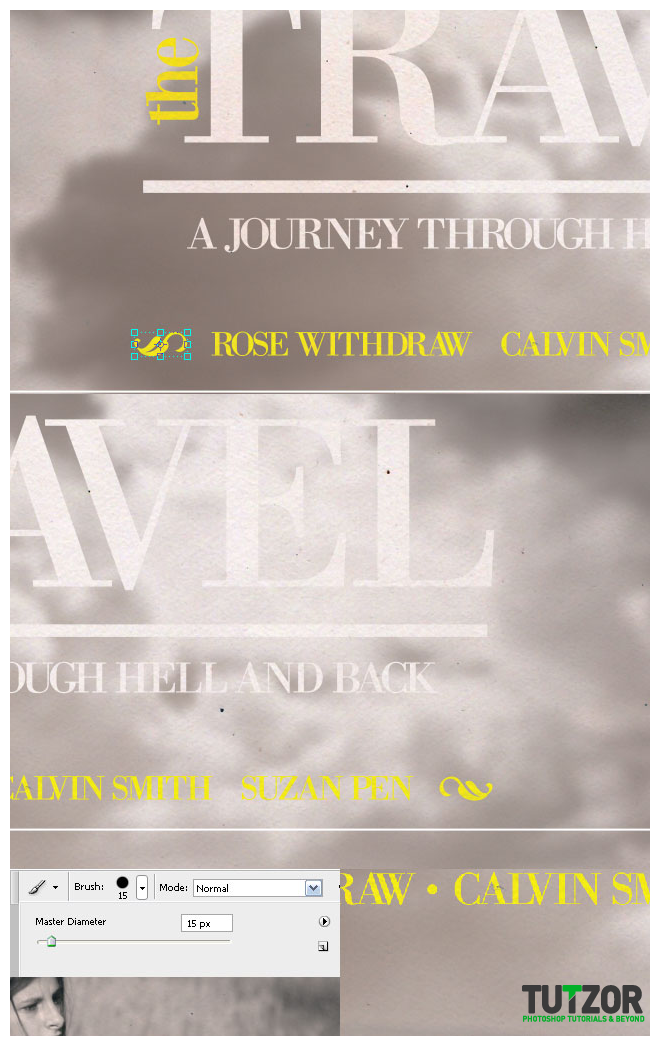 cosmin
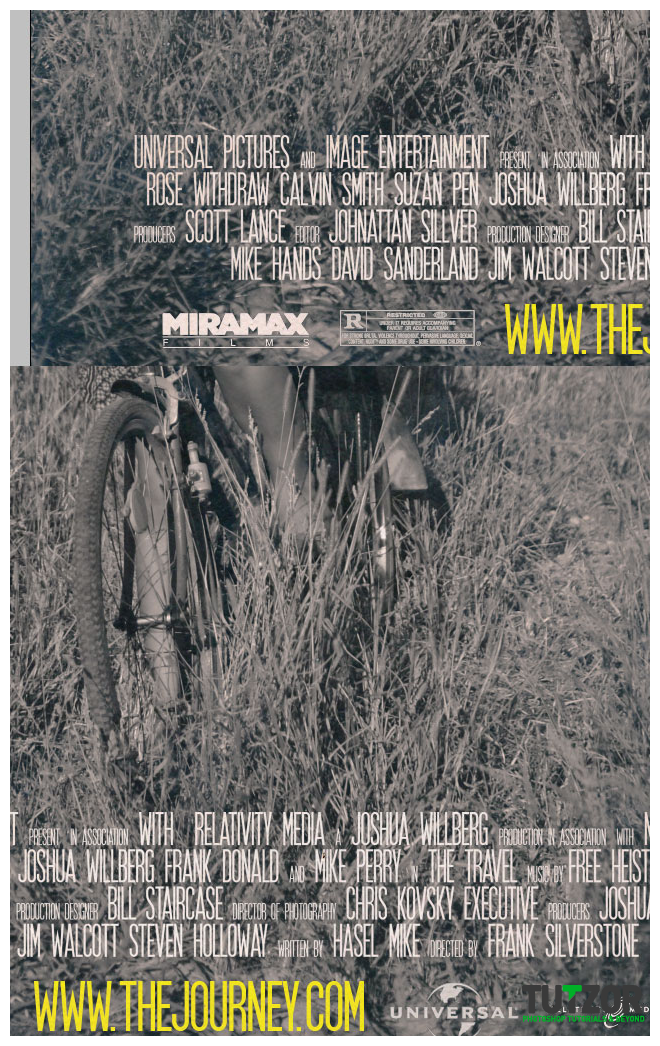 cosmin
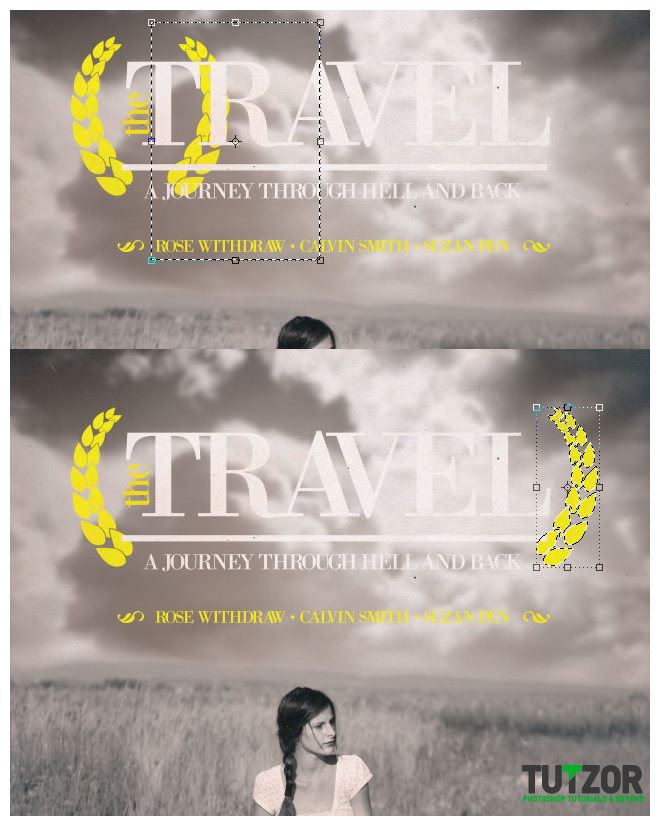 cosmin
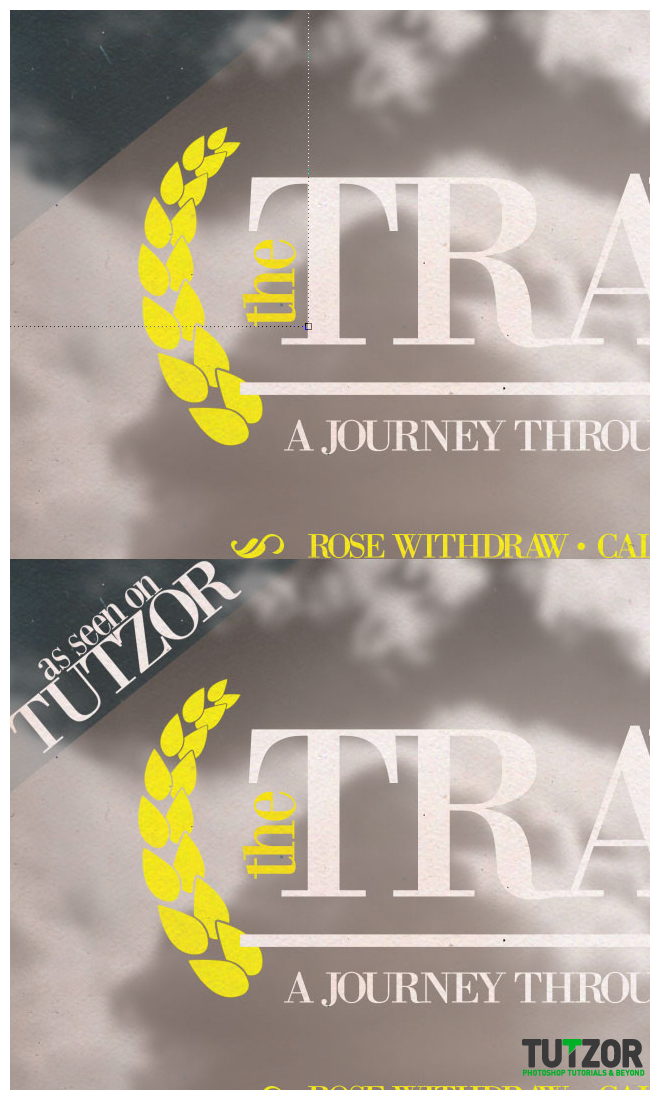 cosmin
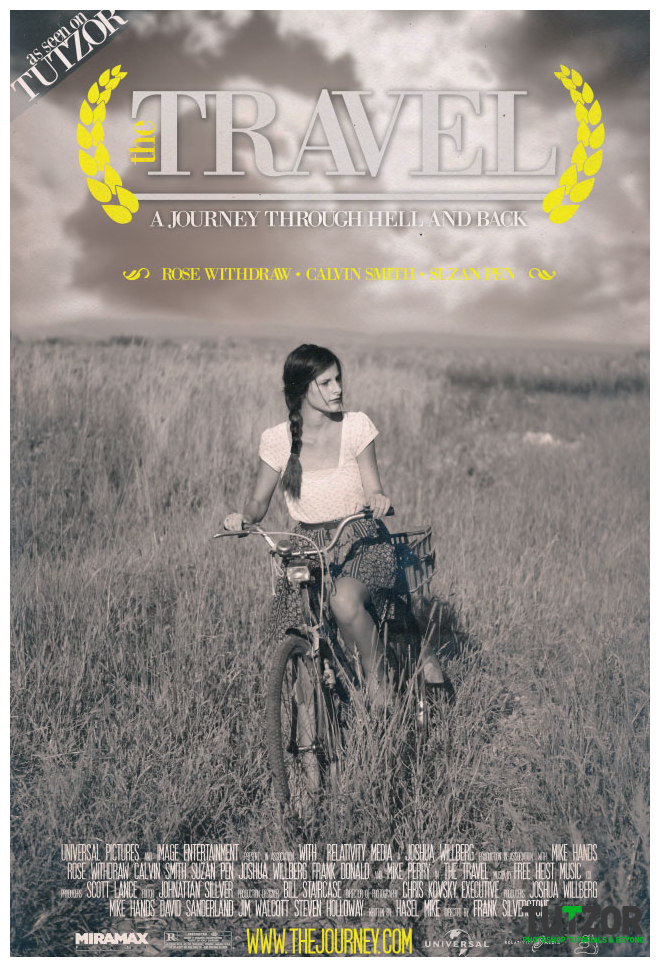
Copyright© 2012 Tutzor All Rights Reserved | Developed by: Iceous Design


Comments
Re: How to create a movie poster
nice works, thanx for this tut.
adobe photoshop technique's