

 alaeva
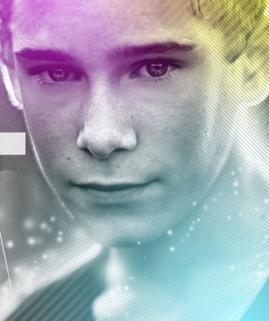
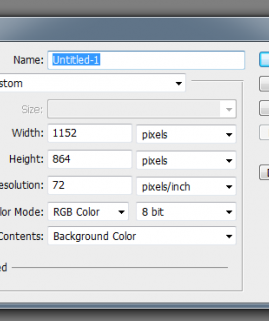
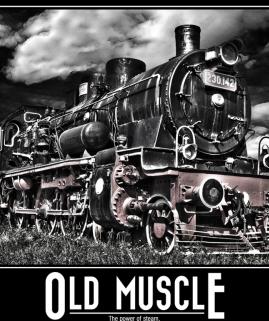
This tutorial will teach you how to create Starcraft theme wallpaper.
 alaeva
 alaeva
 alaeva
 alaeva
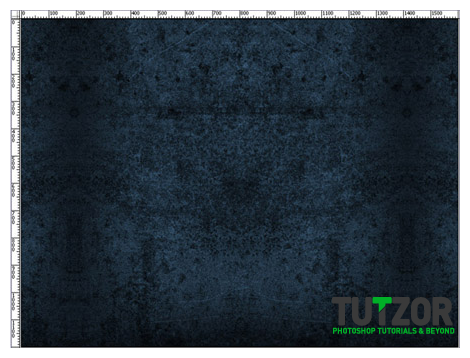 alaeva
 alaeva
 alaeva
 alaeva
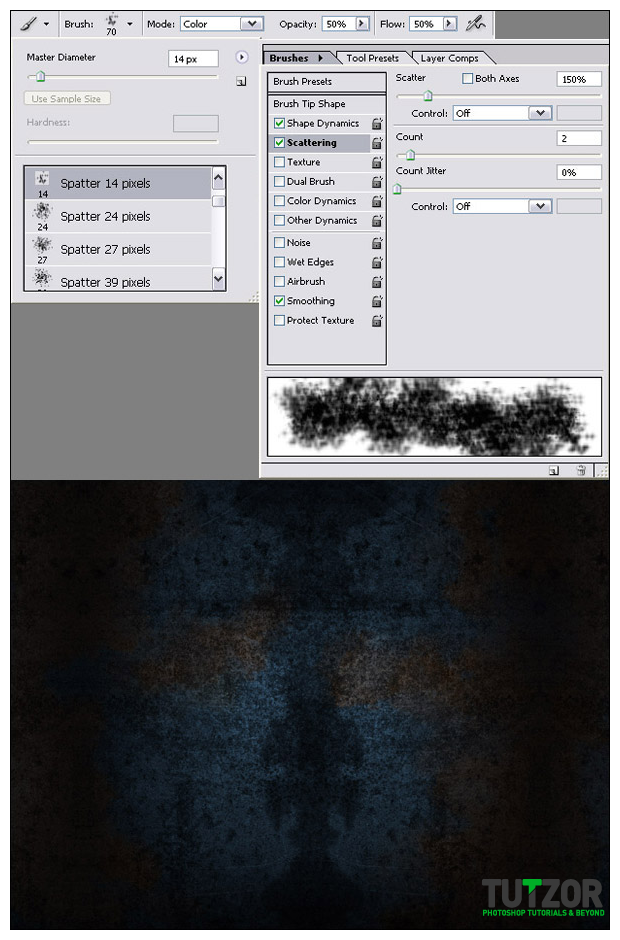 alaeva
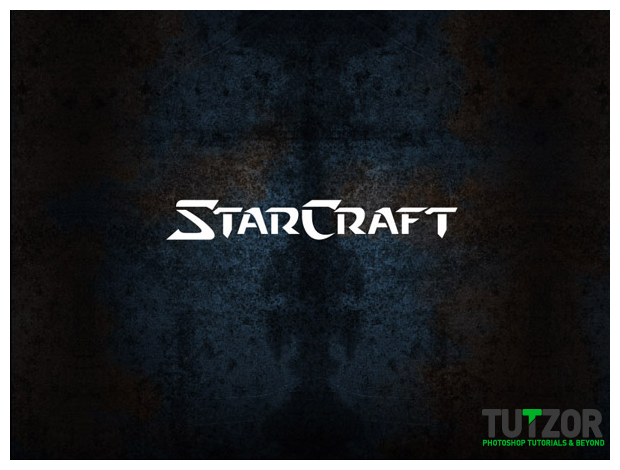 alaeva
 alaeva
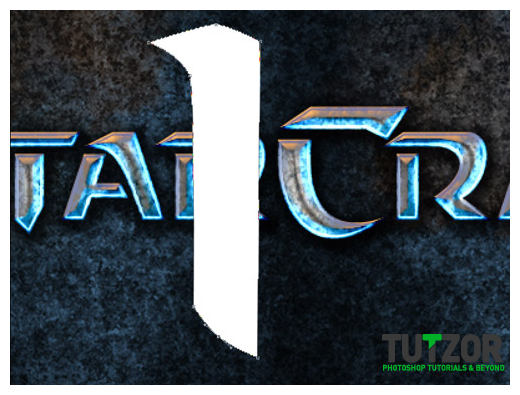 alaeva
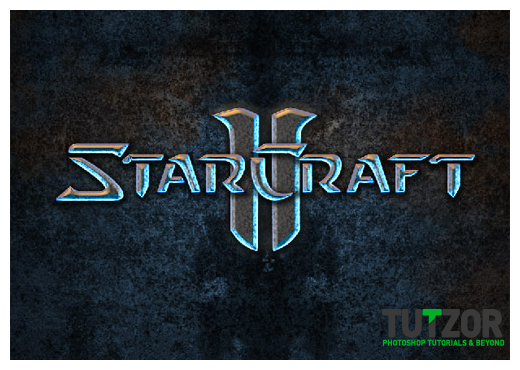 alaeva
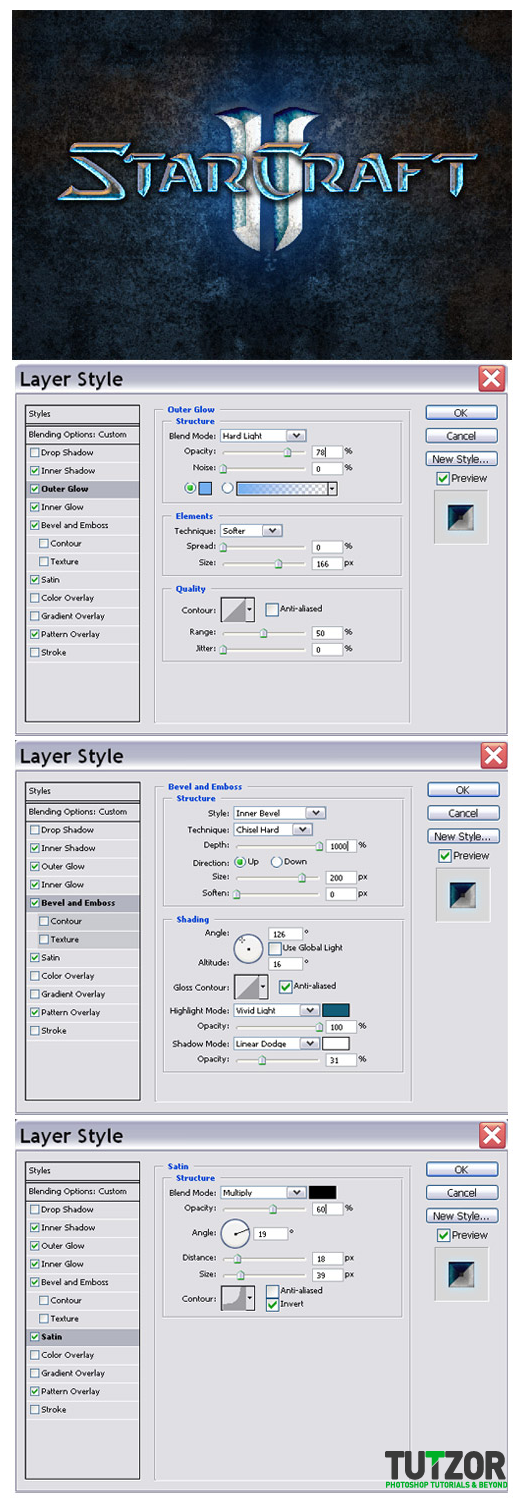 alaeva
 alaeva
 alaeva
 alaeva
 alaeva
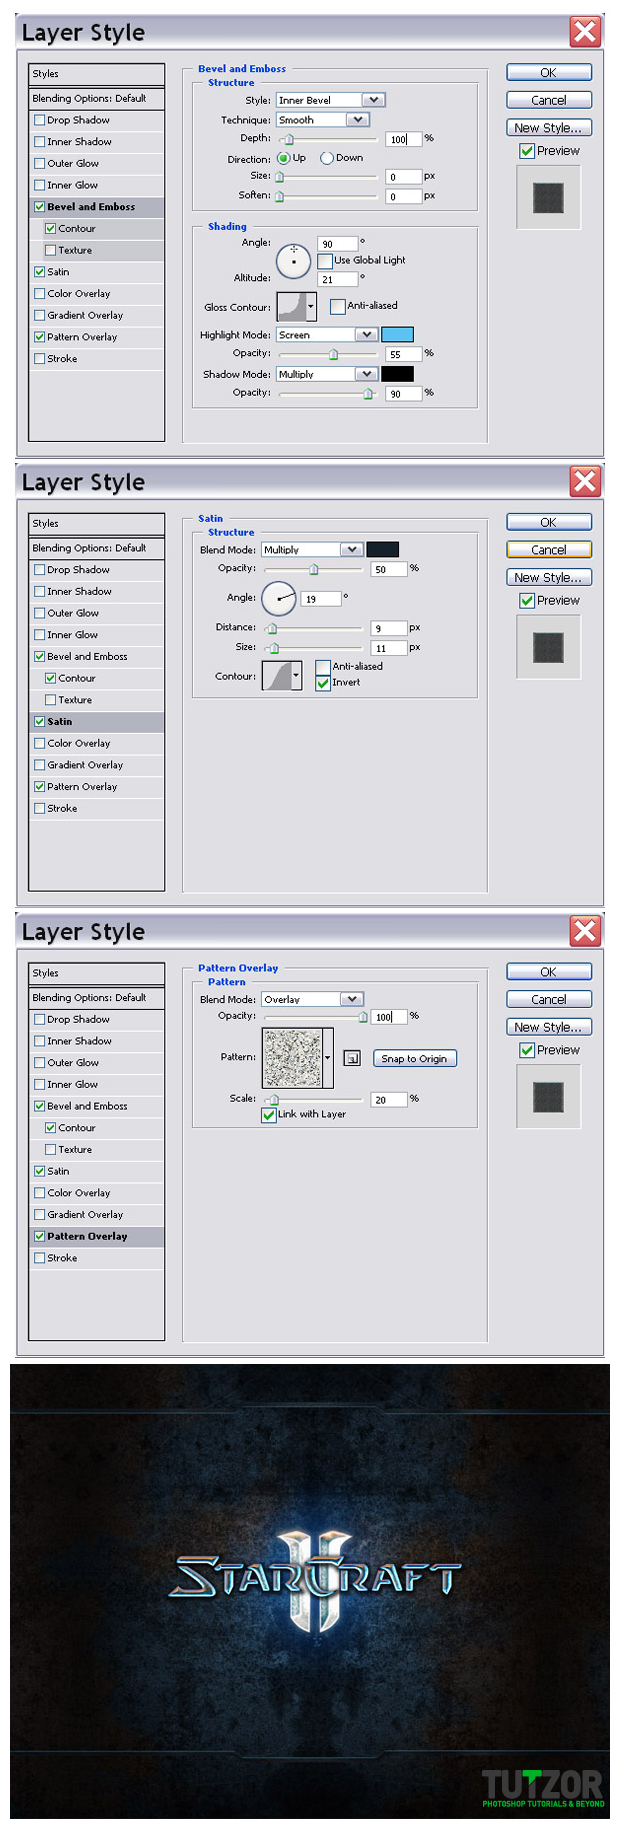 alaeva
 alaeva
 alaeva
 alaeva
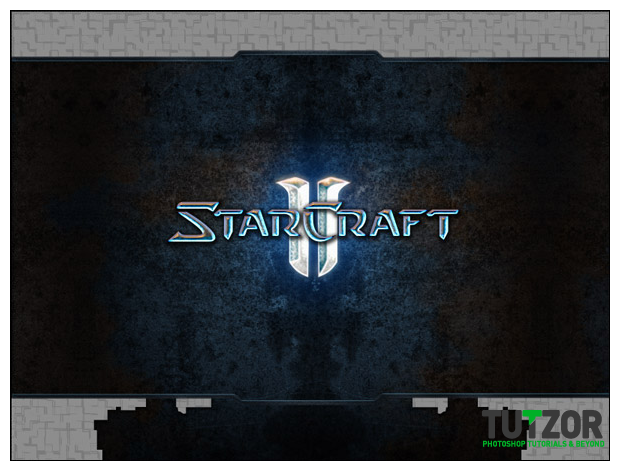 alaeva
 alaeva
 alaeva
Copyright© 2012 Tutzor All Rights Reserved | Developed by: Iceous Design


Comments
Re: Starcraft 2 wallpaper design
Thanks, great tut!
Re: Starcraft 2 wallpaper design
Woowww.. wonderful wallpaper design. I lover very much...
Thank you by Web design chennai
Post your work when you can
Please post the link to your work. We wanna see how it it out.
:)
Merry christmas and Happy new year!
Re: Starcraft 2 wallpaper design
Thanx! You helped me to make a nice logo for our forum!
Now I have to wait until they put it on the forum!
Re: Starcraft 2 wallpaper design
This is awesome effect. Did it took you a while how to get that effect or is it all trial and error? Unless you actually work Blizzard...Great Post thanks for sharing..
Re: Starcraft 2 wallpaper design
I can't find the rusted metal images u used on SXC. :(
Re: Starcraft 2 wallpaper design
both game and wallpaper are amazing, well written tutorial. thanks
Re: Starcraft 2 wallpaper design
Hd Wallpapers for free, sorted by categories. Easy to search hd wallpapers for your desktop background. Customize your background with cool hd wallpapers. Samantha
I believed it's already out
I think starcraft2 is out now. They released it back in september.
:)
Re: Starcraft 2 wallpaper design
thanks forshare, when Starcraft II is coming?
Re: Starcraft 2 wallpaper design
Awesome tutorial!
Good job!