irenethompson80
In this special tutorial, we will discuss how you can design your own styled 100% Satisfaction Guaranteed graphic. It is sometimes best to have your own style graphic so that you can add your own personal touches to come up with highly personalized product catalogs and event flyers.
irenethompson80 irenethompson80
 irenethompson80
 irenethompson80
 irenethompson80
 irenethompson80
 irenethompson80
 irenethompson80
 irenethompson80
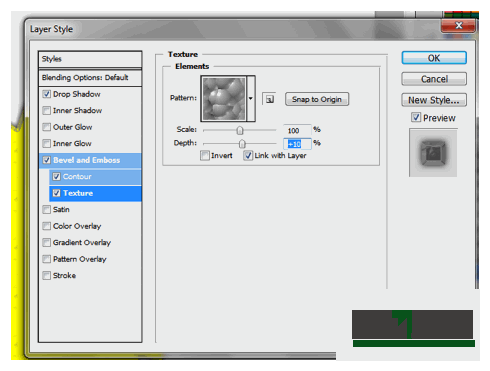 irenethompson80
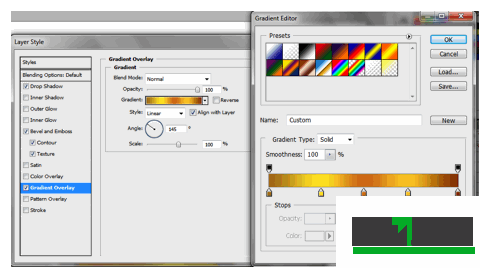 irenethompson80
 irenethompson80
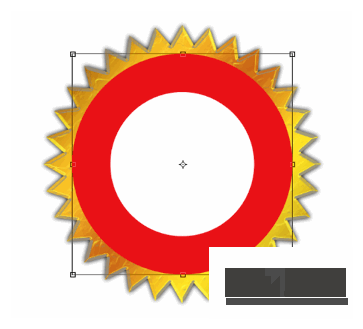 irenethompson80
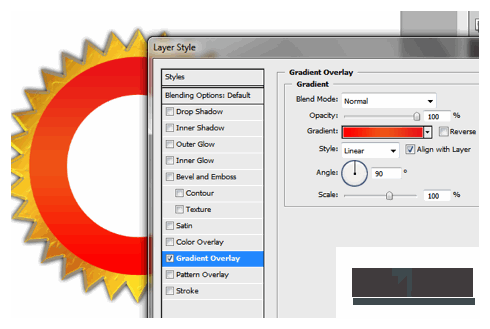 irenethompson80
 irenethompson80
 irenethompson80
 irenethompson80
Copyright© 2012 Tutzor All Rights Reserved | Developed by: Iceous Design