irenethompson80
If you need to use road signs on your designs for print like for posters, catalog prints or flyer prints, this tutorial will hit the post.
 irenethompson80
 irenethompson80
 irenethompson80
 irenethompson80
 irenethompson80
 irenethompson80
 irenethompson80
 irenethompson80
 irenethompson80
 irenethompson80
 irenethompson80
 irenethompson80
 irenethompson80
 irenethompson80
 irenethompson80
 irenethompson80
 irenethompson80
 irenethompson80
 irenethompson80
 irenethompson80
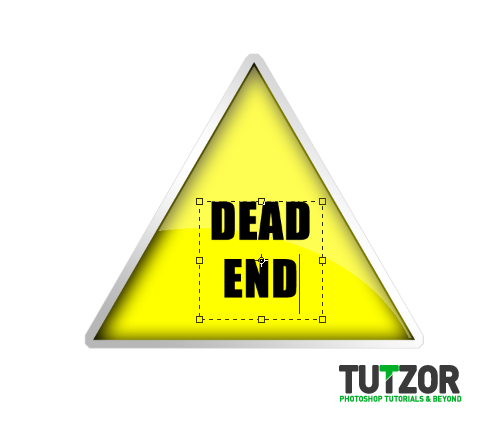 irenethompson80
 irenethompson80
 irenethompson80
Copyright© 2012 Tutzor All Rights Reserved | Developed by: Iceous Design