Seiorai
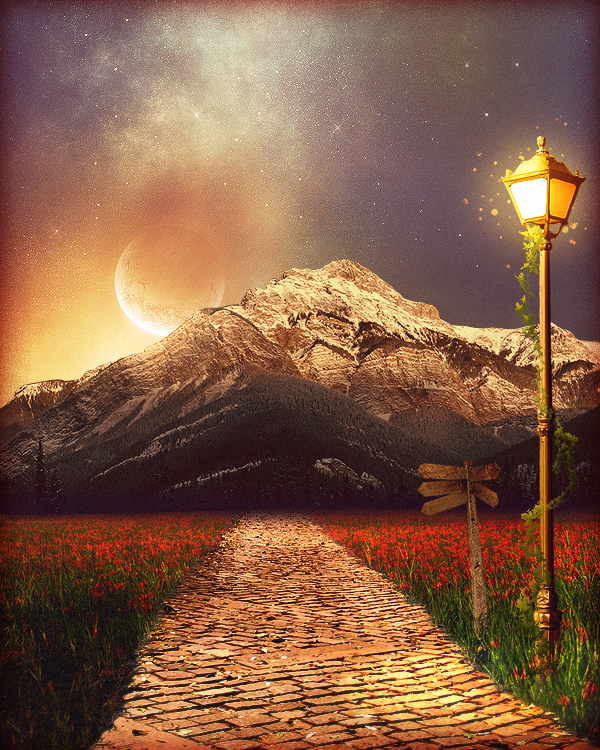
Today we will go deep into the realm of fantasy and dreams :)
...because in dreams we enter a world that is completely our own...
Here are links to the resources we will use:
---Gass: http://resurgere.deviantart.com/art/Package-Nature-10-22586739
---Mountain: http://resurgere.deviantart.com/art/Package-Nature-14-27074068
----Sky below: http://resurgere.deviantart.com/art/Package-Cosmos-2-63241815
---Poppies: http://zanasoul.deviantart.com/gallery/?catpath=/#/d2eumjr
---Stone road: http://www.sxc.hu/photo/619781
---Road Sign: http://www.sxc.hu/photo/1175083
---Lamp Post: http://www.sxc.hu/photo/846010
---Vines: http://falln-stock.deviantart.com/art/Vines-And-Plants-Brushes-Set-3-927...
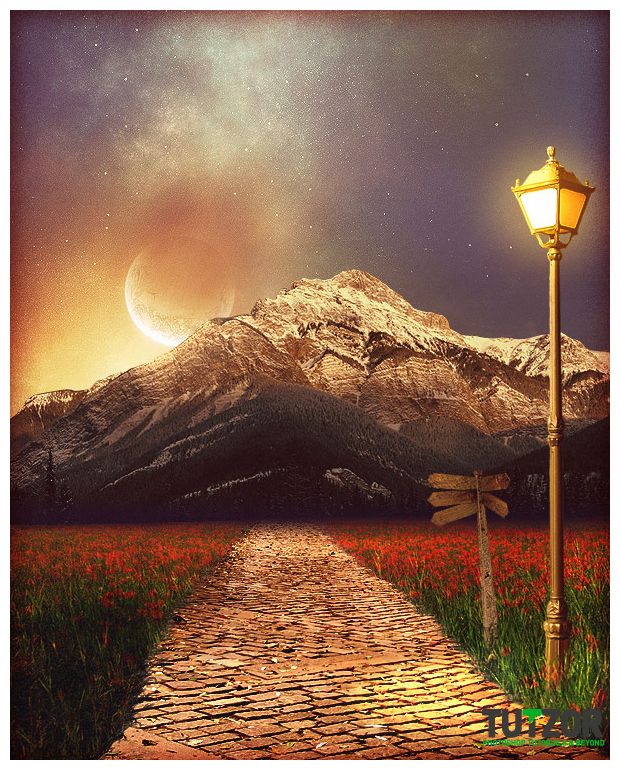
The end result will be this:
 Seiorai
 Seiorai
 Seiorai
 Seiorai
 Seiorai
 Seiorai
 Seiorai
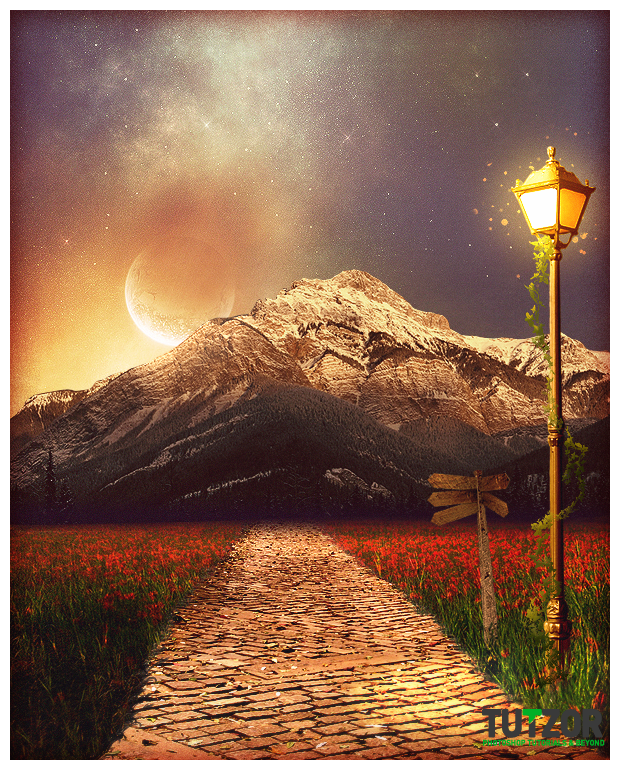
Copyright© 2012 Tutzor All Rights Reserved | Developed by: Iceous Design