

 ilovegraphics
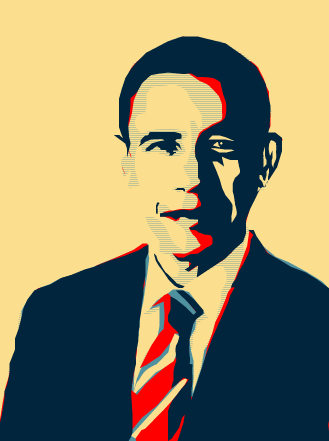
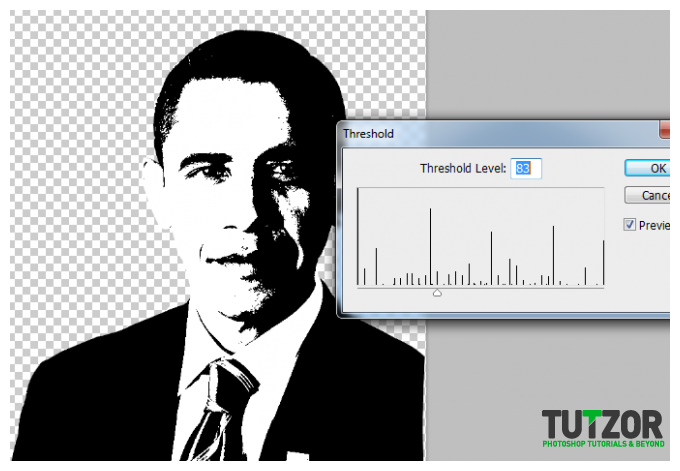
There are actually many different ways to design a traditional campaign poster for an election. In this tutorial, we will teach you how to turn an image and convert it to an inspirational graphic worthy for campaign posters, brochures, booklets and other print media. Just follow the different steps below and you will see how you can create your own styled election poster just like the professionals do it.
 ilovegraphics
 ilovegraphics
 ilovegraphics
 ilovegraphics
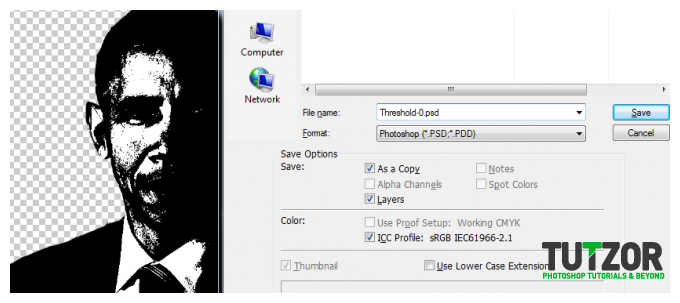 ilovegraphics
 ilovegraphics
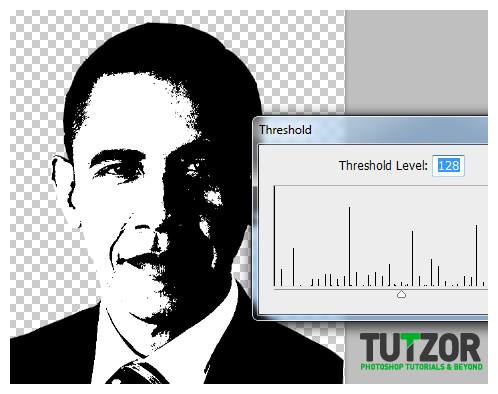
 ilovegraphics
 ilovegraphics
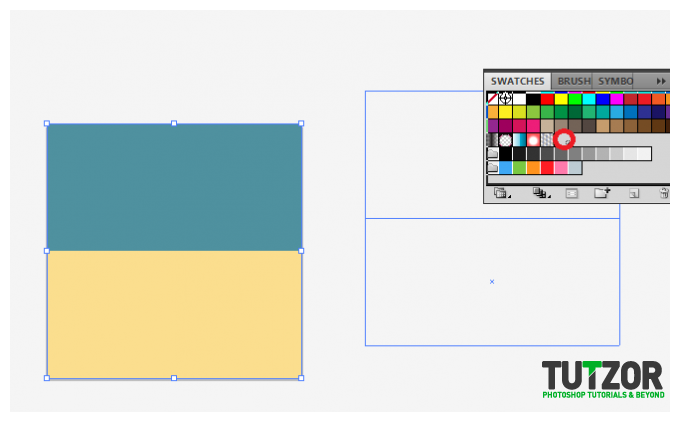 ilovegraphics
 ilovegraphics
 ilovegraphics
 ilovegraphics
 ilovegraphics
 ilovegraphics
 ilovegraphics
 ilovegraphics
 ilovegraphics
 ilovegraphics
 ilovegraphics
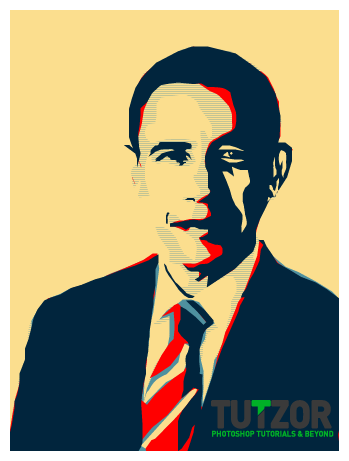
Copyright© 2012 Tutzor All Rights Reserved | Developed by: Iceous Design


