

 ilovegraphics
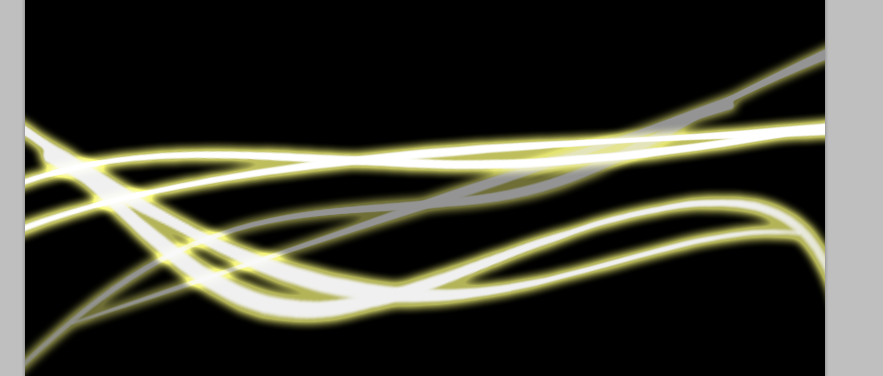
In many abstract forms of digital cover art, you will see artists using glowing energy lines, light rays and luminescent type strings. This is particularly visible in posters, magazines, when printing booklets and even when printing brochures. There is a modern and exciting feel in a design when you use these glowing energy lines, and of course it helps lead the eyes of readers to the key features and elements in your design prints.
 ilovegraphics
 ilovegraphics
 ilovegraphics
 ilovegraphics
 ilovegraphics
 ilovegraphics
 ilovegraphics
 ilovegraphics
 ilovegraphics
 ilovegraphics
 ilovegraphics
 ilovegraphics
 ilovegraphics
 ilovegraphics
 ilovegraphics
 ilovegraphics
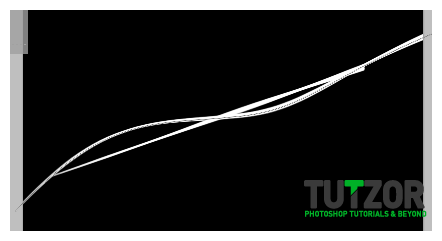 ilovegraphics
 ilovegraphics
 ilovegraphics
 ilovegraphics
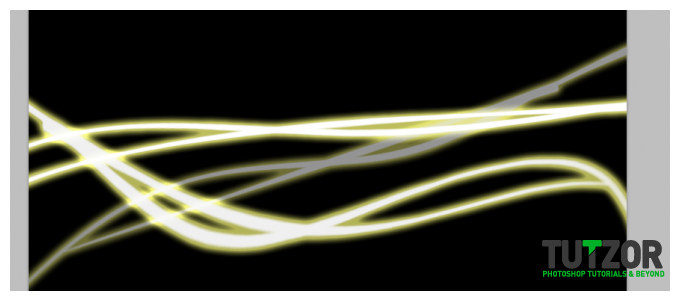 ilovegraphics
Copyright© 2012 Tutzor All Rights Reserved | Developed by: Iceous Design


