

 Seiorai
O-hai <3
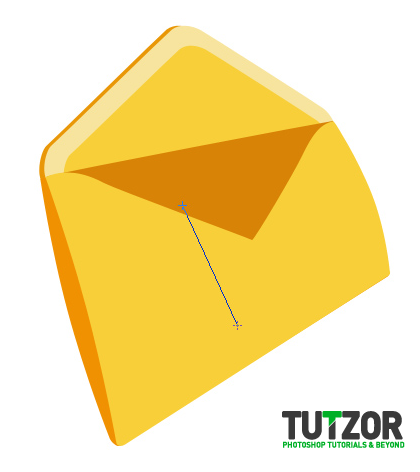
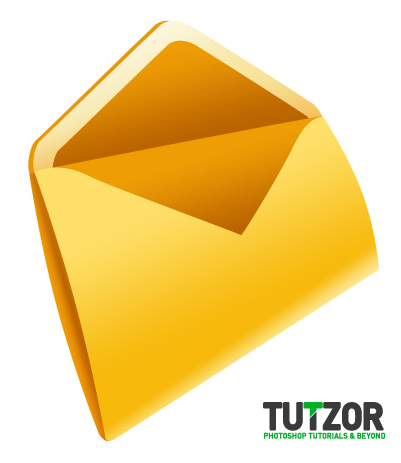
In this tutorial we will get around to creating an e-mail icon :3
The nice, clean, spiffy style ;)
Long story short: here's what we're going to create--->
Seiorai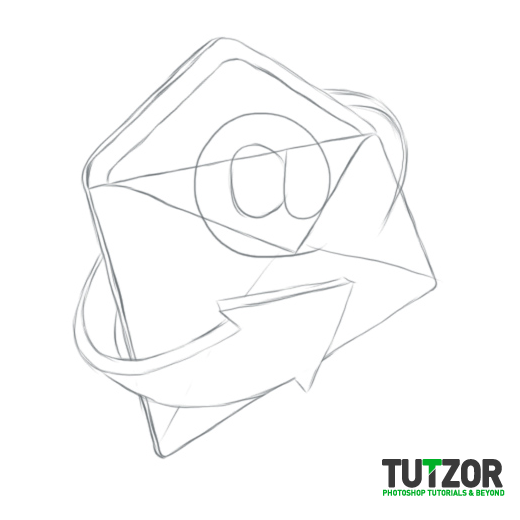
 Seiorai
 Seiorai
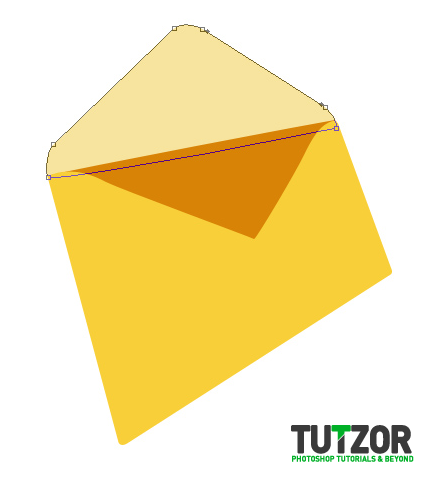 Seiorai
 Seiorai
 Seiorai
 Seiorai
 Seiorai
 Seiorai
 Seiorai
 Seiorai
 Seiorai
 Seiorai

 Seiorai
 Seiorai
 Seiorai
 Seiorai
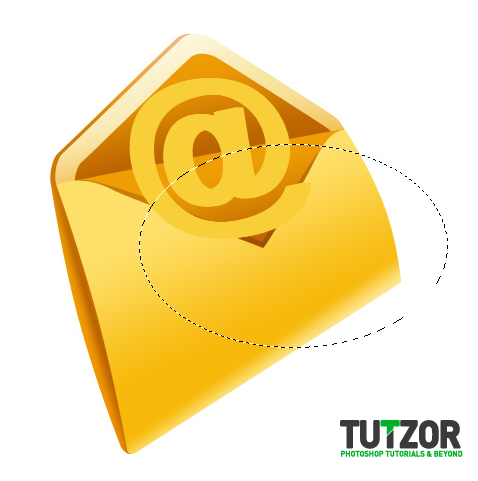
 Seiorai
 Seiorai
 Seiorai
 Seiorai
 Seiorai
 Seiorai
 Seiorai
 Seiorai

Copyright© 2012 Tutzor All Rights Reserved | Developed by: Iceous Design


Comments
Re: Create an E-Mail Icon
Now it is easy to create a icon by this step by step tutorial. Thanks for the great posting.
Re: Create an E-Mail Icon
Great tutorial and techniques well explained!
Thanks for sharing...
Bookmarked!!