

 wallpaper tutorial, using Photoshop CS5 extended - PART1") cosmin
cosminHi everybody,
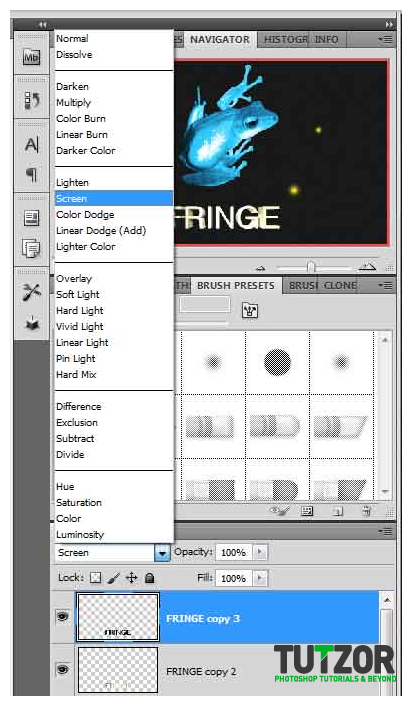
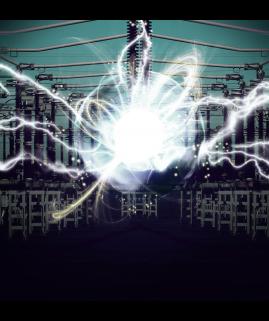
I'm gonna show you how to create "Fringe" tv show wallpaper, using the new photoshop cs5.
Here are the list of files I used.
I'm inspired from this following tutorial to achieve the 3d text effect:
Hope you guys would enjoy it.
 cosmin
 cosmin
 cosmin
 cosmin
 cosmin
 cosmin
 cosmin
 cosmin
 cosmin
 cosmin
 cosmin
 cosmin
 cosmin
 cosmin
 cosmin
 cosmin
 cosmin
 cosmin
 cosmin
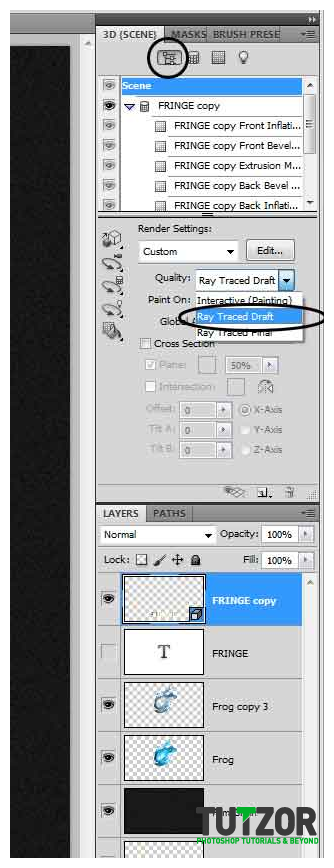 cosmin
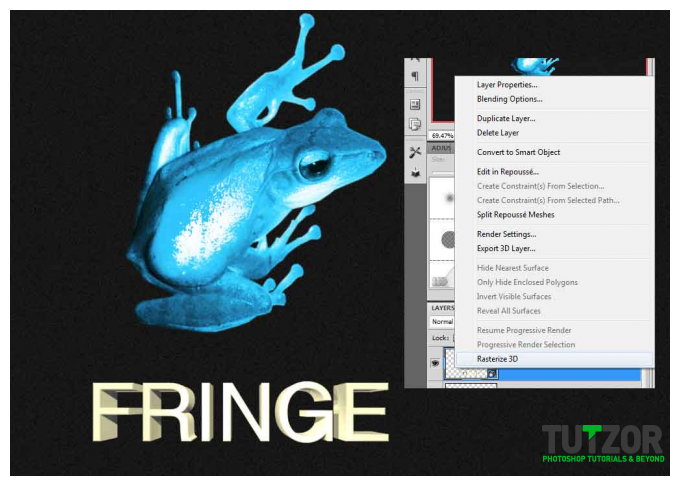 cosmin
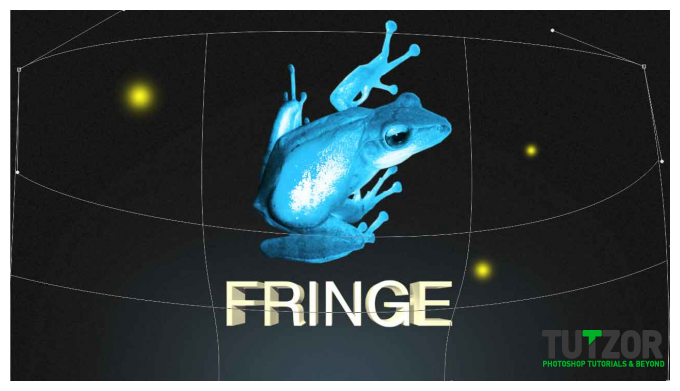
 cosmin
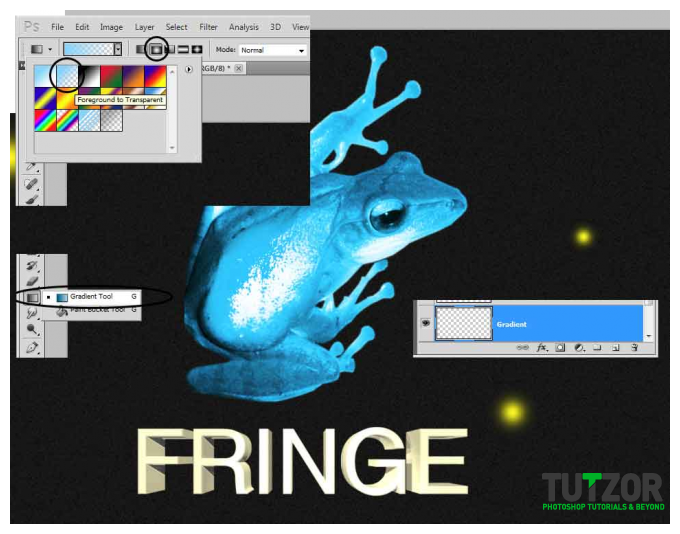 cosmin
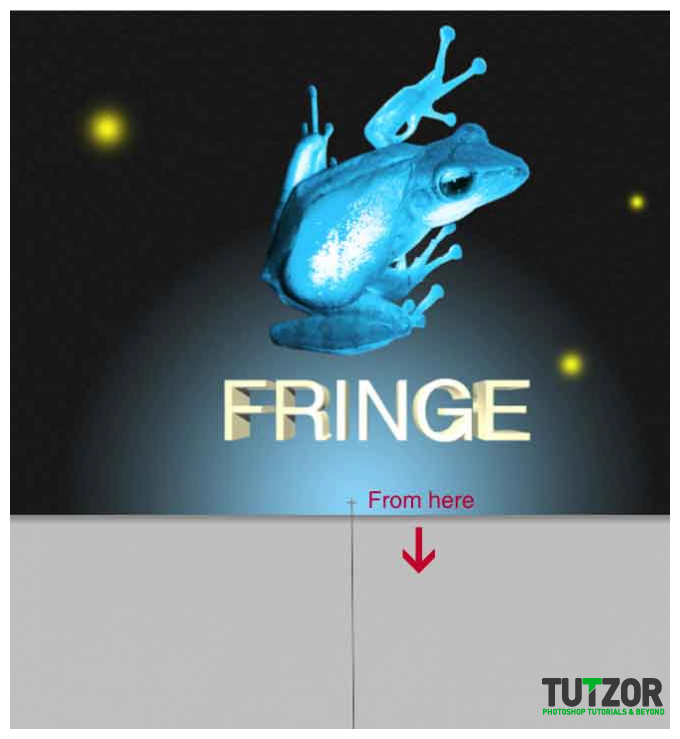 cosmin
 cosmin
Copyright© 2012 Tutzor All Rights Reserved | Developed by: Iceous Design


Comments
Re: “Fringe” ( tv show ) wallpaper tutorial, using Photoshop CS5 extended - PART1
wow !
Simple and good
very clean and simple. Good tutorial.
Big fan of fringe!
very cool, me likey!