

 Seiorai
Notice: this is a follow-up of Part One tutorial (face painting) at http://www.tutzor.com/tutorials/digital-painting-tutorial
So. Last week we learned to paint a face, but you know, a head with no hair on it...tsktsk...no goodie xD
So to day we'll go through the hair painting process :)
Note, "painting". Please refer to hair drawing tutorials to learn how to draw the hair, it would be a very long and tiring tutorial to try and teach both drawing and painting in one xD;
The one most important advice you must remember while drawing hair is that it is ALIVE.
Well no, not literally, that'd be way spooky :|
But it is not a flat surface, it has a ginormous quantiny of layers and locks and waves and...
I've seen so many artists just starting to draw hair and drawing it..errmm...like a bar of steel? xD;
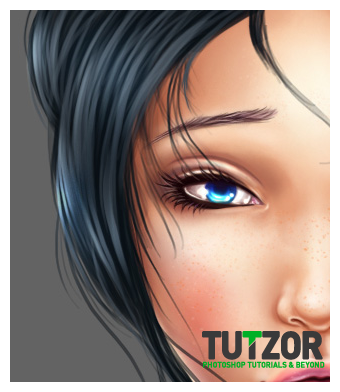
When you paint/draw the first base lines for your hair try to make it swirly and fluid, nice curve lines, don't give me any of that steel-look xD
Good...so.
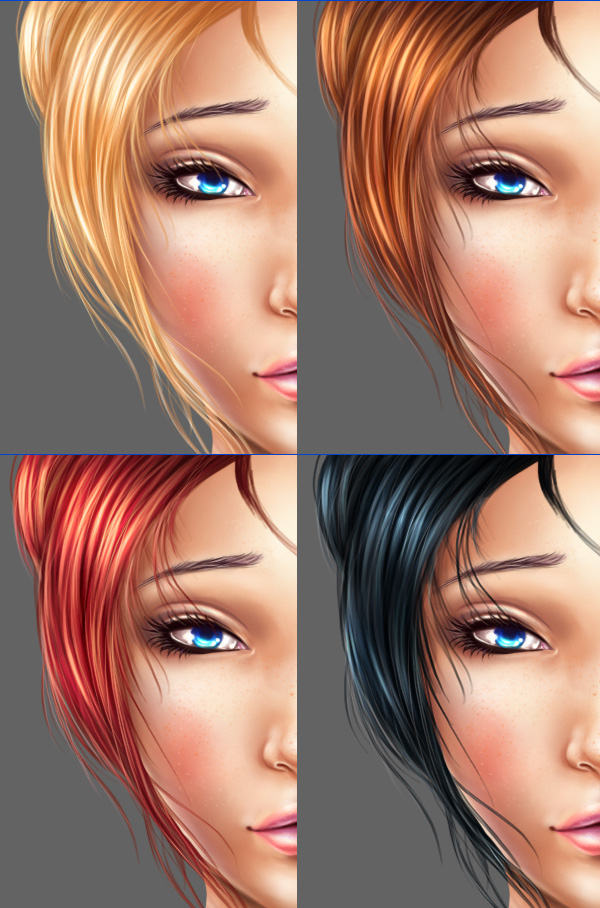
In this tutorial we'll learn the whereabouts of four species of hair:
----------The Sun Hair
----------The Earth Hair
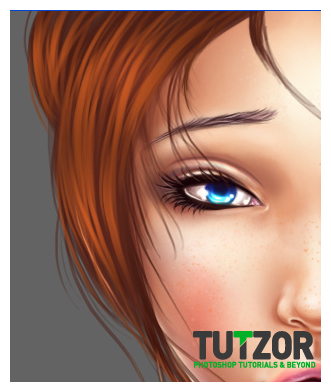
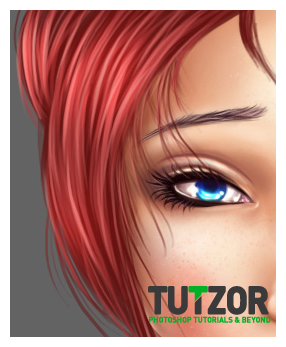
----------The Fire Hair
----------The Darkness Hair
.............aka....
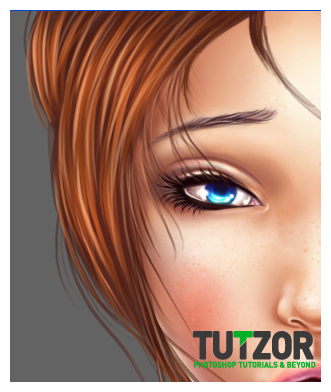
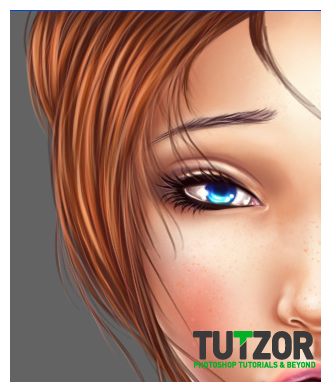
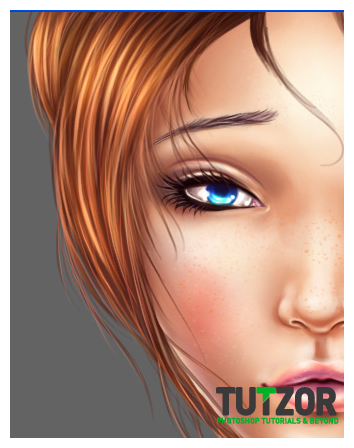
----------The Blond Hair
----------The Brown Hair
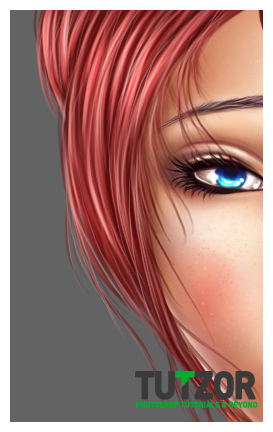
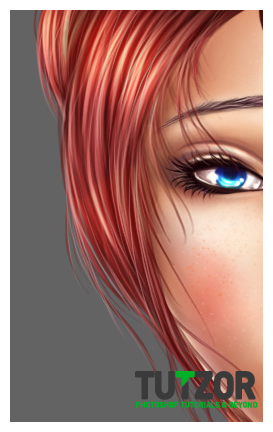
----------The Red Hair
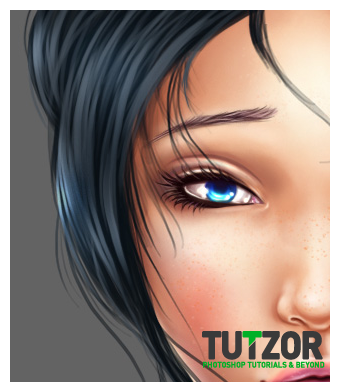
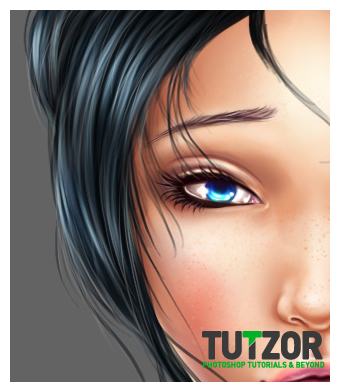
----------The Black Hair
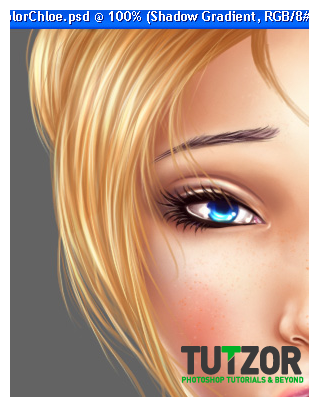
Once you have the basic technique down, it all becomes a matter of using the right colors :)
Of course, the four types above are a tiiiny tiny minority from the awesometastic hugetastic number of colors and styles available! xD So feel free to experiment with colors&styles at your pleasure =D
Hmm..so let's get rolling ^____^
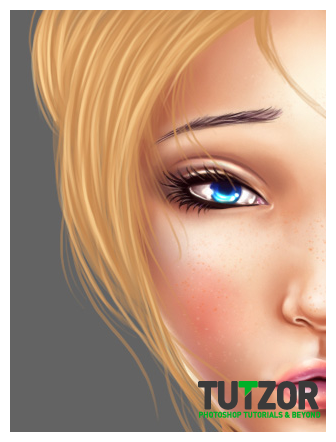
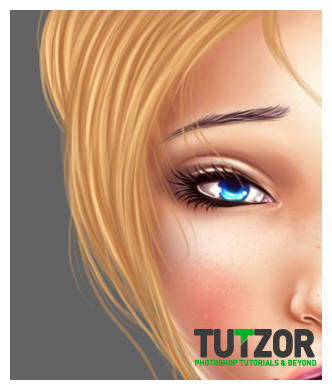
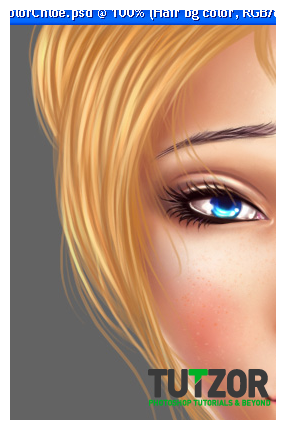
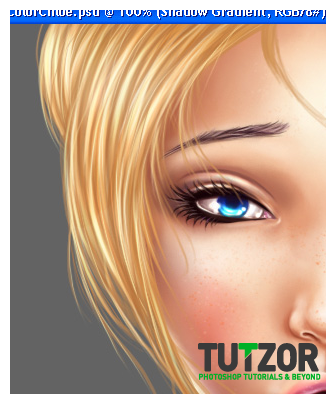
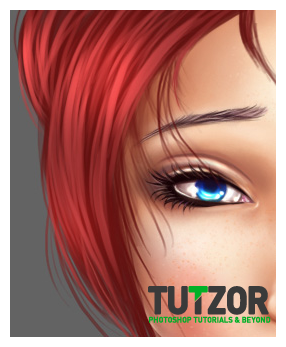
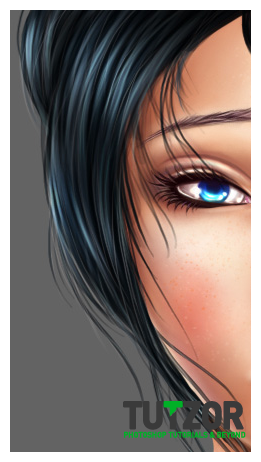
As this is a half-sister follow-up to the previous tutorial (which dealt with face painting) and which you can found at http://www.tutzor.com/tutorials/digital-painting-tutorial we will be using our Chloe painting to draw hair on...so today dear Chloe will dye her hair in A LOT of colors, hehehe :)
 Seiorai
 Seiorai
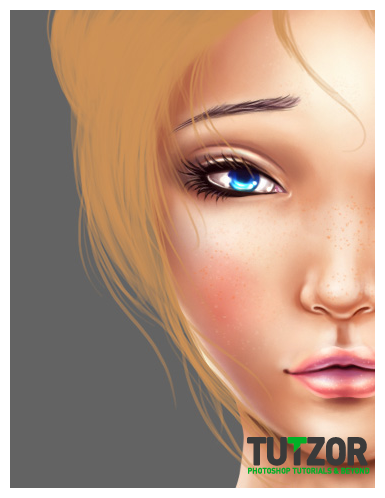 Seiorai
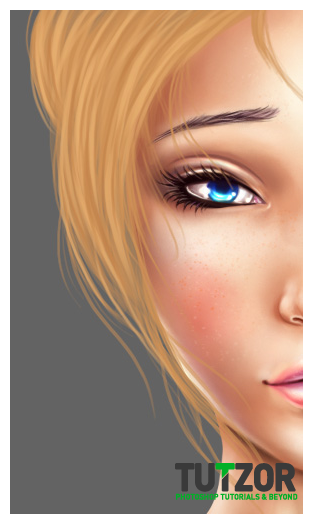 Seiorai
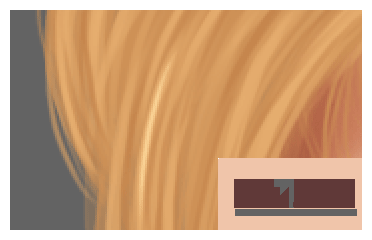
 Seiorai
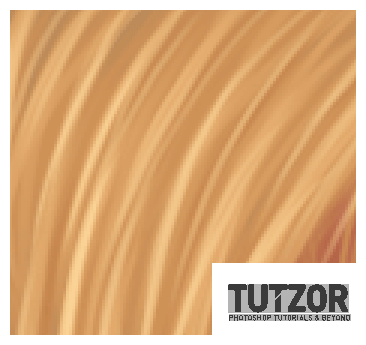
 Seiorai
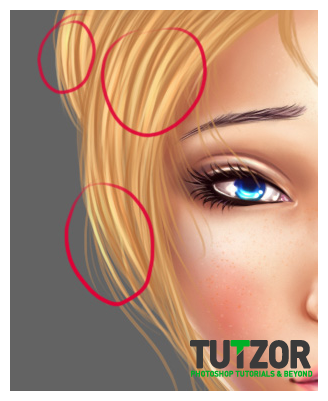
 Seiorai
 Seiorai
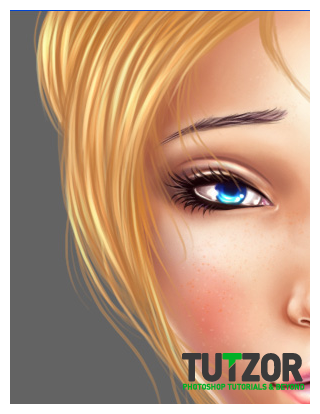 Seiorai
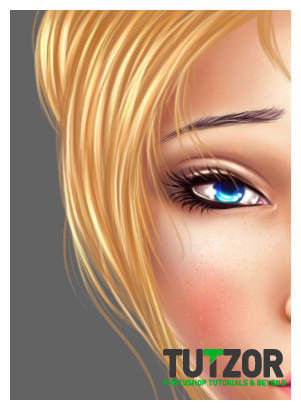 Seiorai
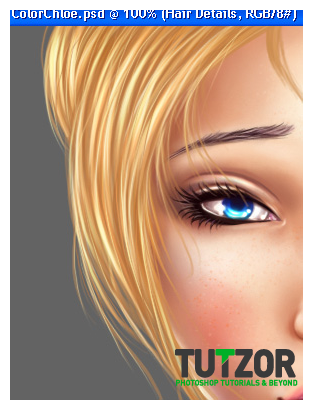 Seiorai
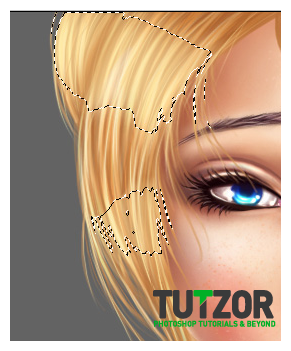
 Seiorai
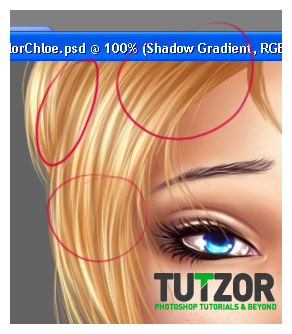
 Seiorai
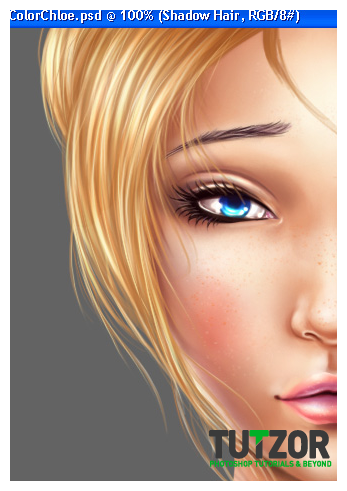 Seiorai
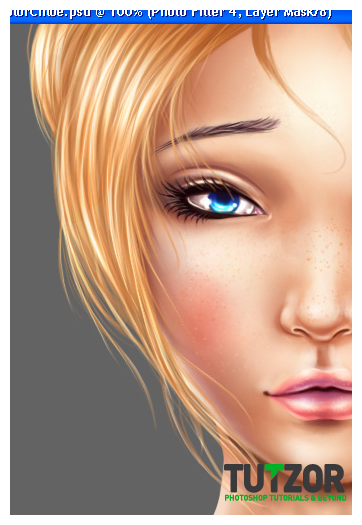 Seiorai
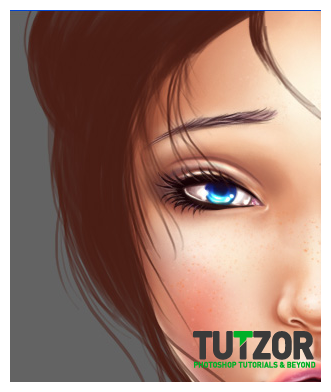
 Seiorai
 Seiorai
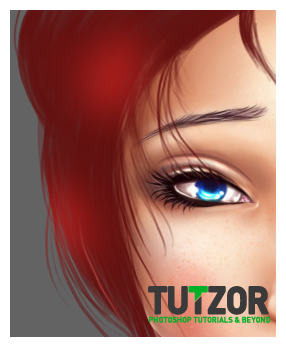
 Seiorai
 Seiorai
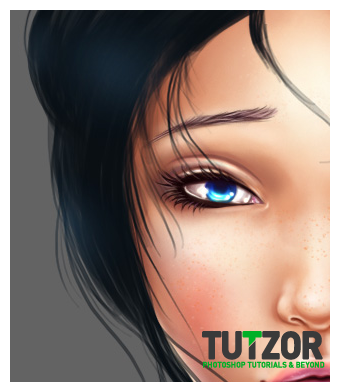
 Seiorai
 Seiorai
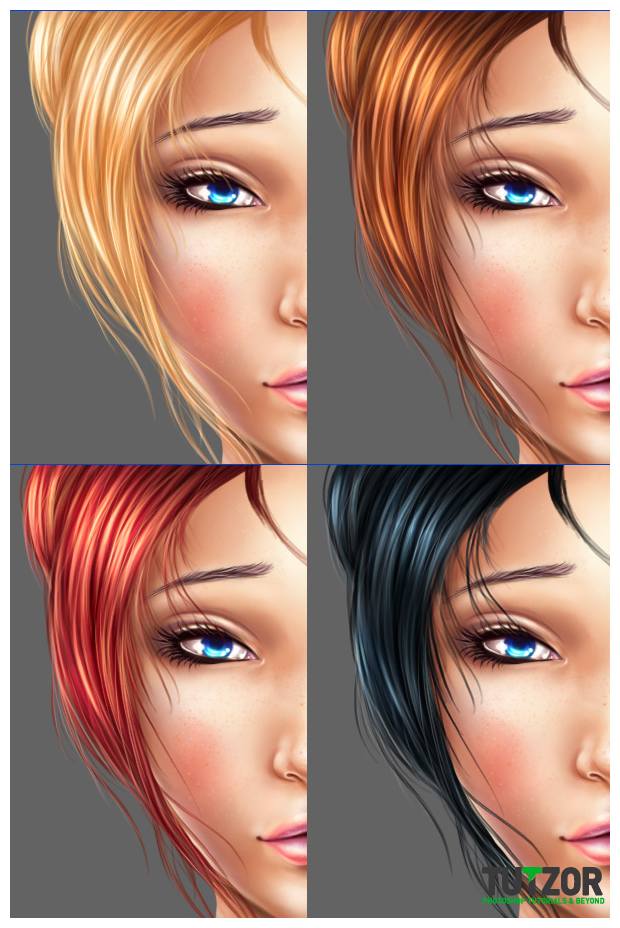
Copyright© 2012 Tutzor All Rights Reserved | Developed by: Iceous Design


Comments
Re: Digital Painting - Part 2: Chloe's Hair
Absolutely stunning! I love this tutorial. i am gonna have a go at this myself
Re: Digital Painting - Part 2: Chloe's Hair
helpful tutorial. I like this photoshop tutorial.
Re: Digital Painting - Part 2: Chloe's Hair
it's very unusual. I'll try it now! thank you very much.
Re: Digital Painting - Part 2: Chloe's Hair
Awesome tutorial! I will do it this evening!
- Paula www.karmavoyance.com
Re: Digital Painting tutorial
SEO Sheffield, Definitely!
Can you post what you come up with ?Thanks
Digital Painting tutorial
I've seen the part 1 of this art and I like it so much. Part 2 shows about creating Chloe's hair. Can I just ask your permission in using Chloe and having my owns style of hair? I would love to experiment.
Re: Digital Painting - Part 2: Chloe's Hair
Can i just saii W0W f0r this amaziing tut0rial. Imma be h0nest this is the best hair tutorial i've seen s0 far. I really l0ve it!!! thank You! It will be way more helpful if you made a video tut0rial drawing hair on ph0t0sh0p.