

 sunrise20
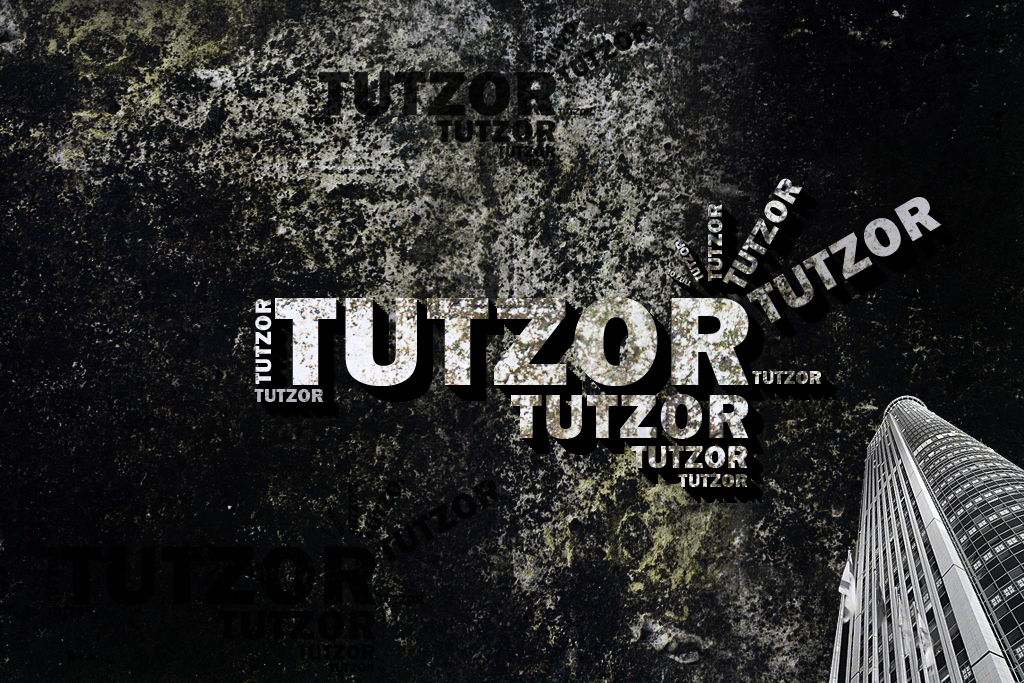
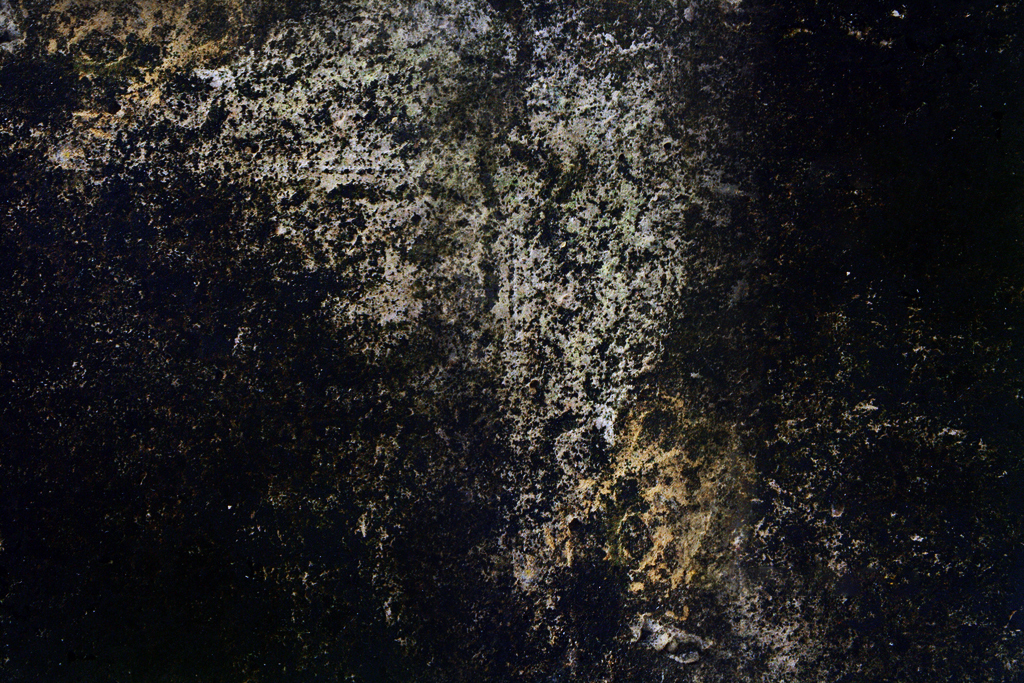
This tutorial will show you how to take simple text to the next level. We will be using one text layer and duplicating this layer to make more text layers and using a grungy wall for all of our grunge texture. Enhance your text effects with these simple steps and ideas.
Go to the following URL link to download the image we will use towards the end of the tutorial or you may use your own:
Building: http://www.redbubble.com/people/miketv/art/5036806-2-chrysler-building-o...
 sunrise20
 sunrise20
 sunrise20
 sunrise20
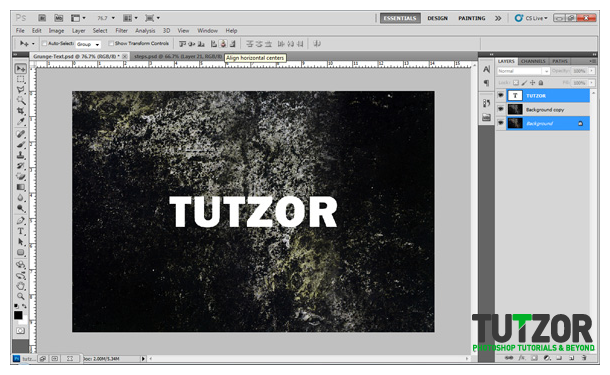 sunrise20
 sunrise20
 sunrise20
 sunrise20
 sunrise20
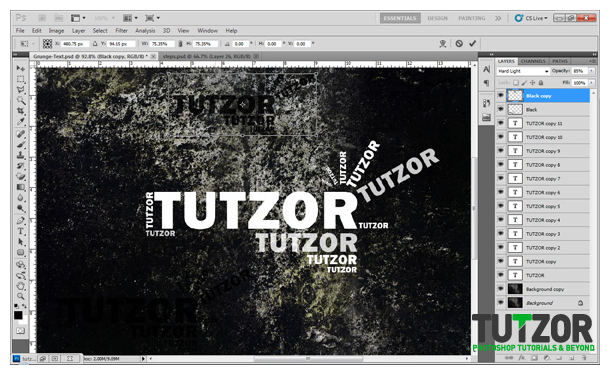 sunrise20
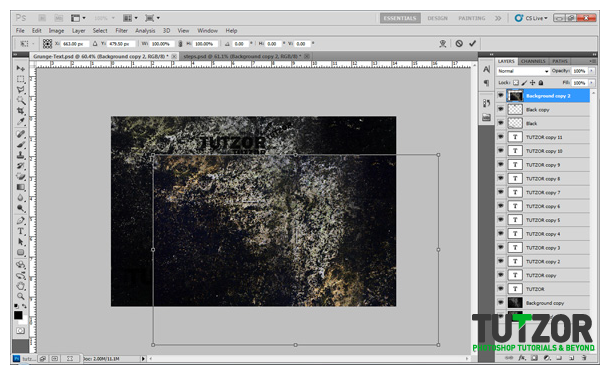 sunrise20
 sunrise20
 sunrise20
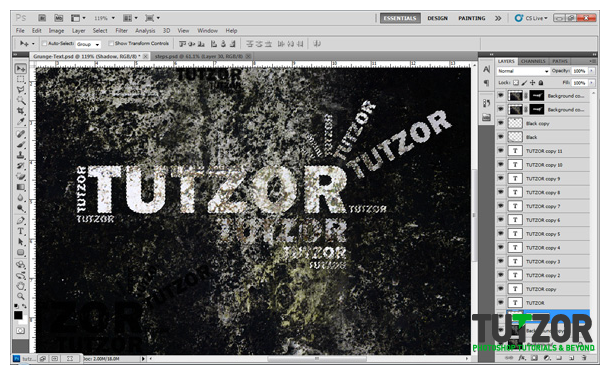 sunrise20
 sunrise20
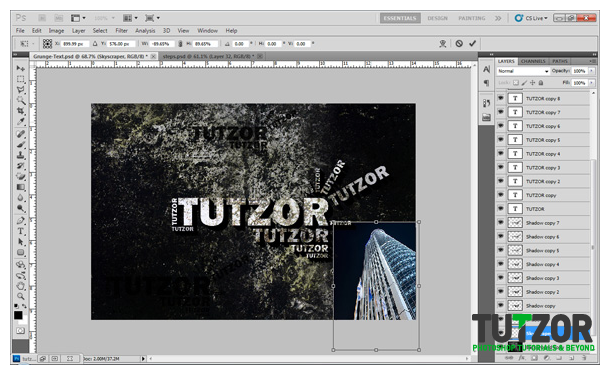 sunrise20
Copyright© 2012 Tutzor All Rights Reserved | Developed by: Iceous Design


Comments
Re: Grunge Text
ye , thx, good job.
Re: Grunge Text
Awesome work . really love it its great tutorial ..... thanks for help