

 cosmin
Hello,
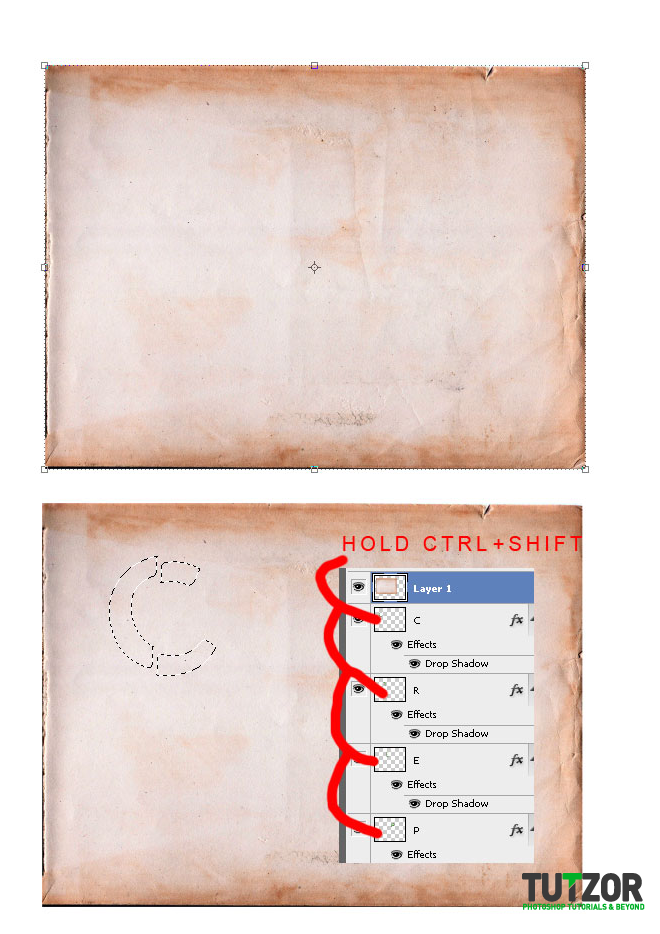
I know that Halloween is not here yet, but maybe you want to make some creepy cards in the future or whatever you want. So, here's a simple 3D text effect tutorial for all the beginners out there.
Download some of the elements:
http://www.fontex.org/download/Lato.ttf
http://www.fontriver.com/font/vampyr_bats
http://www.dafont.com/creepsville.font
Enjoy!
 cosmin
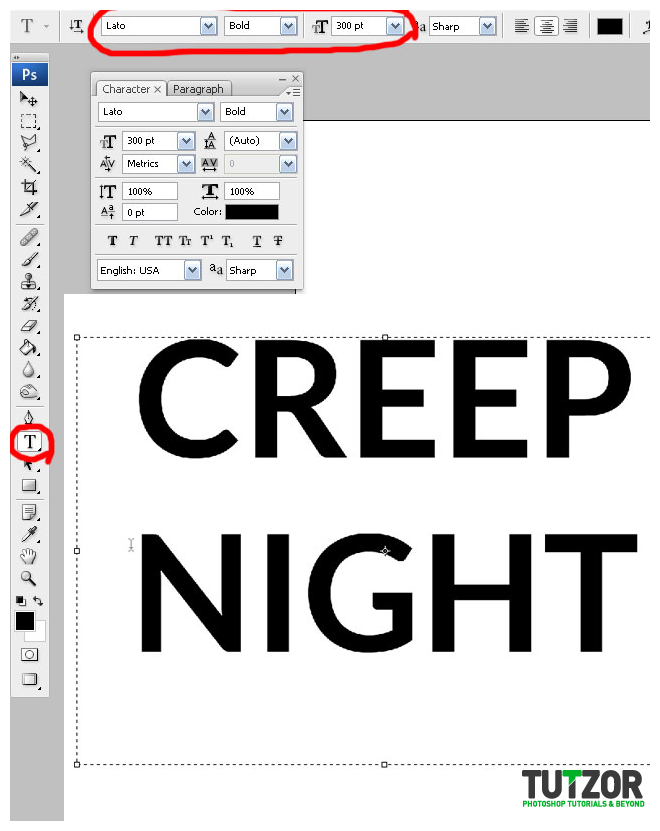 cosmin
 cosmin
 cosmin
 cosmin
 cosmin
 cosmin
 cosmin
 cosmin
 cosmin
 cosmin
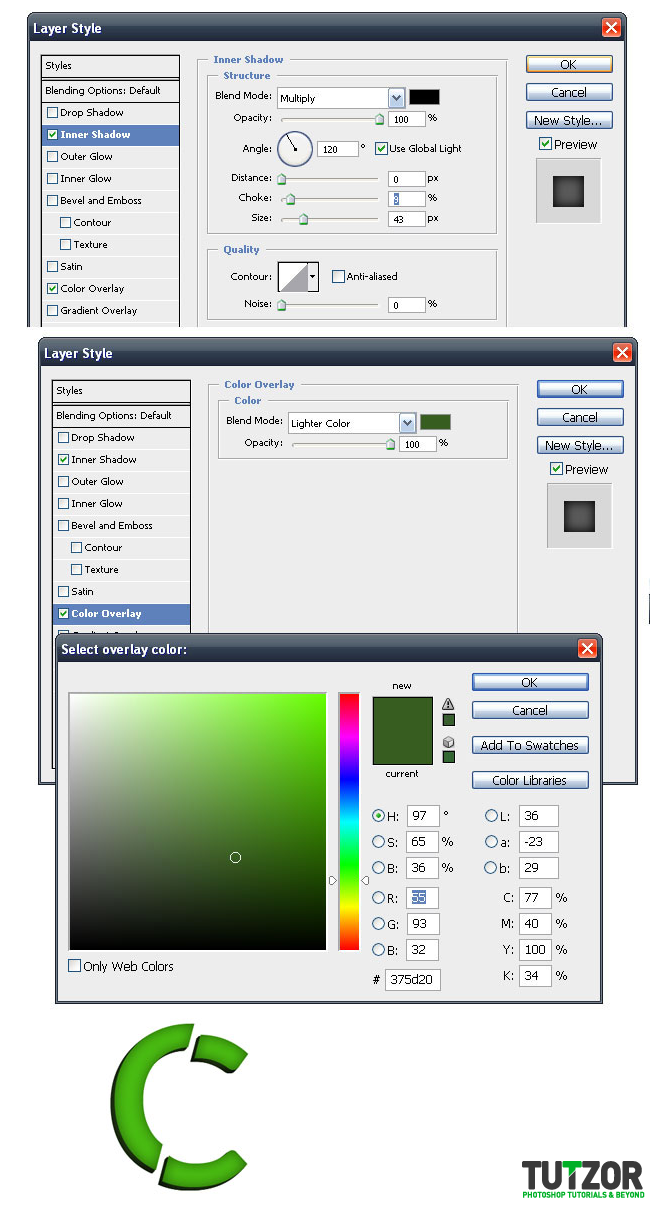 cosmin
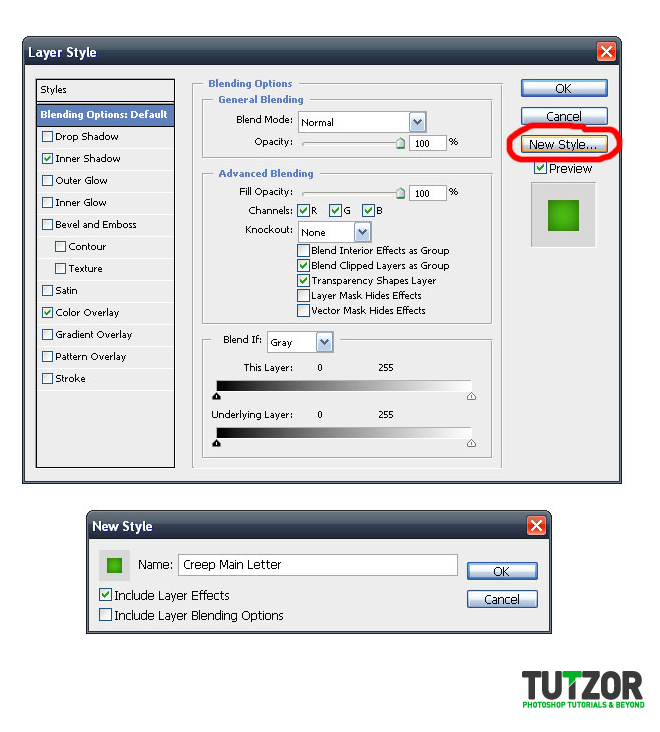 cosmin
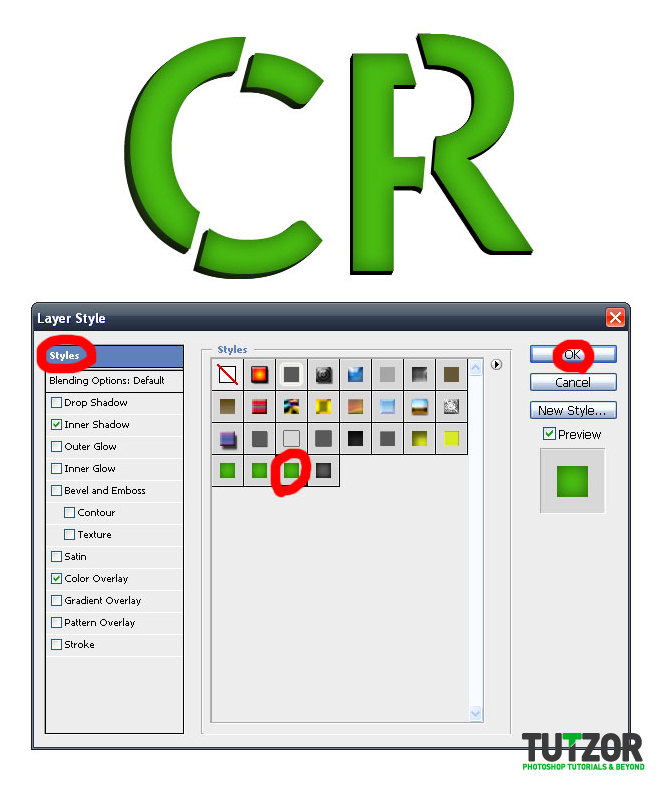 cosmin
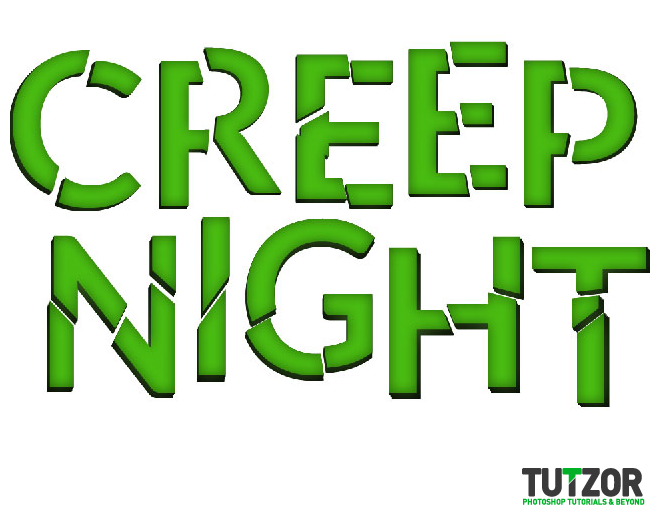 cosmin
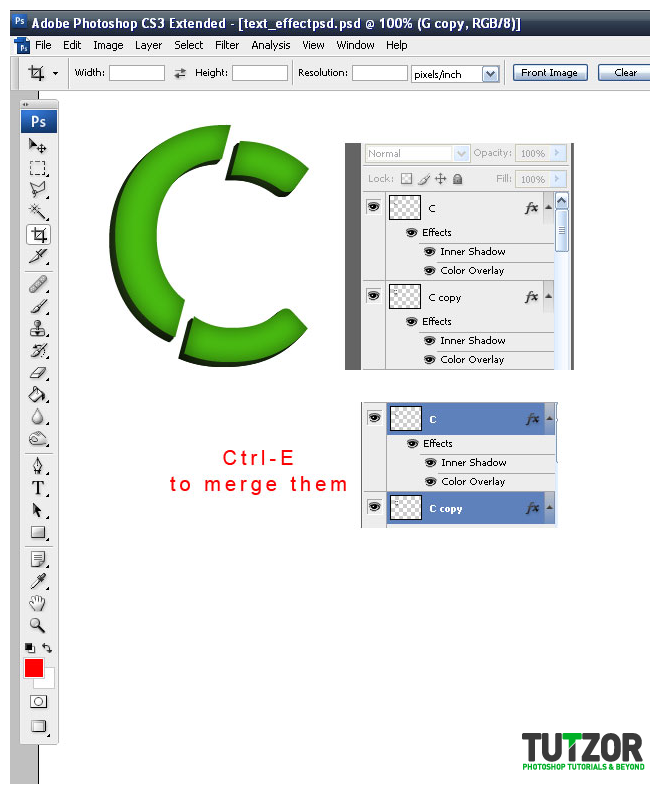 cosmin
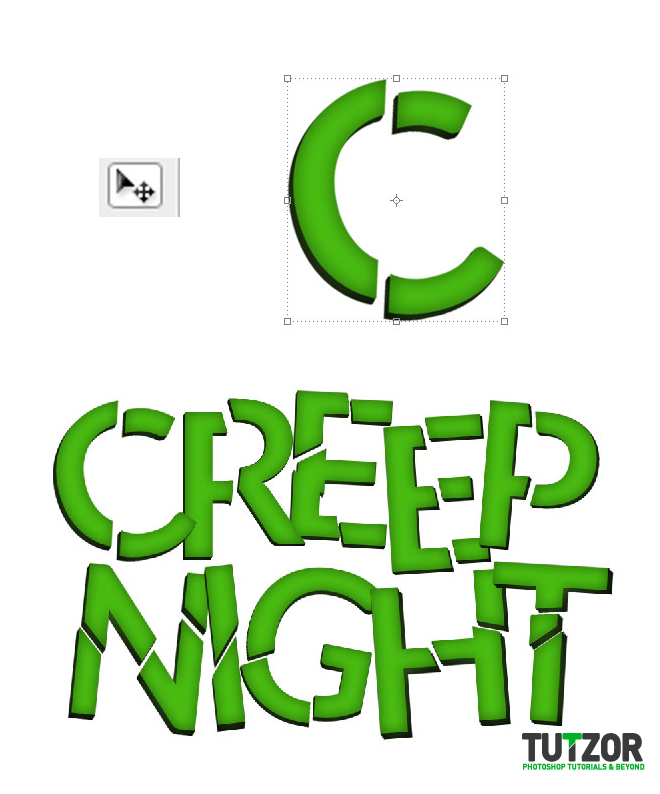 cosmin
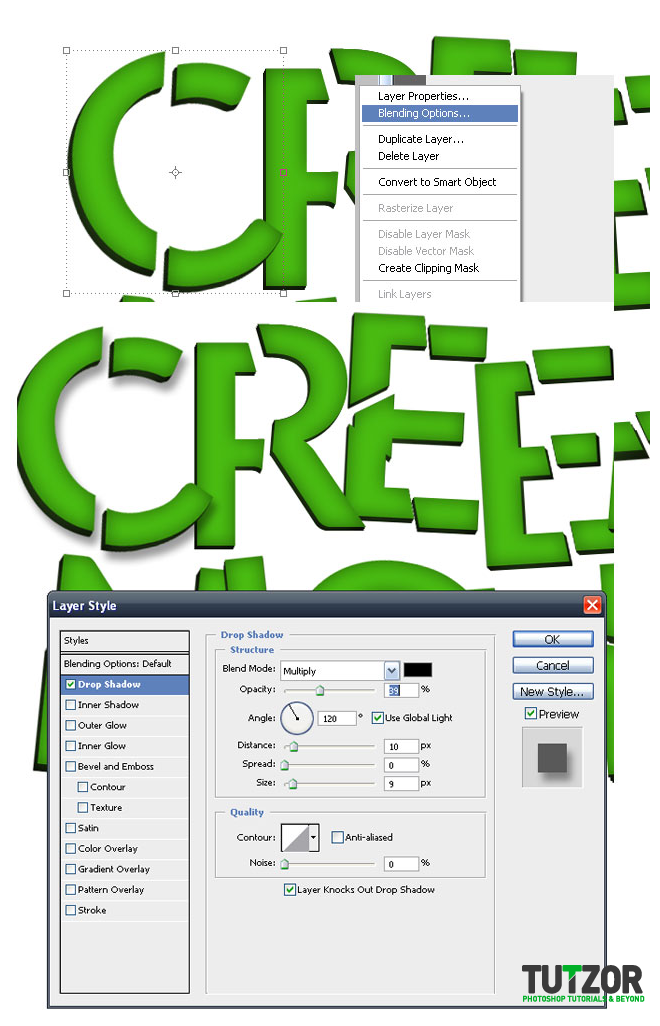 cosmin
 cosmin
 cosmin
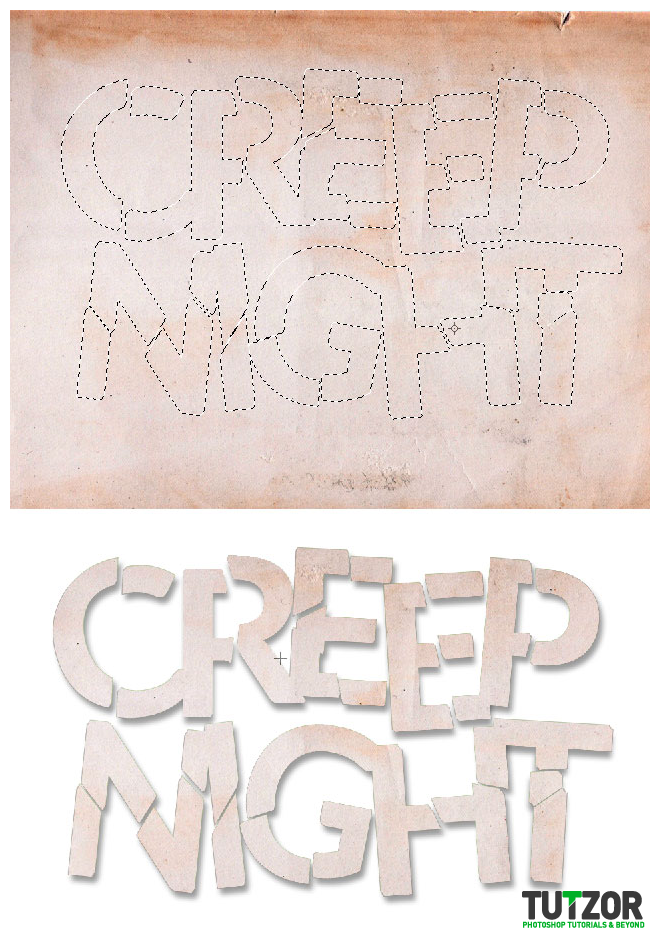 cosmin
 cosmin
 cosmin
 cosmin
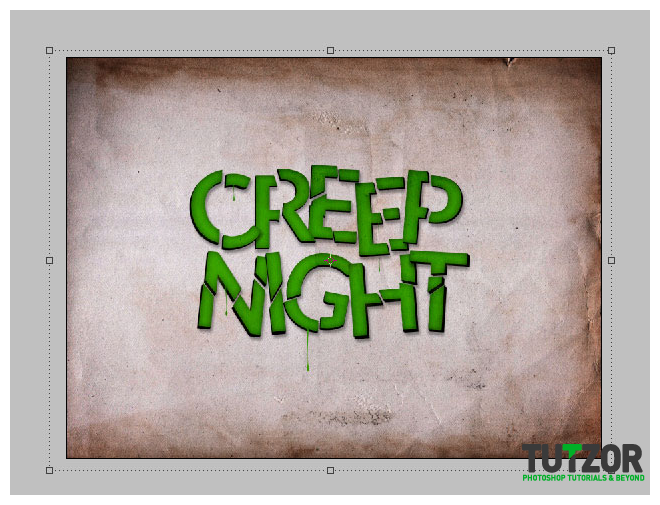 cosmin
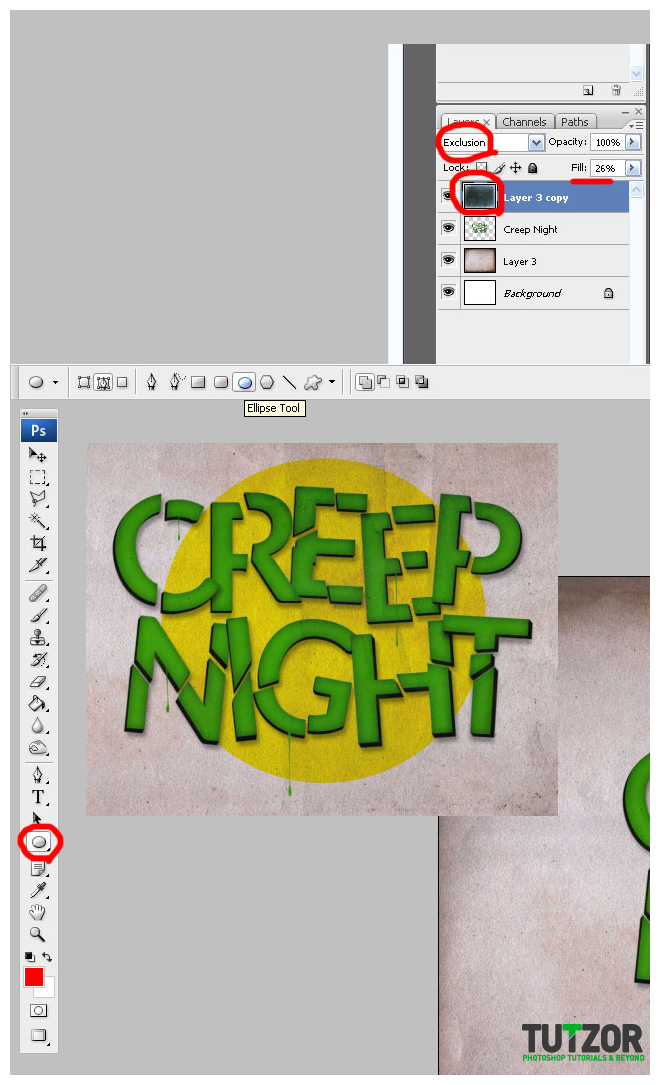
Copyright© 2012 Tutzor All Rights Reserved | Developed by: Iceous Design


