irenethompson80
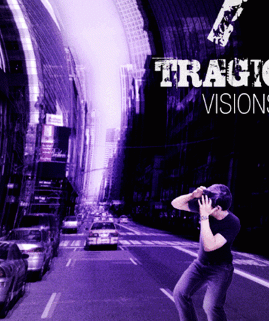
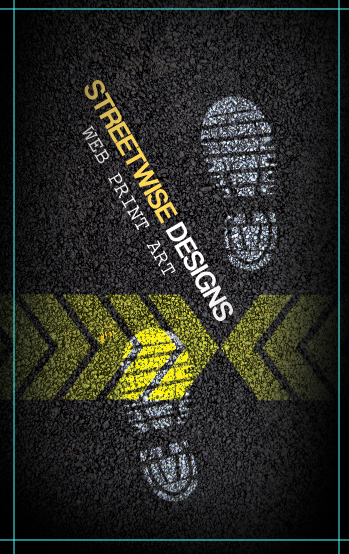
While you can actually pay business card printer to use special textured paper, for your creative business cards, there is a way to use Adobe Photoshop to simulate that kind of textured style easily.
 irenethompson80
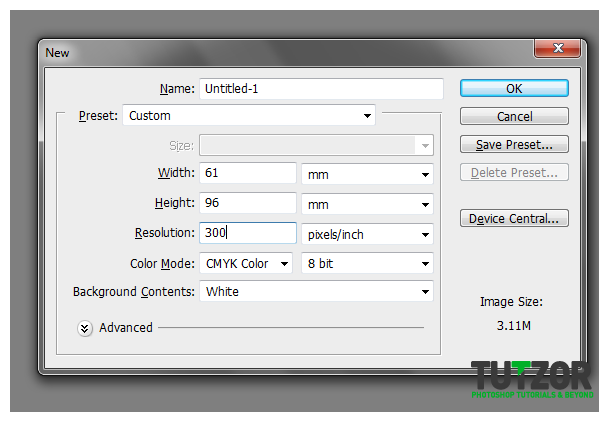 irenethompson80
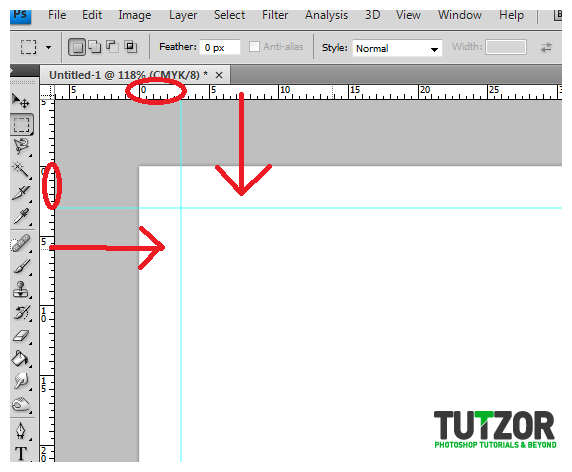 irenethompson80
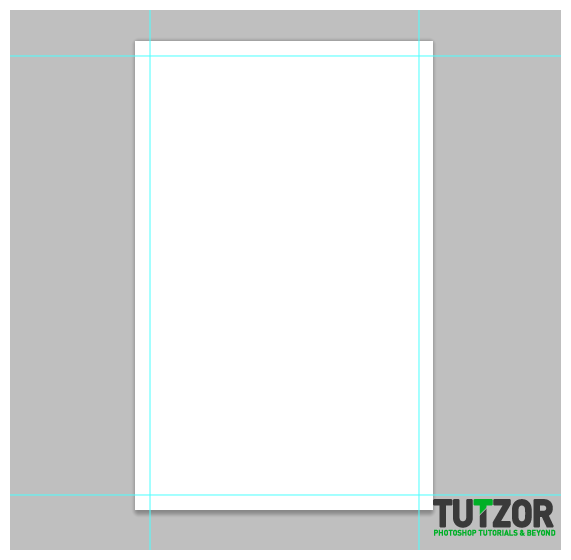 irenethompson80
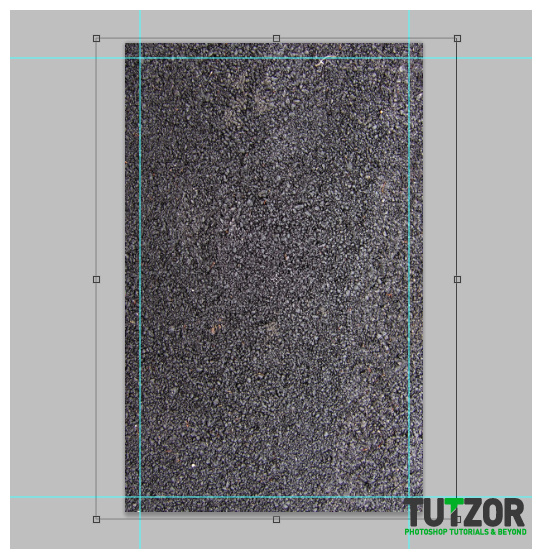 irenethompson80
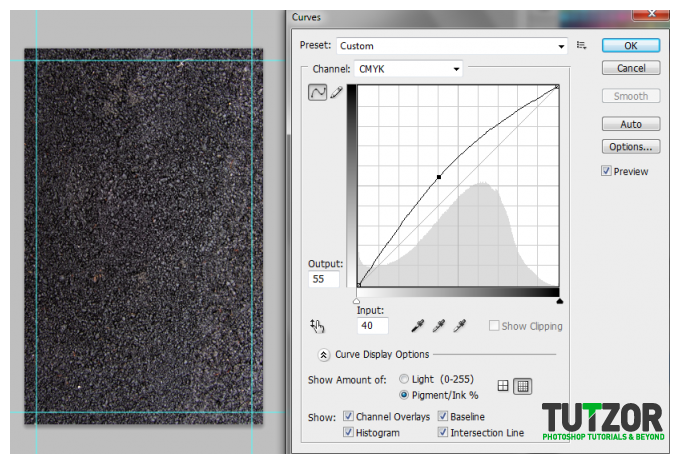 irenethompson80
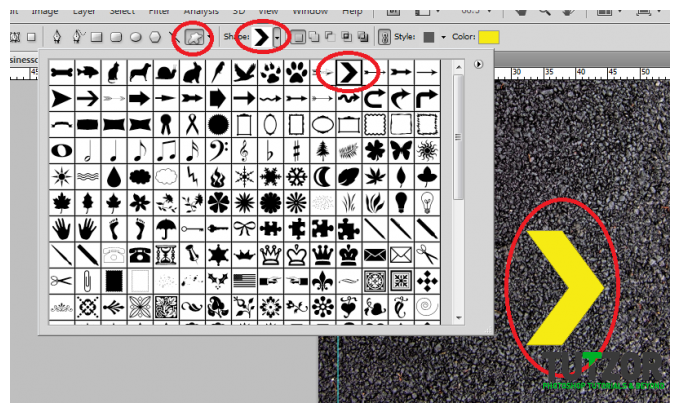 irenethompson80
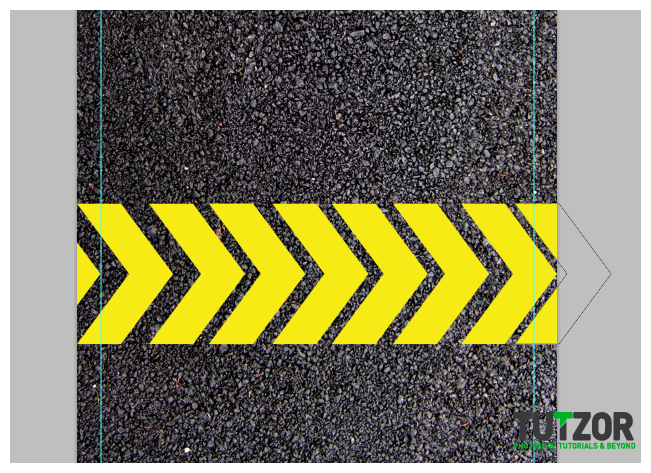 irenethompson80
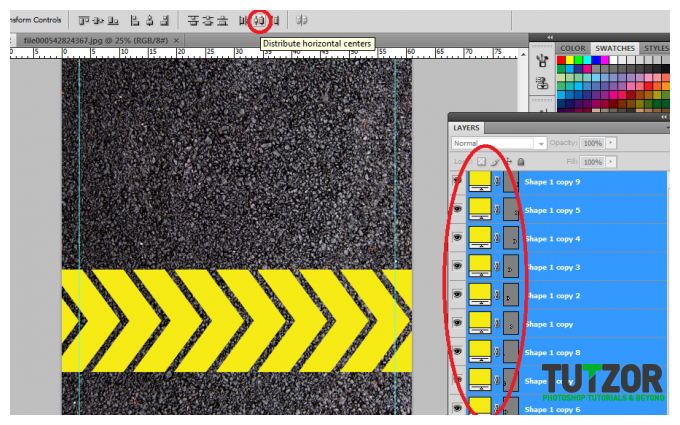 irenethompson80
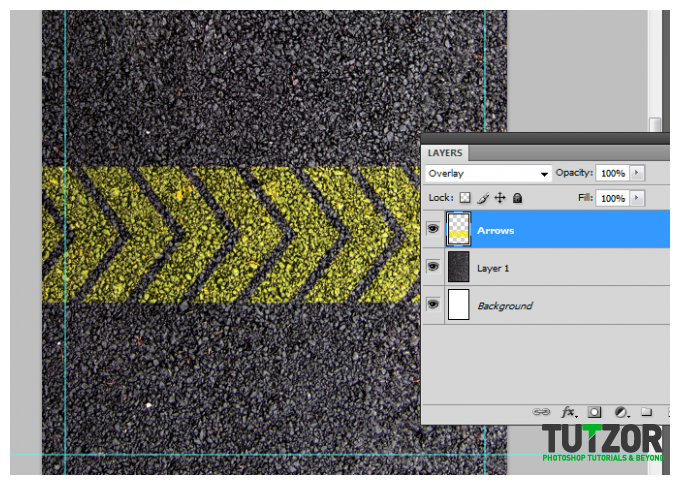 irenethompson80
 irenethompson80
 irenethompson80
 irenethompson80
 irenethompson80
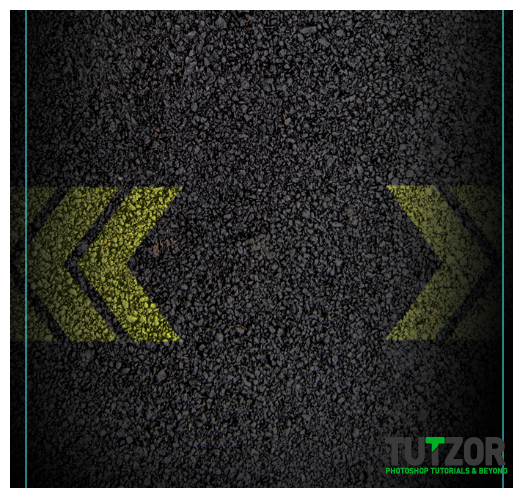 irenethompson80
 irenethompson80
 irenethompson80
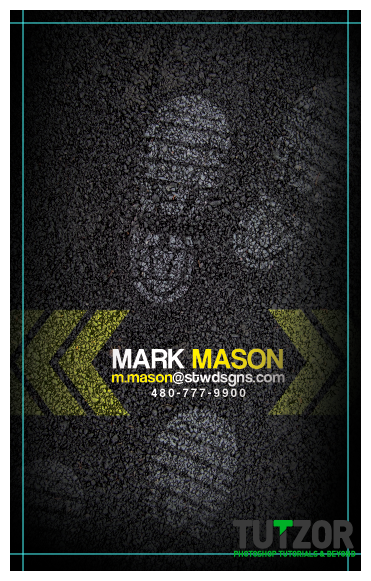
 irenethompson80
Copyright© 2012 Tutzor All Rights Reserved | Developed by: Iceous Design