

 ilovegraphics
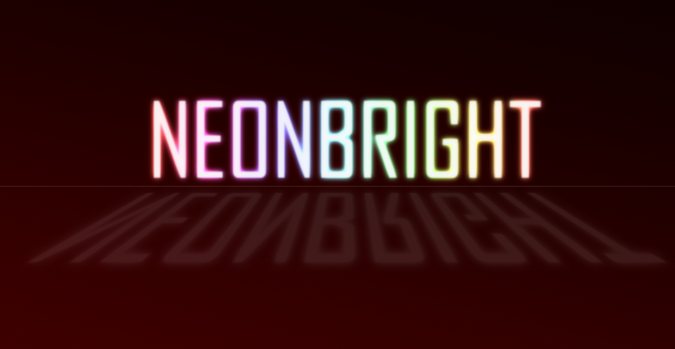
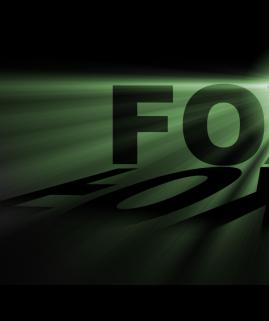
If your designs are a bit on the darker side of the color spectrum, you might want to use brighter and more eye catching font styles for your titles. In this tutorial, I will show you how to illuminate your poster or brochure printing designs with Neon text. Let’s get started.
 ilovegraphics
 ilovegraphics
 ilovegraphics
 ilovegraphics
 ilovegraphics
 ilovegraphics
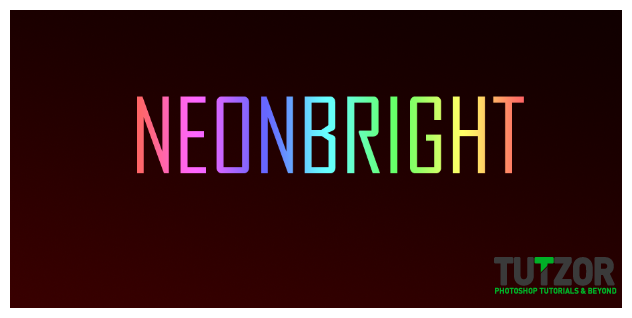 ilovegraphics
 ilovegraphics
 ilovegraphics
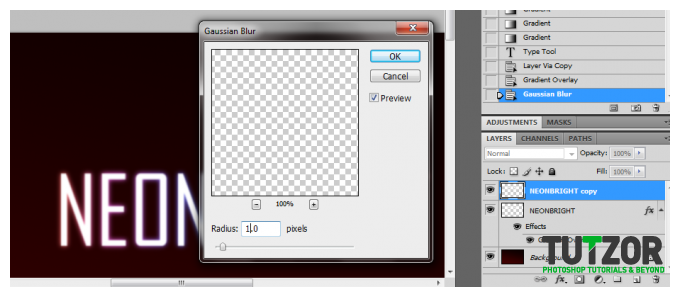 ilovegraphics
 ilovegraphics
 ilovegraphics
 ilovegraphics
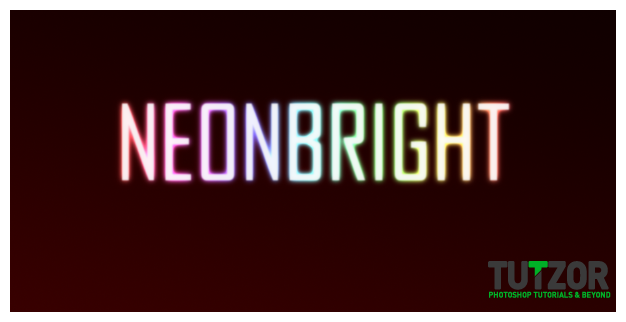 ilovegraphics
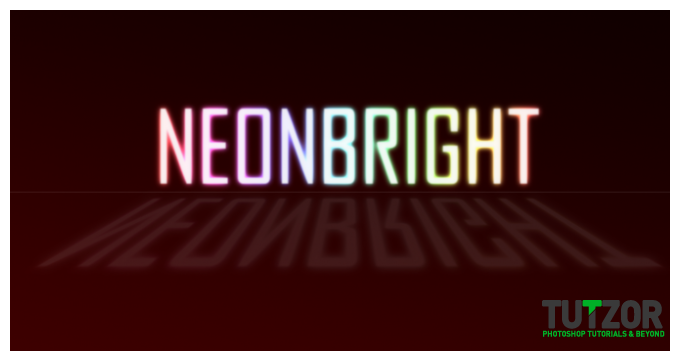
Copyright© 2012 Tutzor All Rights Reserved | Developed by: Iceous Design


Comments
Re: How To Add A Neon Text Effect To Your Titles Using Photoshop
Re: How To Add A Neon Text Effect To Your Titles Using Photoshop