

 sunrise20
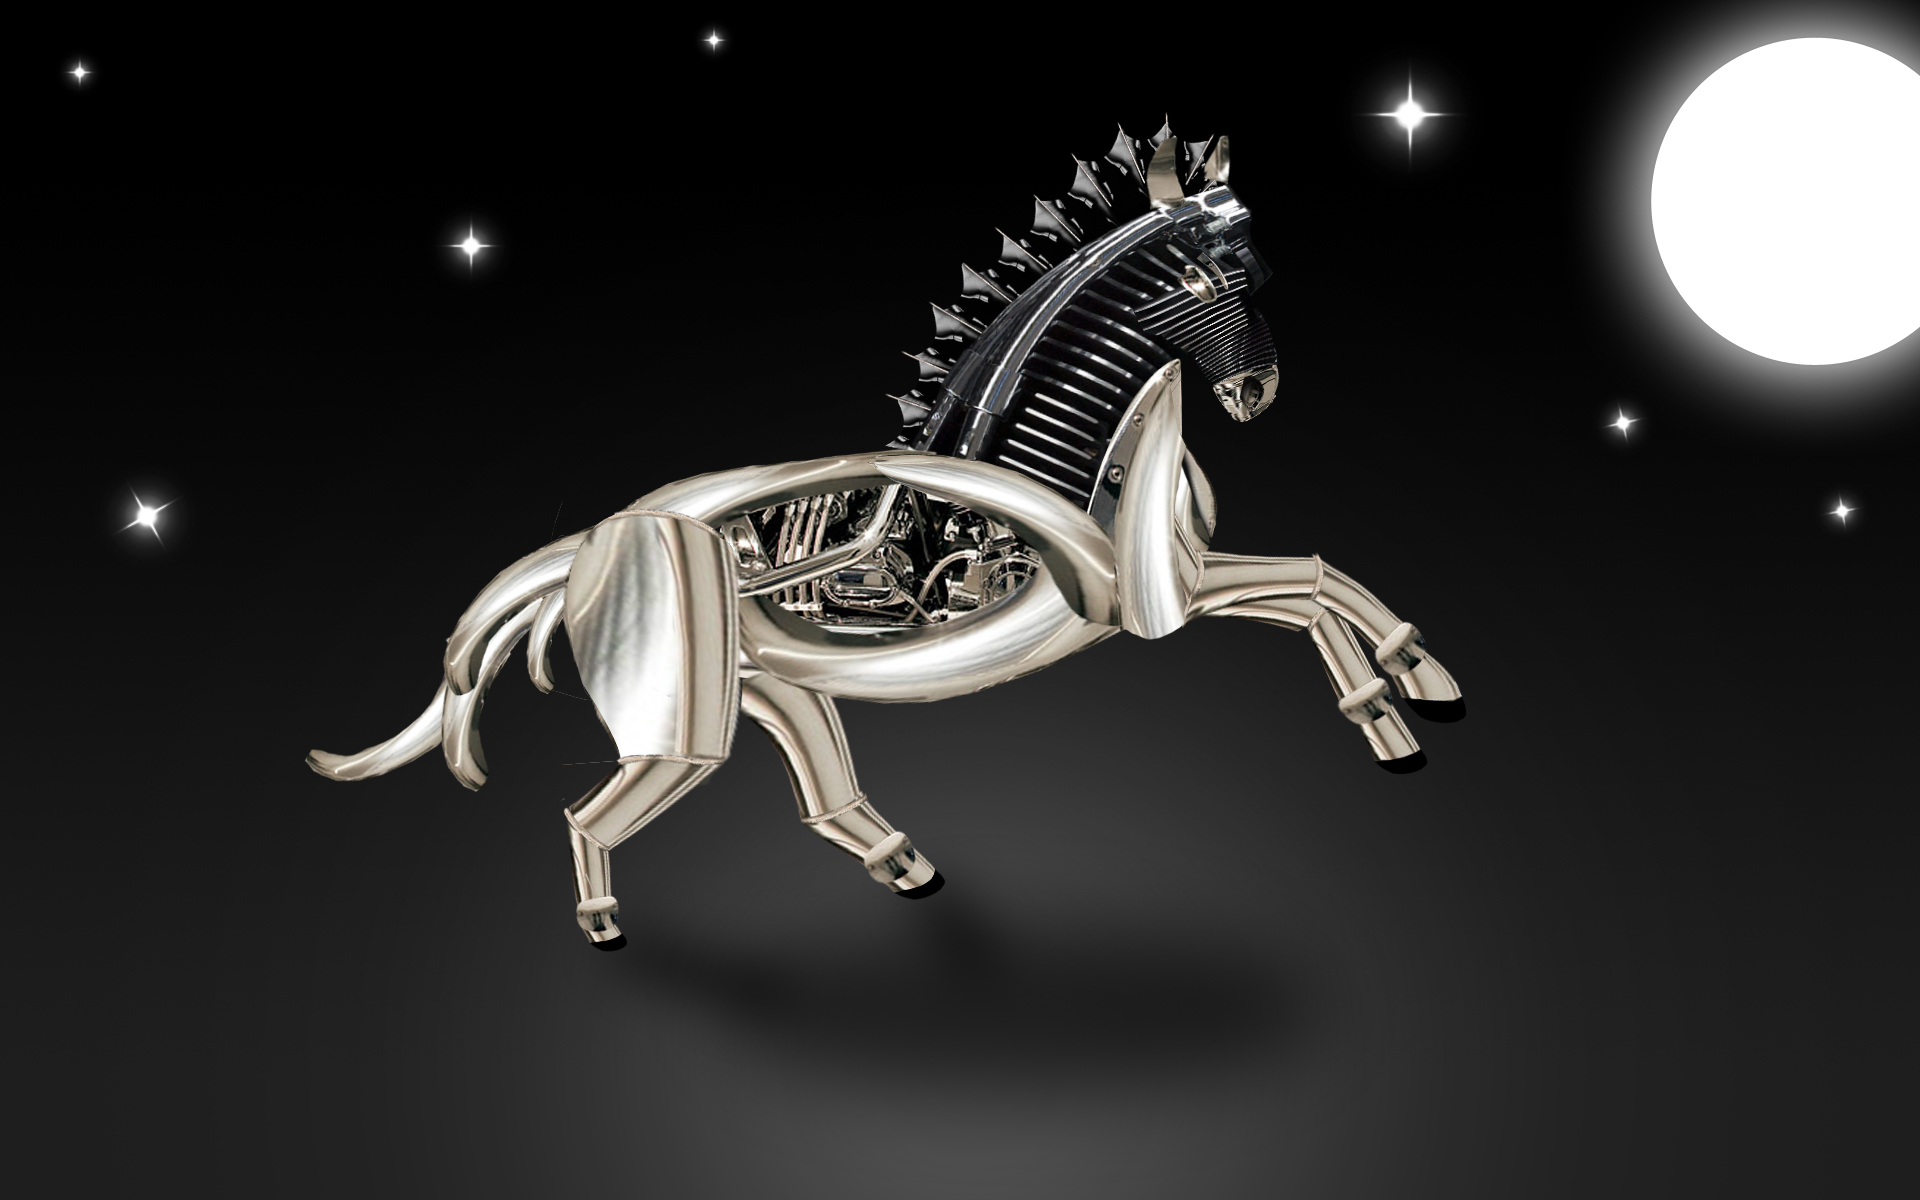
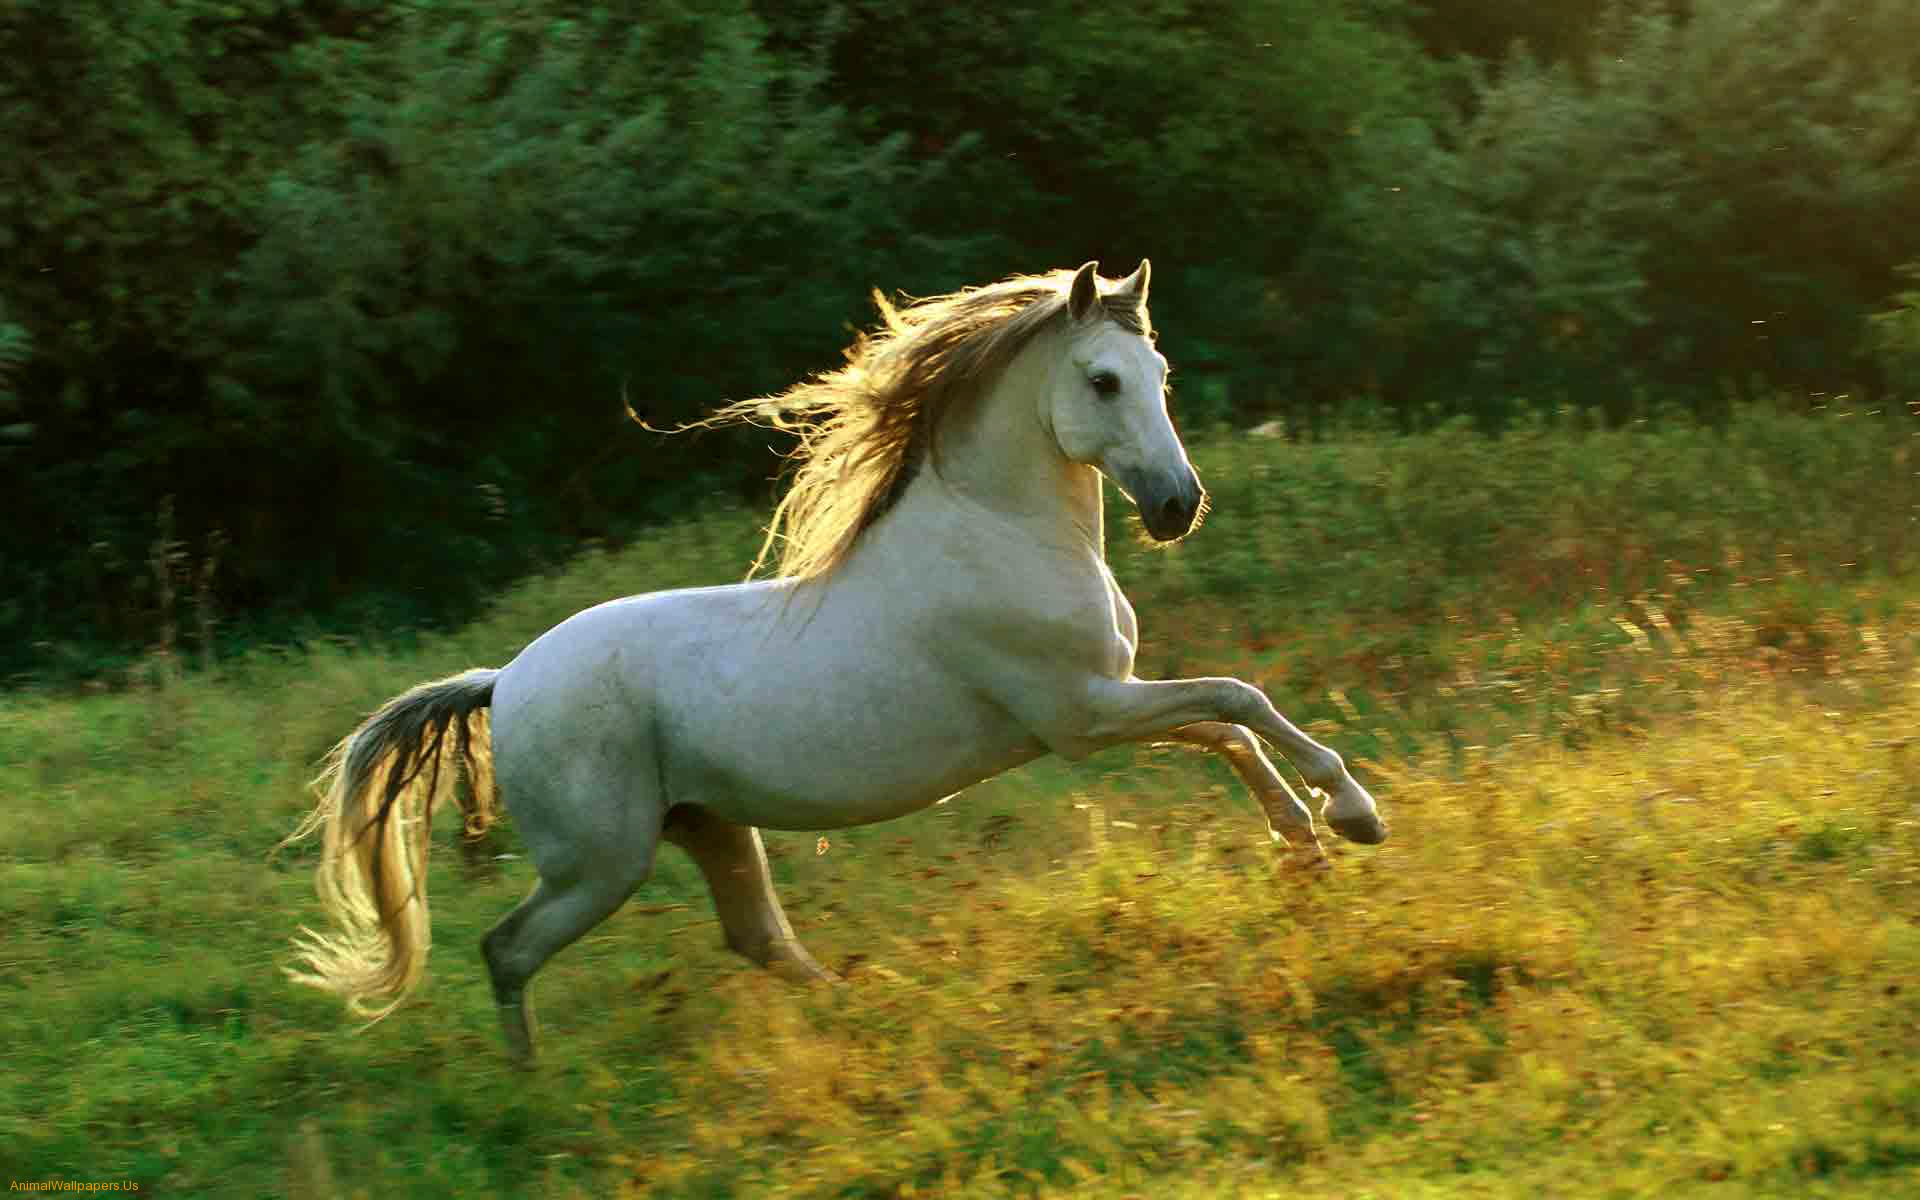
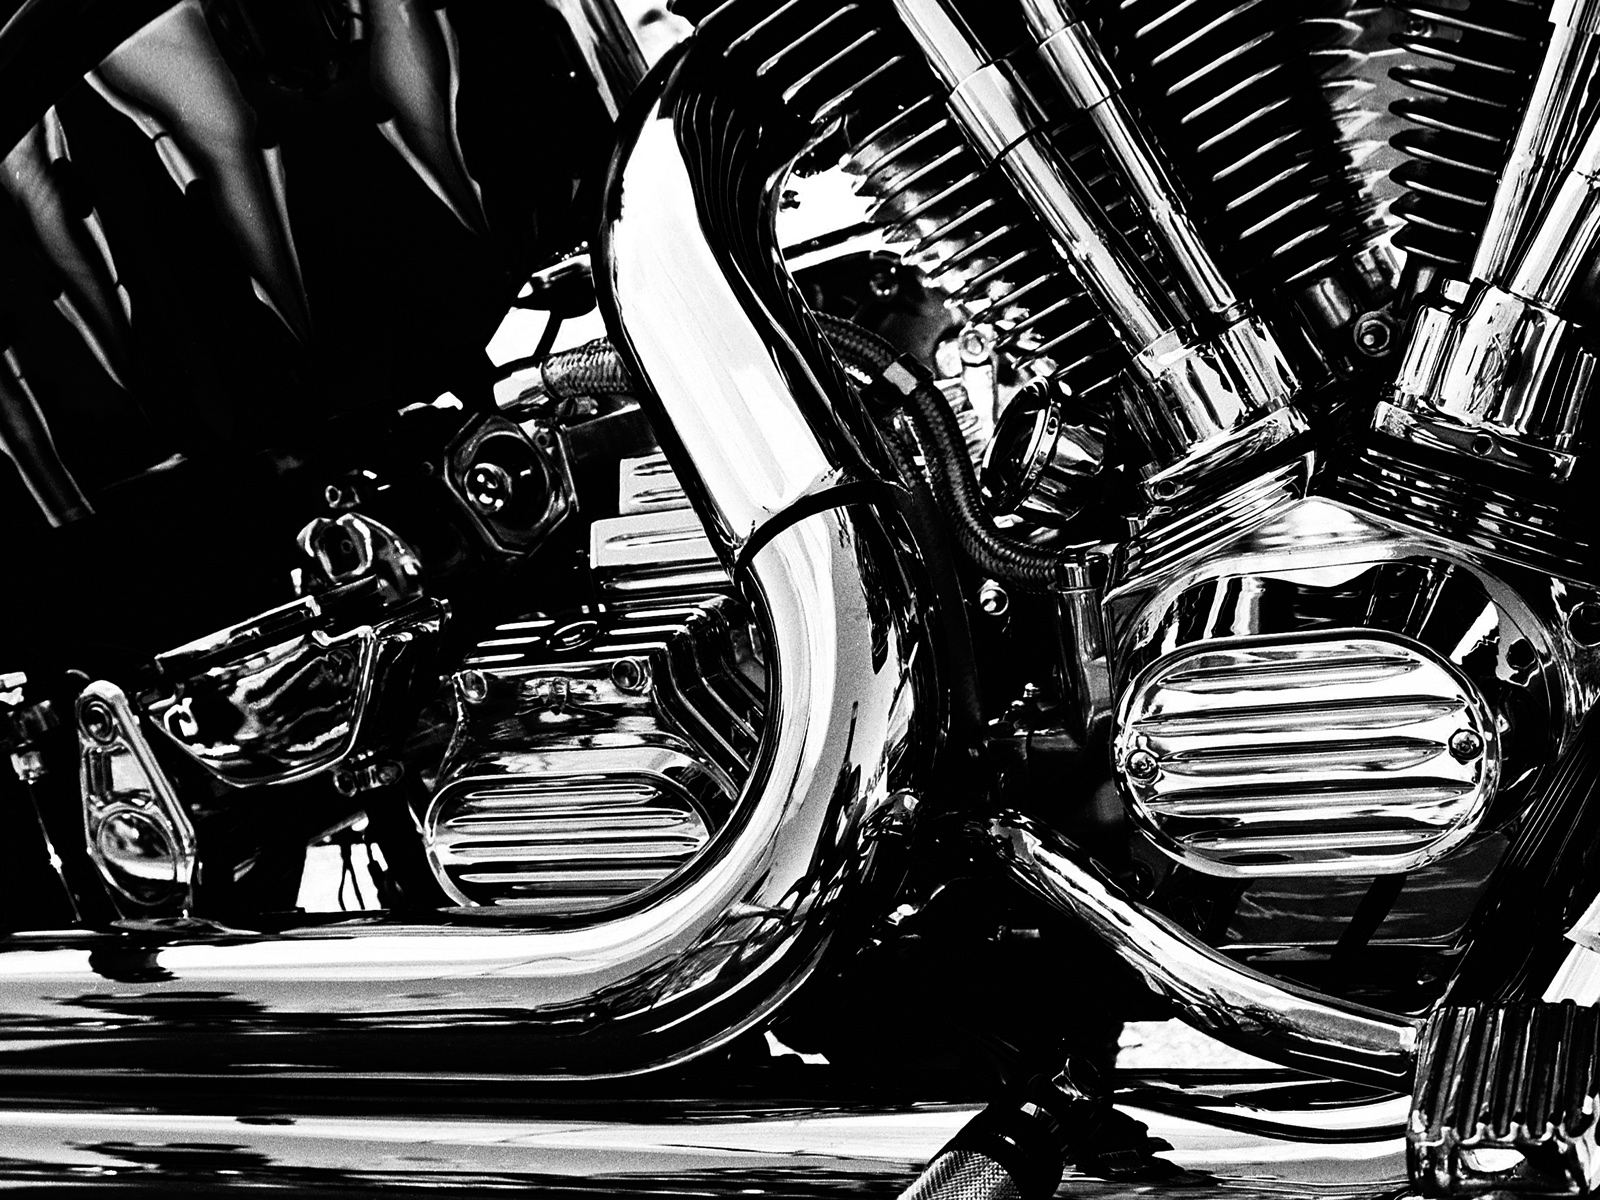
This advanced tutorial will show you how to create a robotic horse by using parts from a motorcycle. You will be using the "Free Transform" option and "warping" and "masking" your layers. Once your horse is completed, you will be able to place your horse in any image setting you wish. Before you begin, please click on the following links to download the necessary files:
http://big-diesel.blogspot.com/2010/10/lauge-jensen-motorcycle.html
http://www.scottshephard.com/?p=1362
http://www.motorcycle-usa.com/69/897/Motorcycle-Article/2002-BMW-R1150RT...
http://www.pulsarmedia.eu/r_great_details_wallpapers_23_chrome_motorcycl...
 sunrise20
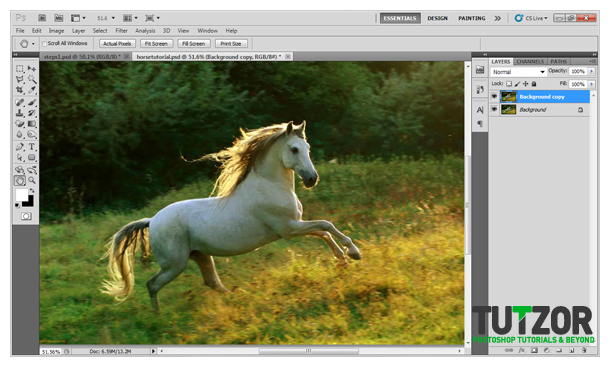 sunrise20
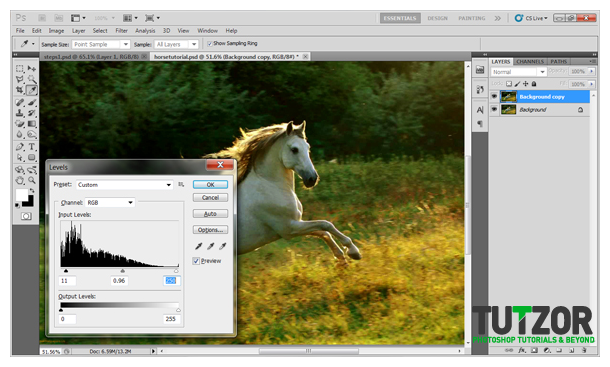 sunrise20
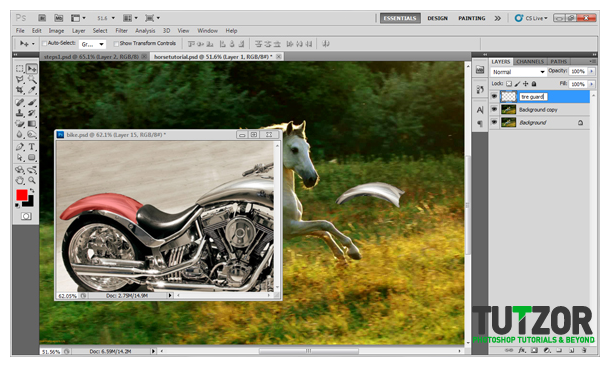 sunrise20
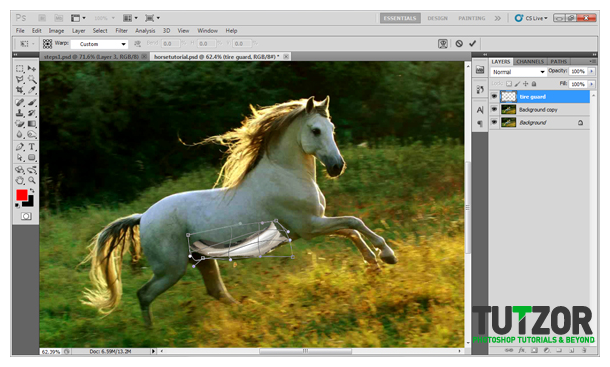 sunrise20
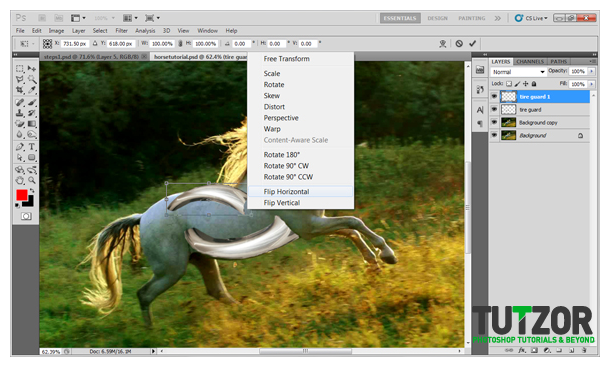 sunrise20
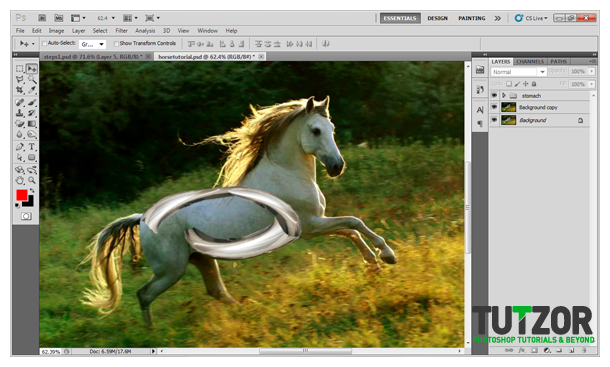 sunrise20
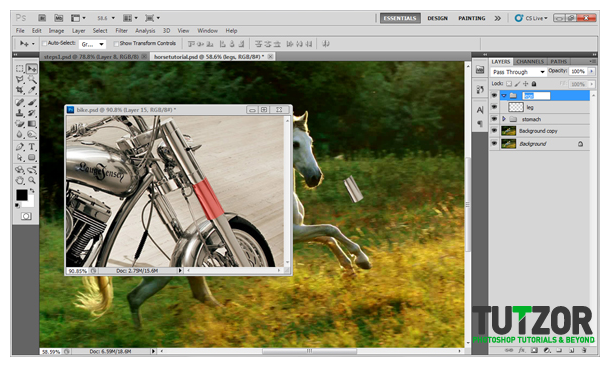 sunrise20
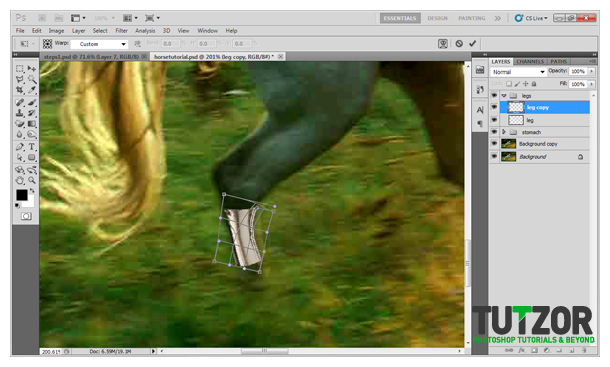 sunrise20
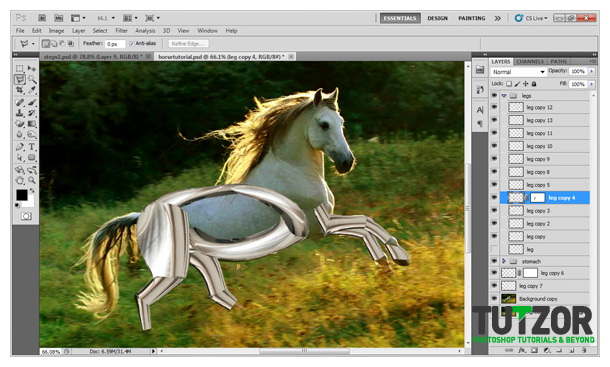 sunrise20
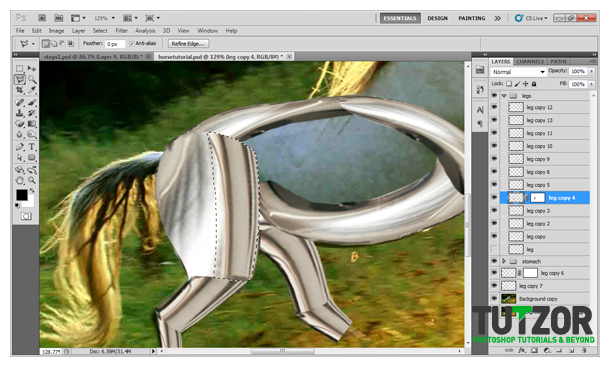 sunrise20
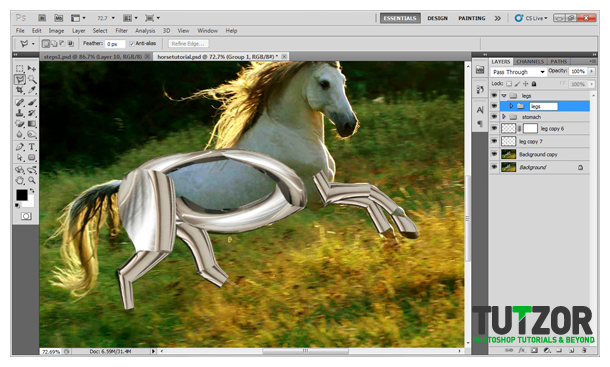 sunrise20
 sunrise20
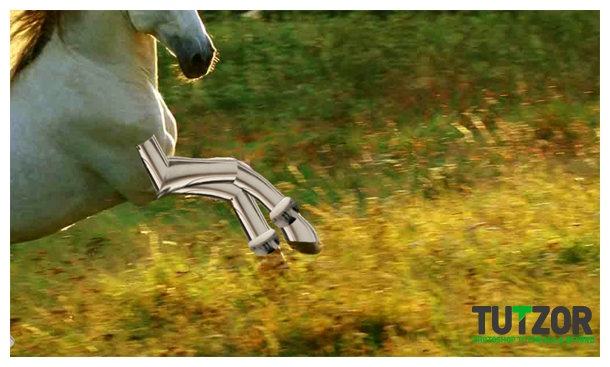 sunrise20
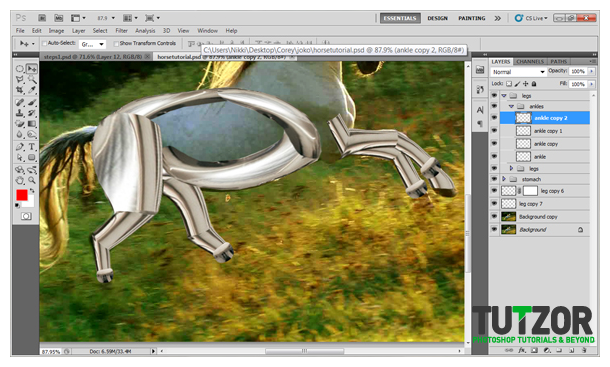 sunrise20
 sunrise20
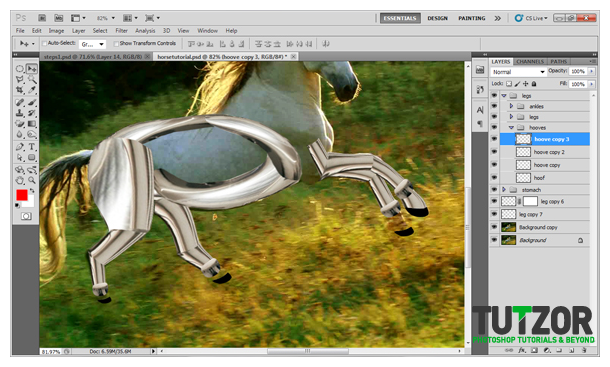 sunrise20
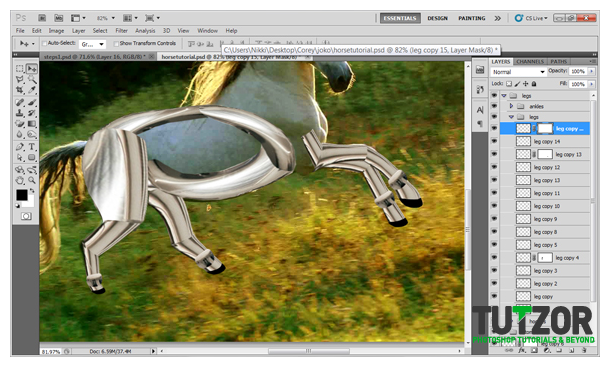 sunrise20
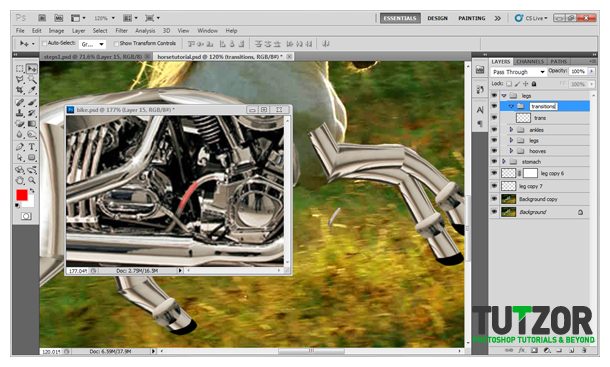 sunrise20
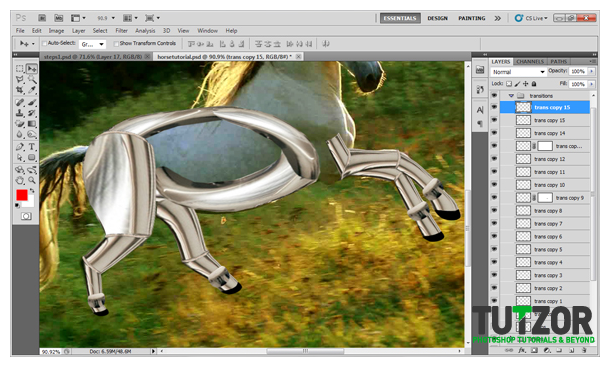 sunrise20
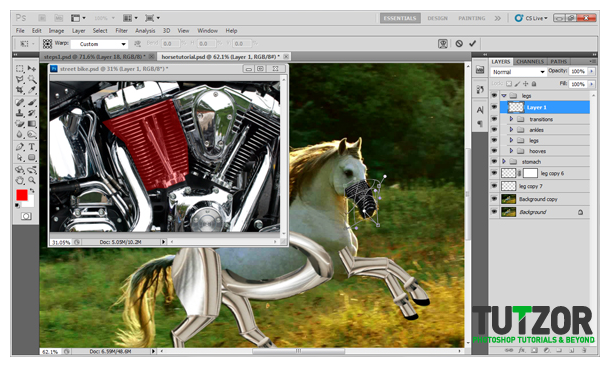 sunrise20
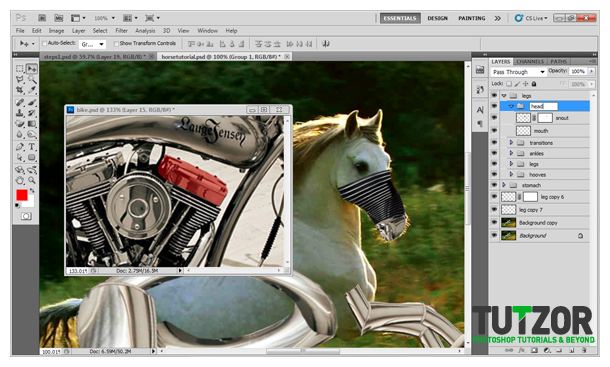 sunrise20
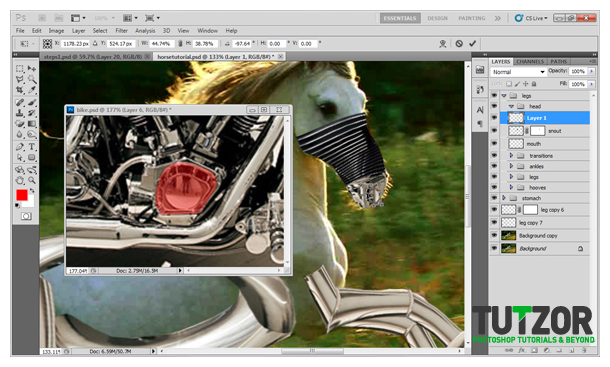 sunrise20
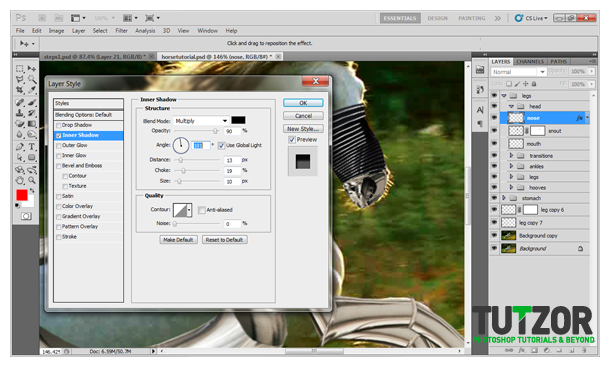 sunrise20
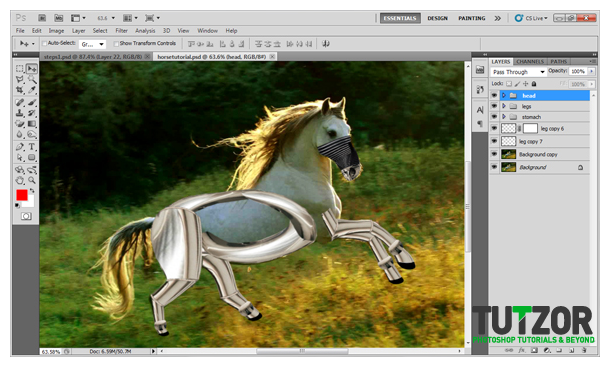 sunrise20
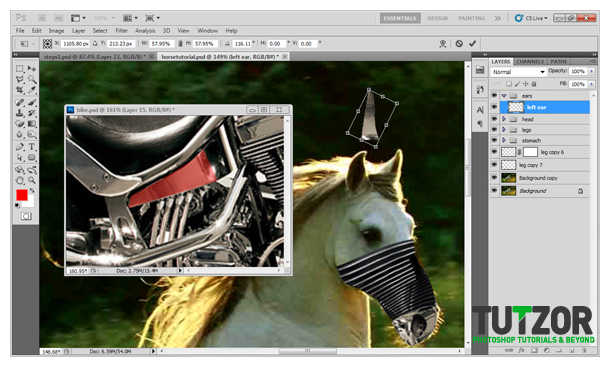
Copyright© 2012 Tutzor All Rights Reserved | Developed by: Iceous Design


