

 ice
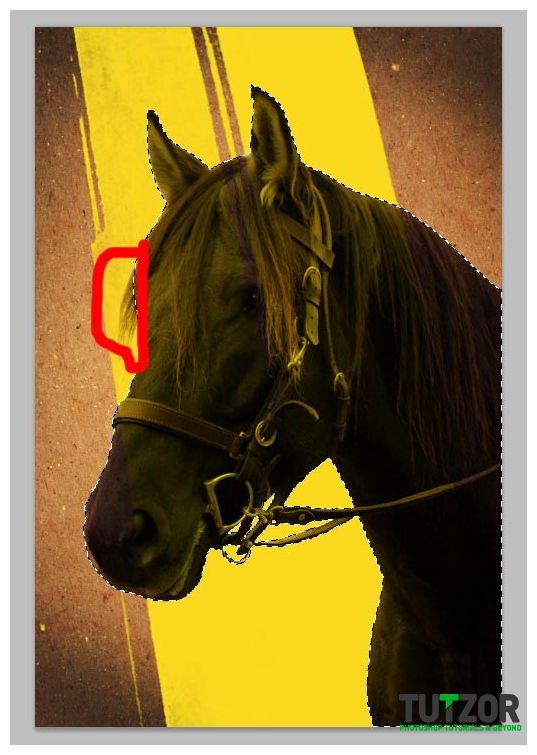
iceToday i wanna share with you all about how to clean up images. This tutorial is focussing on manually removing unwanted background. Photoshop cs5 comes with new feature to remove background easily, but sometimes it really difficult to get it precisely like you want it to. So, I decided to show you all on a trick i picked up few years back on how to clean up images.
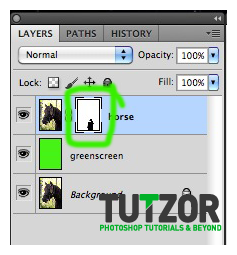
I used the following files:
 ice ice
 ice
ice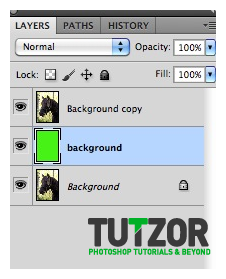 ice
ice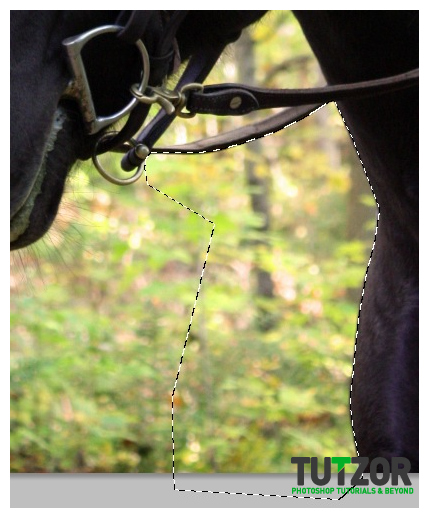
 ice
ice
 ice
ice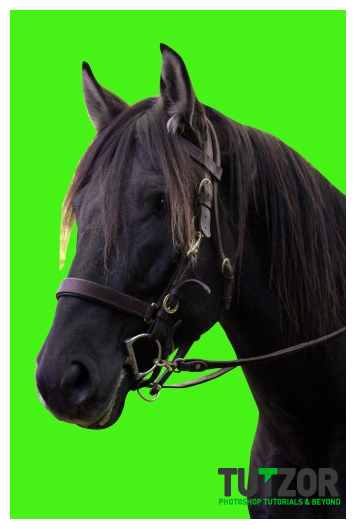 ice
ice
 ice
ice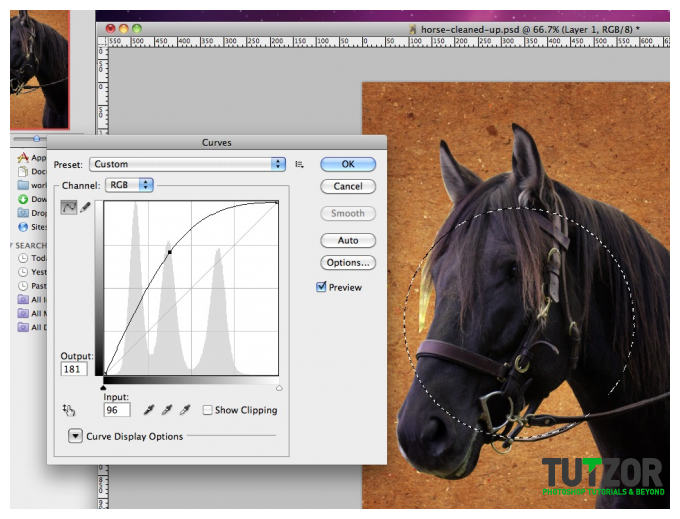
 ice
ice
 ice
ice ice
ice
Copyright© 2012 Tutzor All Rights Reserved | Developed by: Iceous Design


Comments
Re: Cleaning up and replacing background tutorial
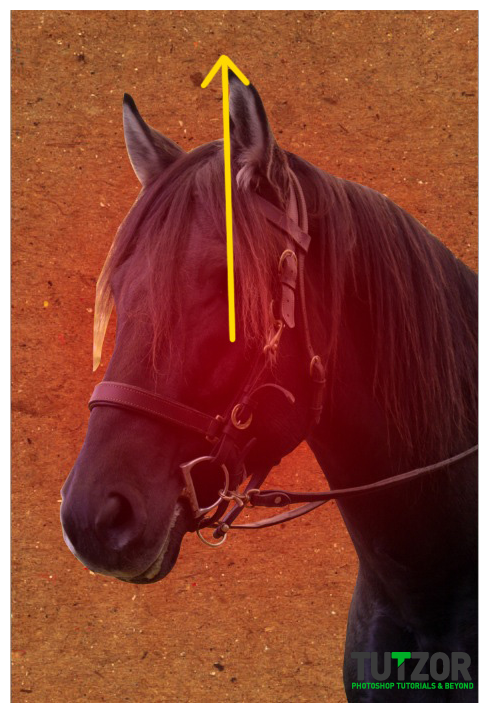
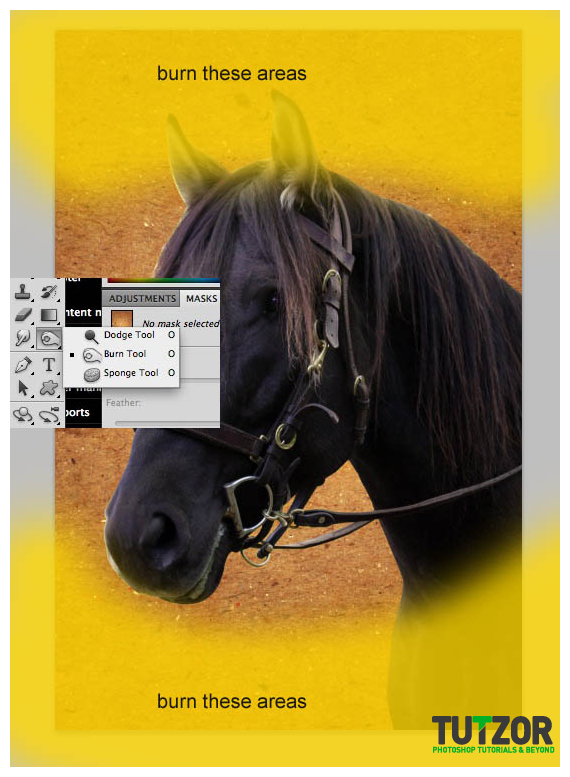
Additionally, you may want to feather your selection on the horse by about a pixel, so the edges aren't so hard / fake.
Re: Cleaning up and replacing background tutorial
Hey thanks for nice tutorial . I was looking for new steps like this . Now I can change background of my pic and move them anywhere I want .