

 ilovegraphics
Pop, colorful art is always a theme that you can use for color posters, especially if you want a distinctly vogue or fashionable effect. In this tutorial, we will show you how you can turn your own Photographs into distinct works of colorful POP poster art. Just follow the easy steps listed below and you should have little trouble creating these festive designs.
 ilovegraphics
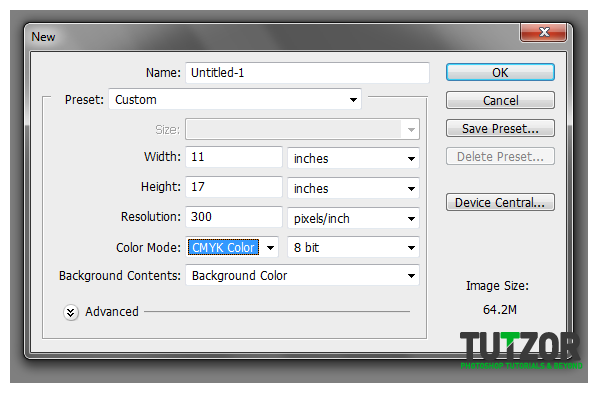 ilovegraphics
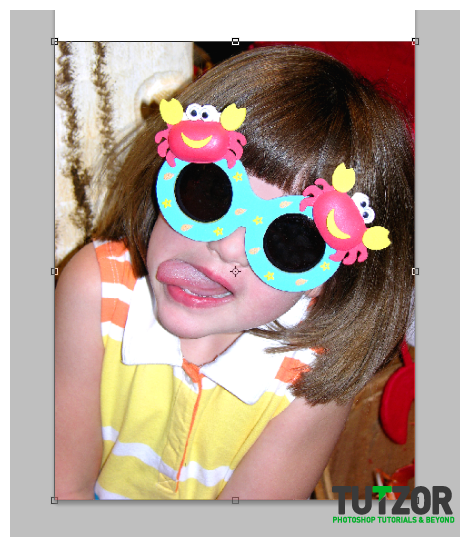 ilovegraphics
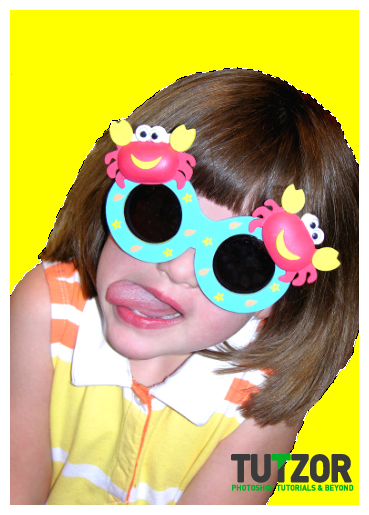 ilovegraphics
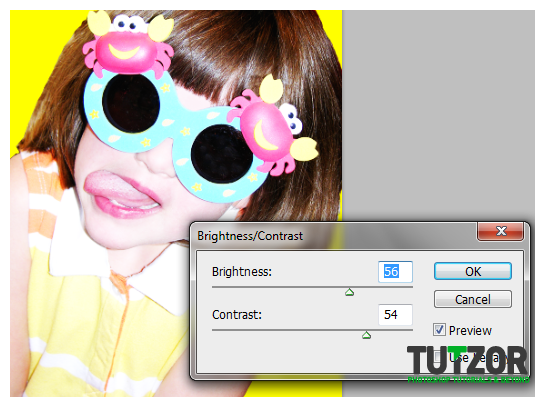 ilovegraphics
 ilovegraphics
 ilovegraphics
 ilovegraphics
 ilovegraphics
 ilovegraphics
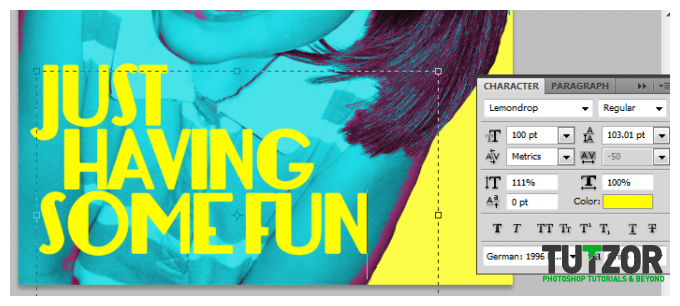 ilovegraphics
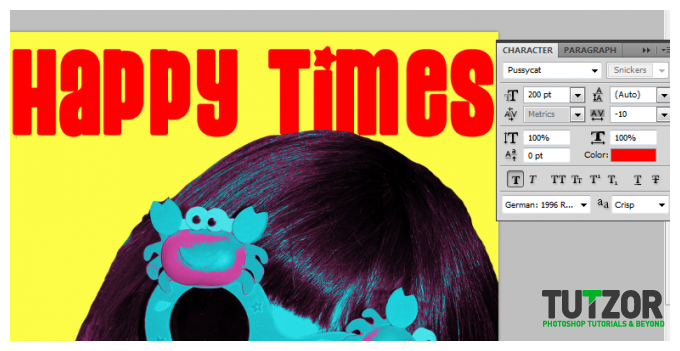 ilovegraphics
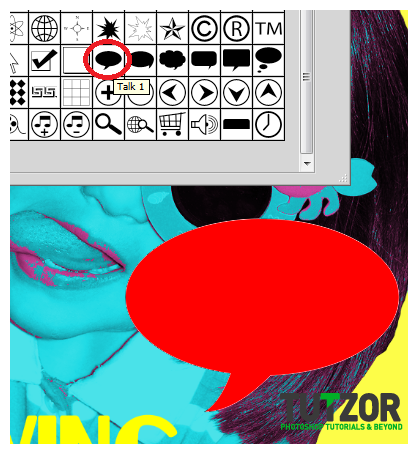 ilovegraphics
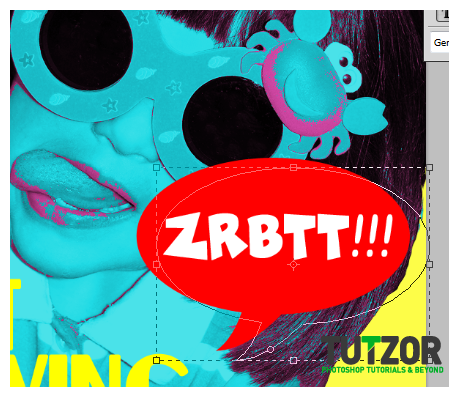 ilovegraphics
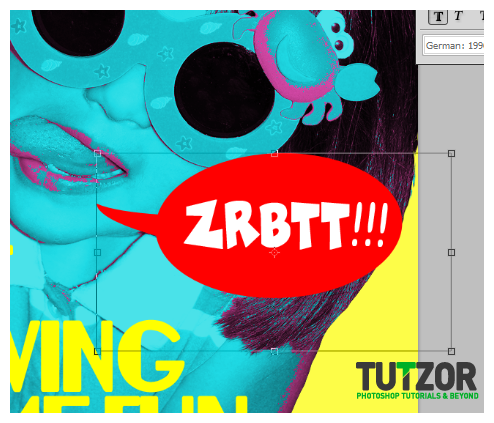 ilovegraphics
 ilovegraphics
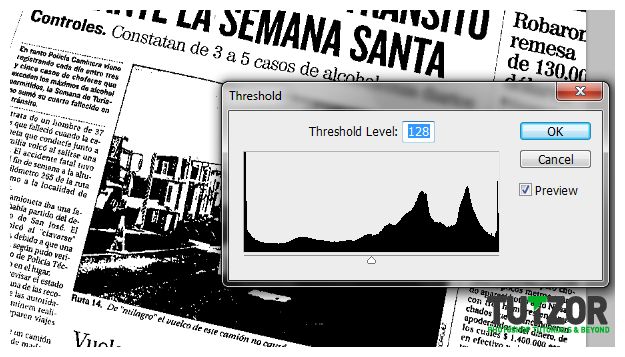 ilovegraphics
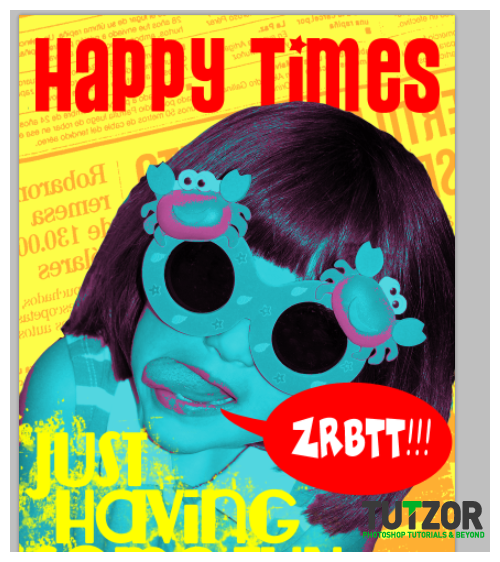 ilovegraphics
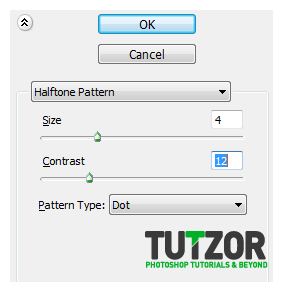 ilovegraphics
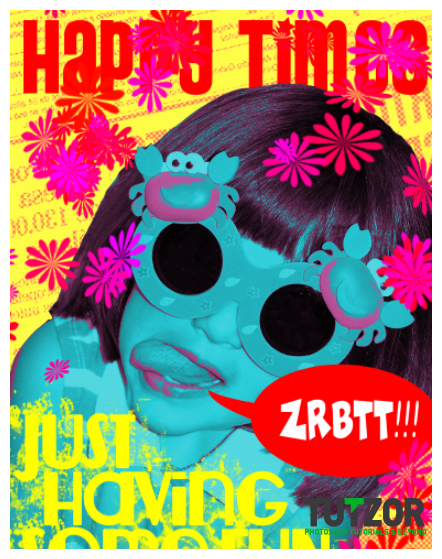 ilovegraphics
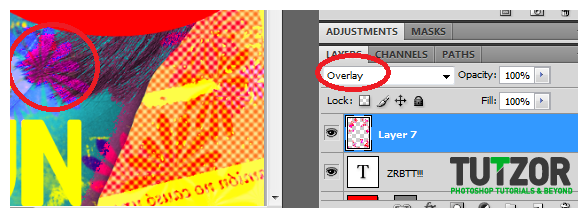 ilovegraphics
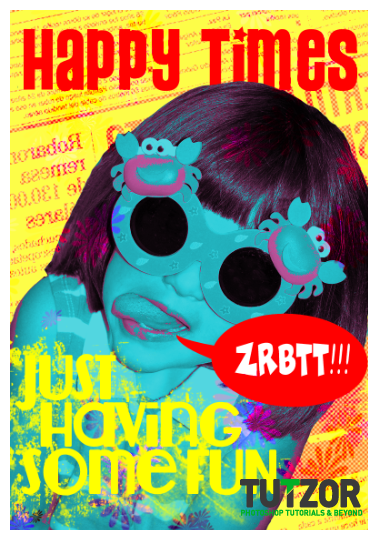
Copyright© 2012 Tutzor All Rights Reserved | Developed by: Iceous Design


Comments
Re: Design a colorful POP art poster in Photoshop