

 hansen-fotografie.tumblr.com
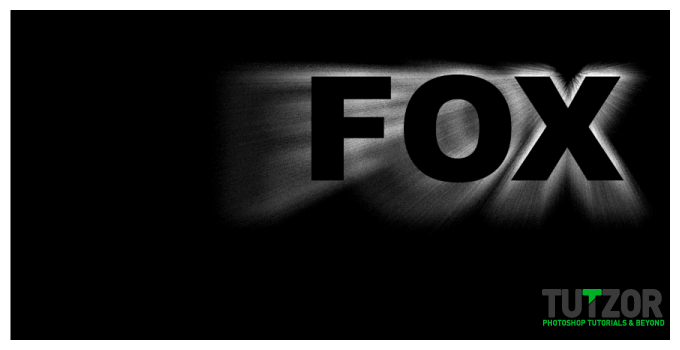
Hi everyone, now I am going to show you a cool text effect that gives us dimensional and light beam look.
What we need : Photoshop software only !
 hansen-fotografie.tumblr.com
 hansen-fotografie.tumblr.com
 hansen-fotografie.tumblr.com

 hansen-fotografie.tumblr.com
 hansen-fotografie.tumblr.com
 hansen-fotografie.tumblr.com
 hansen-fotografie.tumblr.com hansen-fotografie.tumblr.com
 hansen-fotografie.tumblr.com
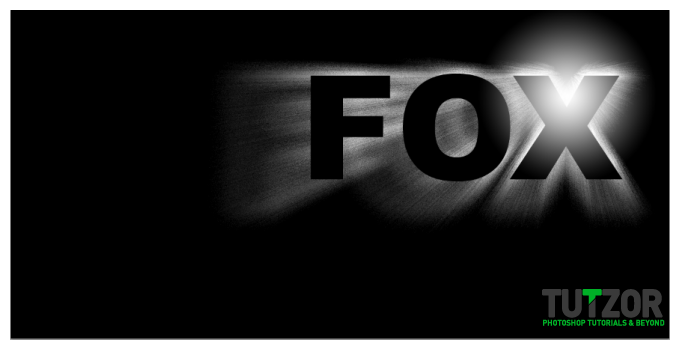 hansen-fotografie.tumblr.com
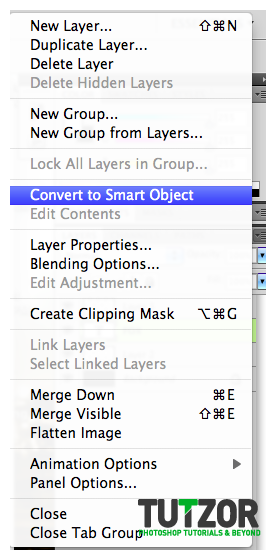 hansen-fotografie.tumblr.com
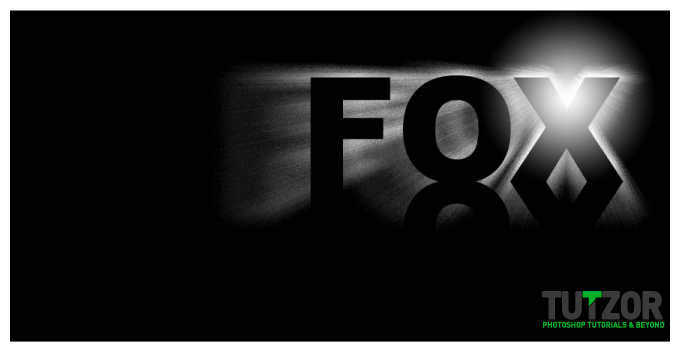 hansen-fotografie.tumblr.com hansen-fotografie.tumblr.com
 hansen-fotografie.tumblr.com
 hansen-fotografie.tumblr.com
 hansen-fotografie.tumblr.com
 hansen-fotografie.tumblr.com
 hansen-fotografie.tumblr.com
 hansen-fotografie.tumblr.com
Copyright© 2012 Tutzor All Rights Reserved | Developed by: Iceous Design


Comments
Re: Light Beam text effect !
simple & amazing
Re: Light Beam text effect !
great tutorial sir,its really useful for me. i really appreciate it.thanks alot
Re: Light Beam text effect !
i just want to say..u deserve a million thx.
Re: Light Beam text effect !
Thanq
ILovePsd
Re: Light Beam text effect !
Thank you!
Re: Light Beam text effect !
Thanks man, I got it
Re: Light Beam text effect !
How did you get the transformation to distort, this will not allow me to do so.
Re: Light Beam text effect !
Hello, when I get to step 13, the program will not let me "distort" it is not an option for me. I have all options but distort and perspective. Can you help me?
Re: Light Beam text effect !
Pretty slick effect. I followed through it yesterday and made this: http://www.flickr.com/photos/50097216@N08/5060539978/
I was confused as to why you made the text a smart object though. I guess it stays cleaner than if you rasterize it? I know text can only have certain transforms applied to it, is that why you converted?
Re: Light Beam text effect !
i like it
Re: First!
thanks!~
First!
First!
cool effect!