irenethompson80
Recreate the silver "bling-bling" effect for your titles in Photoshop with this tutorial. Apply this effect to the headings and headlines of your catalog prints or when flyer printing or even on your business cards.
irenethompson80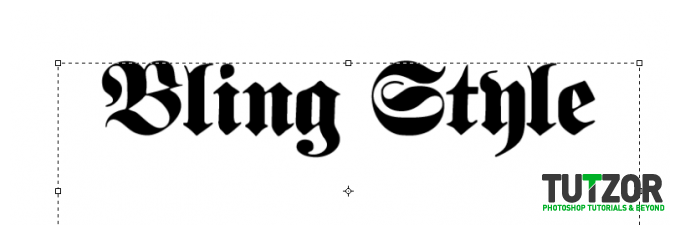 irenethompson80
 irenethompson80
 irenethompson80
 irenethompson80
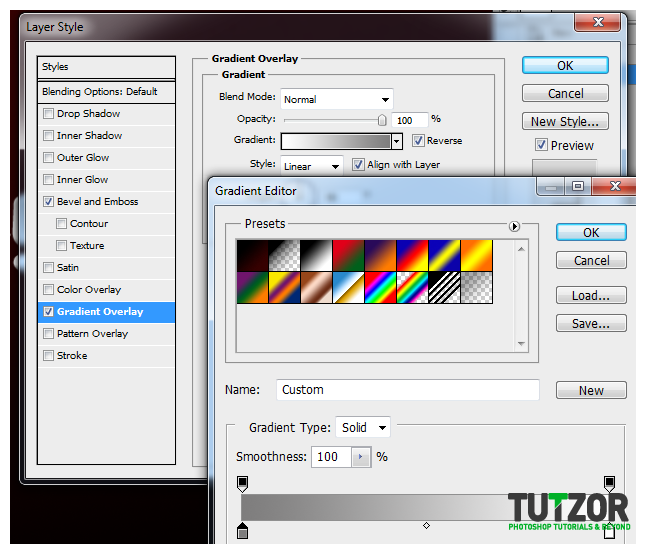 irenethompson80
 irenethompson80
 irenethompson80
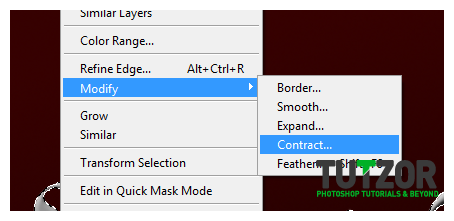 irenethompson80
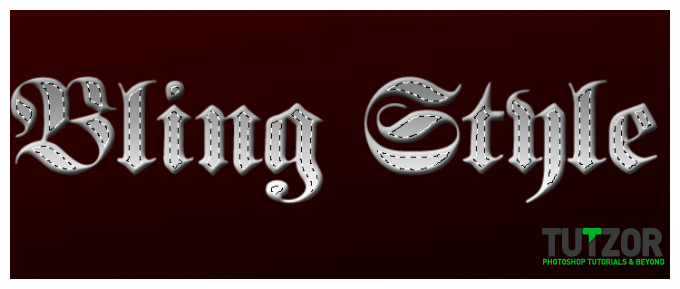 irenethompson80
 irenethompson80
 irenethompson80
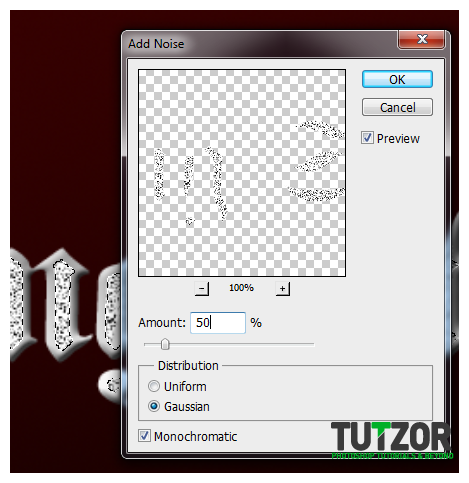 irenethompson80
 irenethompson80
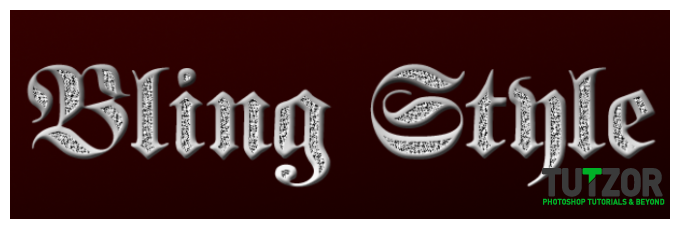 irenethompson80
 irenethompson80
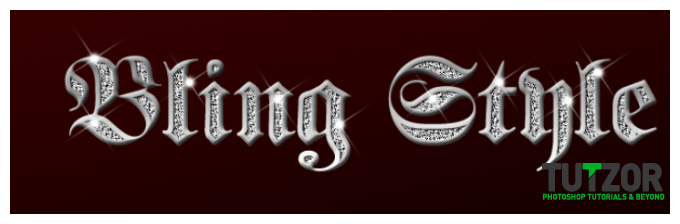 irenethompson80
Copyright© 2012 Tutzor All Rights Reserved | Developed by: Iceous Design