

 ilovegraphics
Heart icons or graphics are pretty popular, especially since its Valentine’s month. If this is your theme for your special season brochure prints and booklet prints, then you will probably will want to learn how to do them properly. In this tutorial, we will go through creating heart icons in the web 2.0 style.
 ilovegraphics
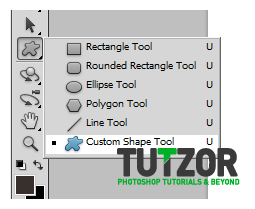 ilovegraphics
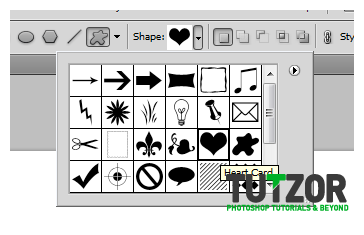 ilovegraphics
 ilovegraphics
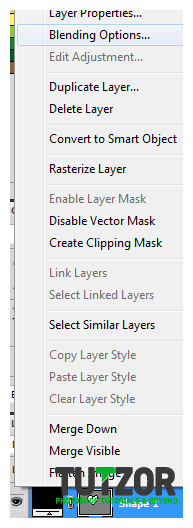 ilovegraphics
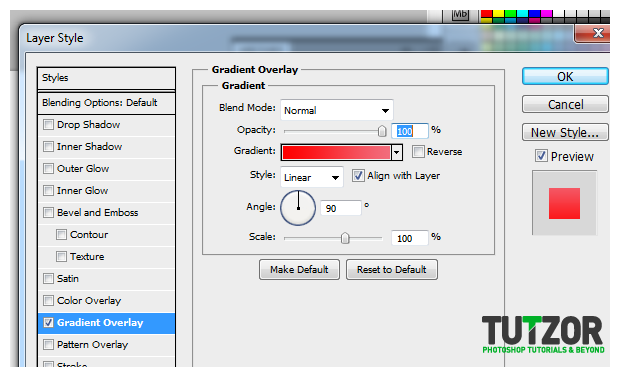 ilovegraphics
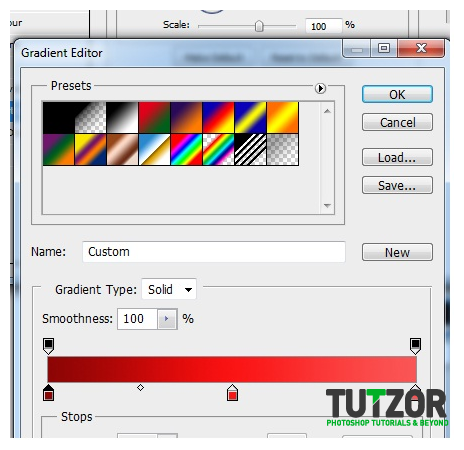 ilovegraphics
 ilovegraphics
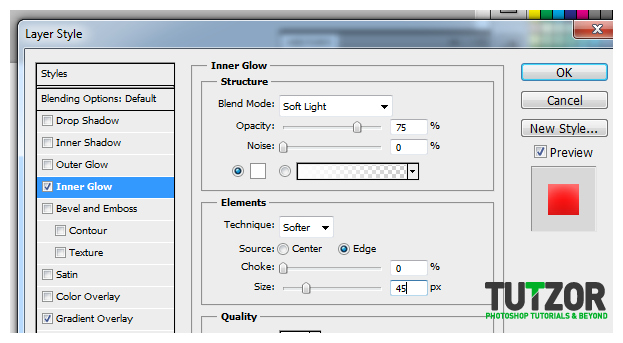 ilovegraphics
 ilovegraphics
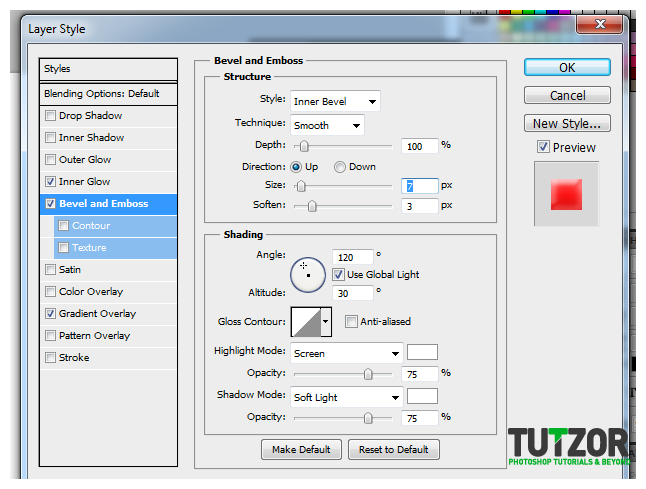 ilovegraphics
 ilovegraphics
 ilovegraphics
 ilovegraphics
 ilovegraphics
 ilovegraphics
 ilovegraphics
 ilovegraphics
 ilovegraphics
 ilovegraphics
 ilovegraphics
 ilovegraphics
 ilovegraphics
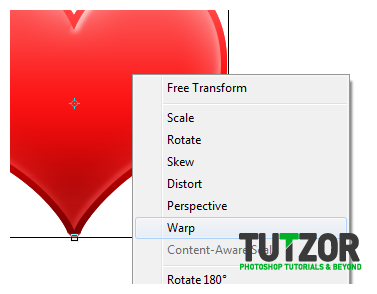 ilovegraphics
 ilovegraphics
Copyright© 2012 Tutzor All Rights Reserved | Developed by: Iceous Design


