Cpotorac
Hi there guys. I have prepared a new tutorial. In this tutorial we will be learning some more photomanipulation but this time different than the first one I did.
Cpotorac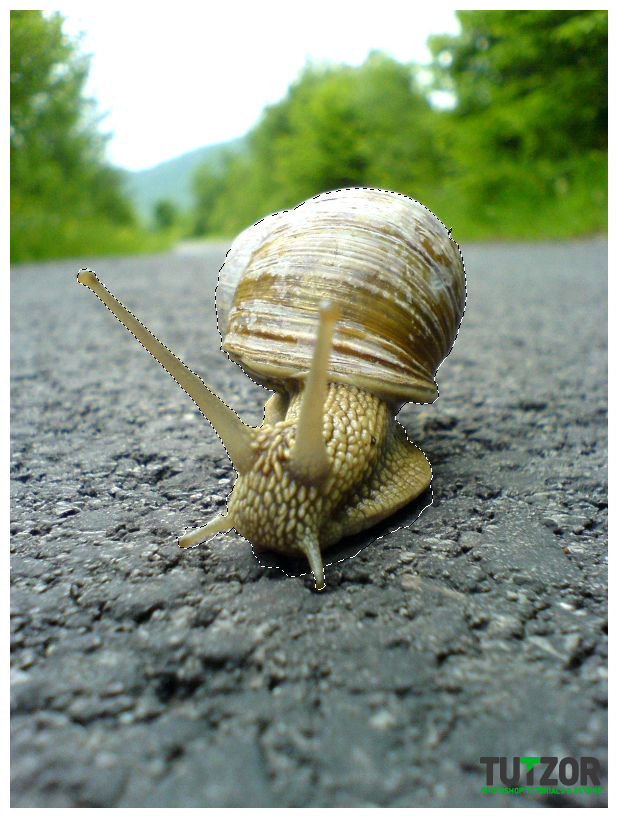 Cpotorac
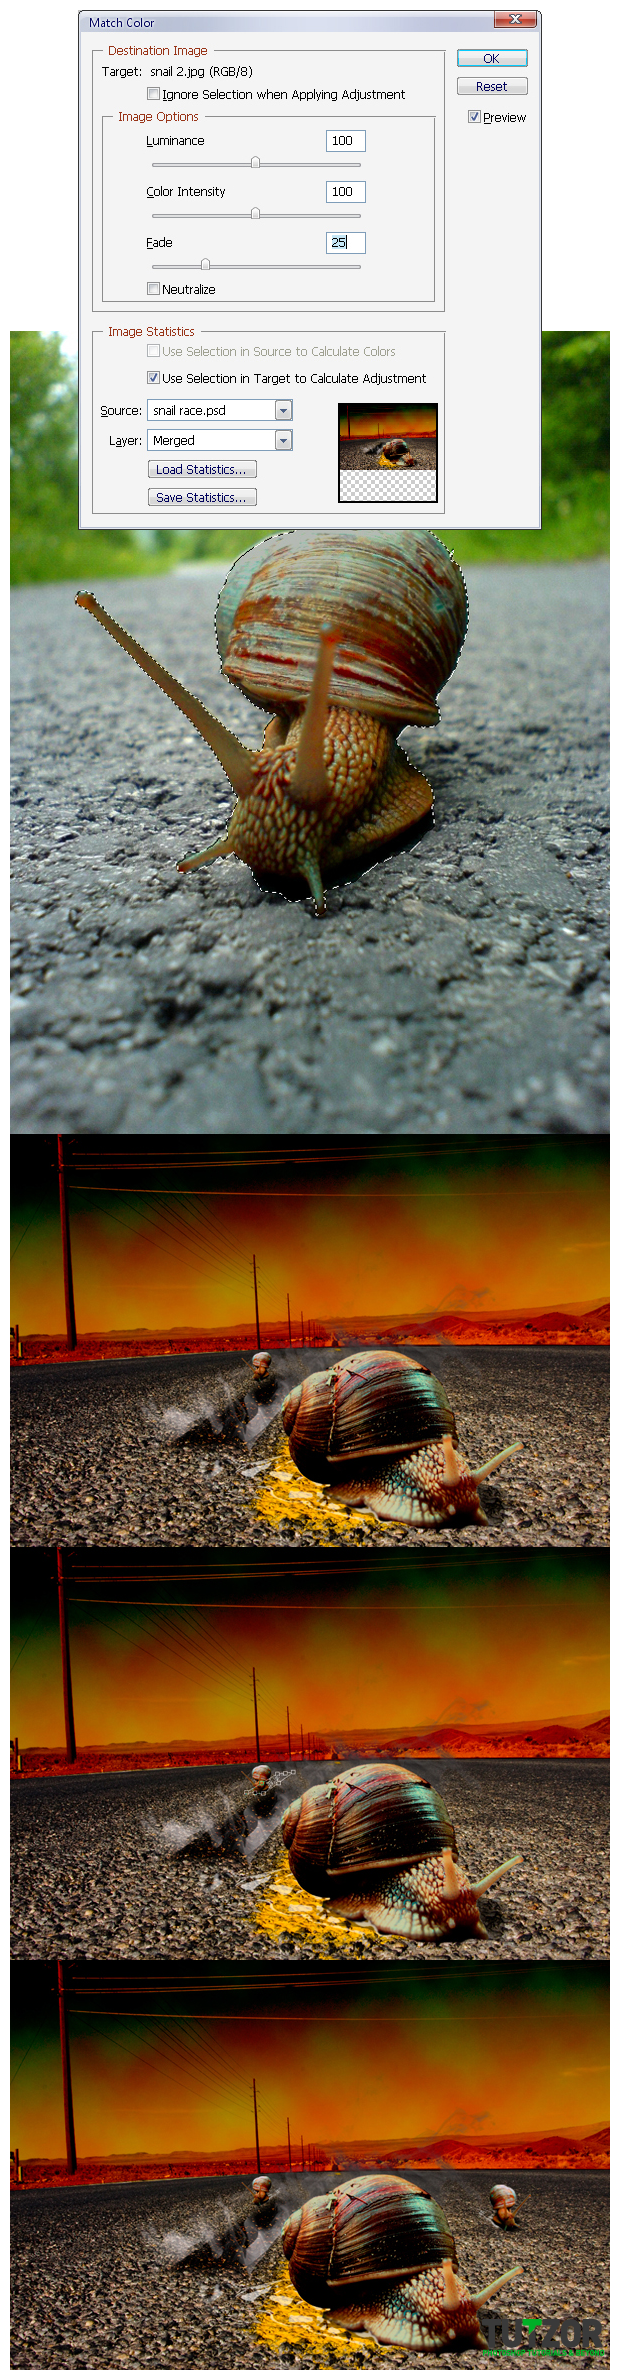 Cpotorac
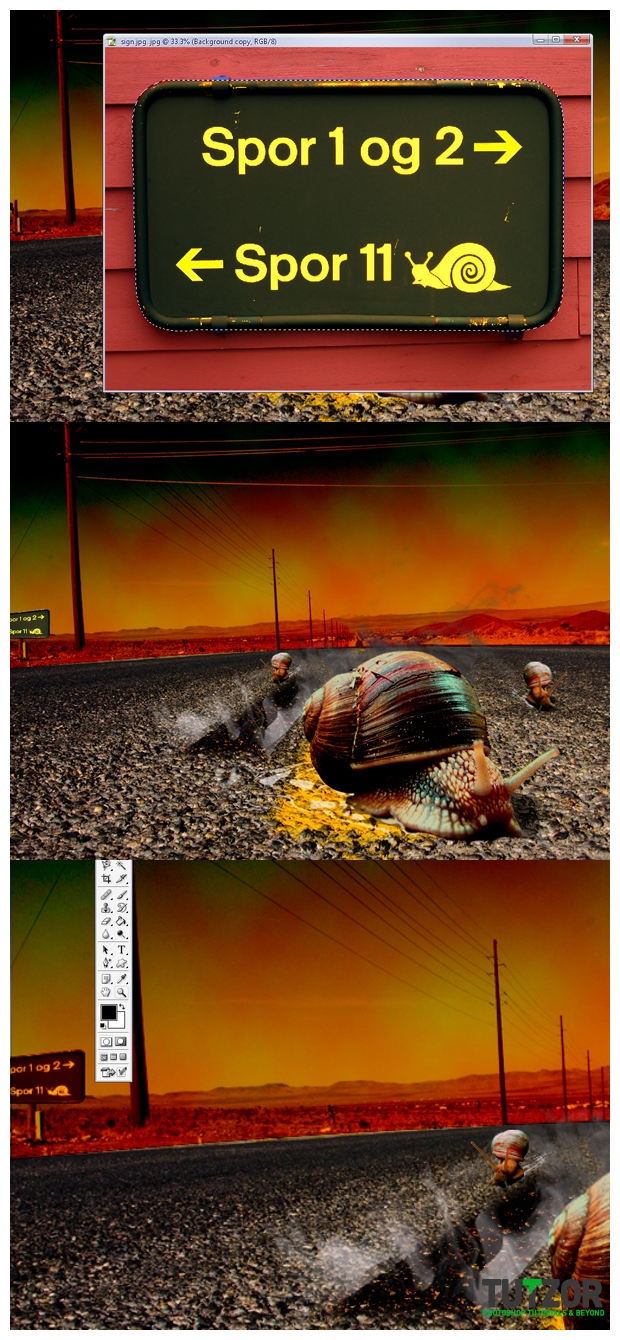 Cpotorac
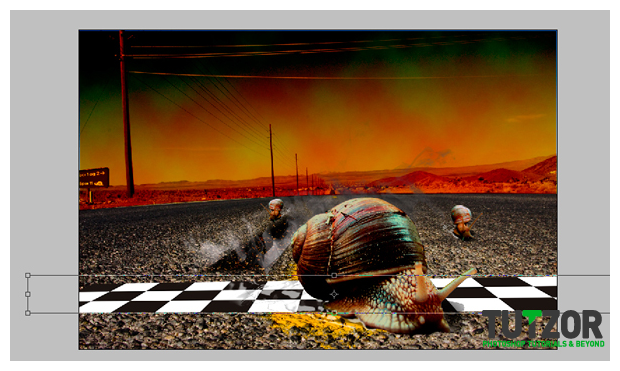 Cpotorac
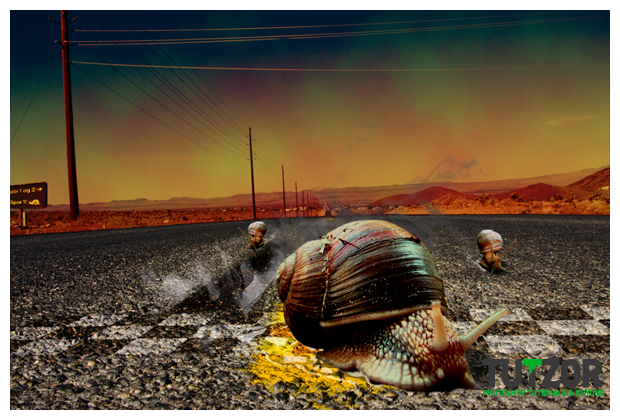 Cpotorac
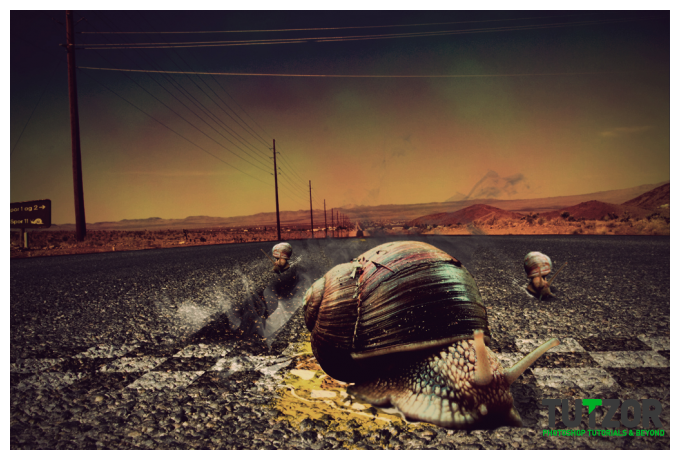
Copyright© 2012 Tutzor All Rights Reserved | Developed by: Iceous Design