Digital Painting Tutorial
02
May'11
Member since:
Mar 2011
Step
26
Member since:
Mar 2011
Mmkay...you can take a bear, and we'll then attack the last part of the tutorial :)
---------------------------------------
Oki, break over xD
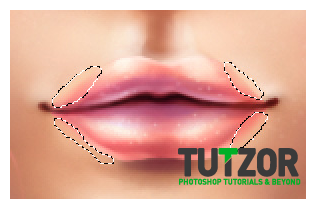
There are only a few things left to do. Let's start with finishing up the skin around the lips.
So.
Make a new layer and move it on top of all your lip-related layers (if you groupd them in a Group the better, make so that this layer is the topmost of the Lips group) and name it "Lips Finishing Touches".
Set your Foreground color to #f6caaf (though you can use the ALT+Click method to sample colors along the way) and setting your brush to the usual painting one we've been using since the beginning (careful not to keep the skin texture/freckles one hahaha) let's soften a bit the edges of the lips.
Right now her lips have very..well.."abrupt" finishings, to say so.
Real lips gently fade out. That is the effect we are aiming for ;)
So brush in the areas selected in image 1 below--->

Step
27
Member since:
Mar 2011
Right.
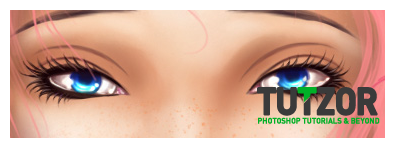
Next we will take care to make the eyes all pretty =]
Create a new layer and move it right under the "Eyes" group.
Name this layer "Eyes Crease Lines". Using the color #64322c draw the two creases from the sketch. Oh and you'll notice I changed her hair color at last xD

Step
28
Member since:
Mar 2011
Now we'll actually SHADE those eyelids :)
Create a new layer and move it right under the "Eyes Creases Lines" one.
Name it "Eyelids shading".
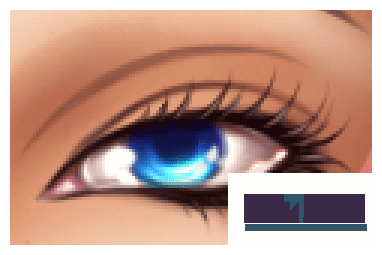
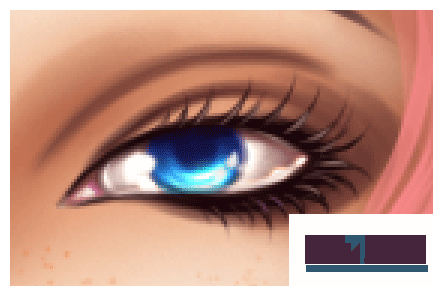
Set your color to #64352f and taking the brush, give it a size of about 10px. Then brush around the outer corners of the eyes and under the eyes a bit. Also brush a bit under the creases lines we just drew before, to give them depth. Like in the animation in image 1 below:
Then select a light tone, something around #fbe3d3 and brush the highlights. After you brush the base highlights, switch your working color to white #ffffff and paint in small highlights. Like in the animation 2 below---->


Step
29
Member since:
Mar 2011
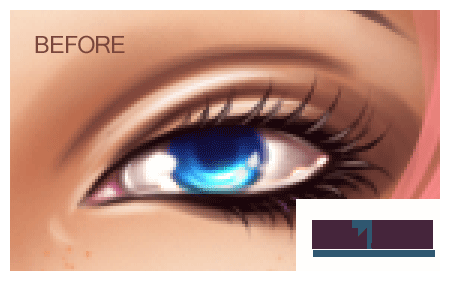
Then select a darker tone, something like #cb876e and brush the gentler shadows. Like in the animation in image 1 below----->
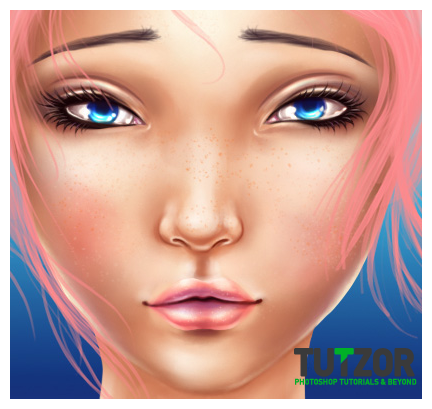
Now smooth it out with the Smudge tool where it needs smoothing, and you should get something like in image 2 below =^___^=
OMG lookie...she bee pwetty... o3o


Step
30
Member since:
Mar 2011
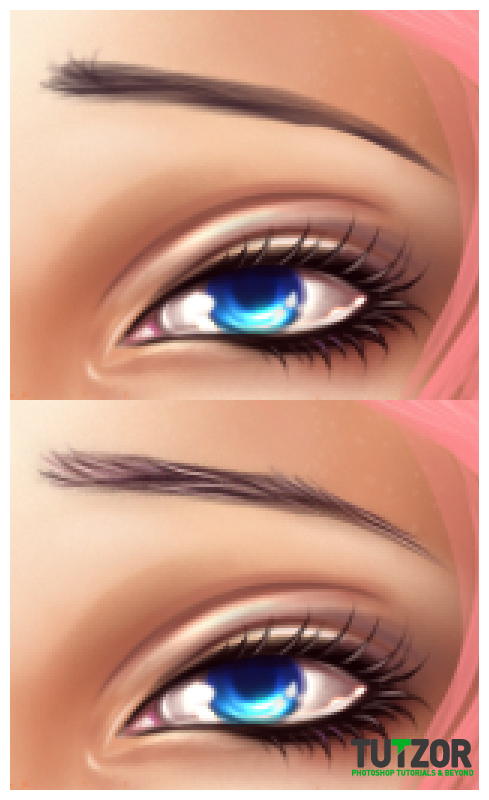
One last thing we need to worry about: the eyebrows.
They look hella'basic and borrreeeeeng now =/
So let's change that, because we can! ^__^
Remember that "Eyebrows Base" layer we made time ago?
Let's go back to it now :)
We will work with the following colors:
-->Dark shadows: #150206
-->Medium Shadows: #5b3f3f
-->Highlights: #b4958e
Taking a 2px brush add a few individual hairs in the eyebrow, always keeping the left-right direction, to keep the flow of the eyebrow.
Think of this flow as if...you brushed your eyebrows into shape (though this might ring a bell more with girls hehe) with a special brush.
Add the darkest shadows first, just enough to make out individual hair strands...then add medium shadows and finally, with your brush set to 1px size, add the highlights.
Then take the Eraser Tool set to a soft, round brush, and lower its Opacity to 5%, and erase the inner corner of the eyebrow veeeery little, just enough to make it a bit transparent.
See the image below to see the slight but significant difference:

Step
31
Member since:
Mar 2011
Use the same shading techniques to shade the neck and add the finishing touches to the face shading :)
Right...so..that's about it for now xD
My fingers hurt as heck from all the typing <333
Of course you can take her further (just don't break her or you pay >__O ) lol
Joking, go, play with her :) Give her sparkly skin or...change her makeup..or...make her into a Jedi....err...on second thought maybe not this, scrap the jedi xD;
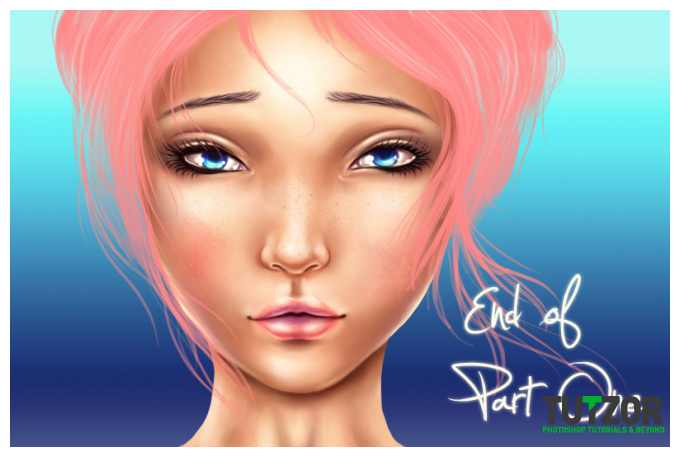
I gave her a basic background, and also added some color balance adjustment layers on top to make her more eye-pop :)
In the second part of the tutorial, we will learn how to paint...hair! Then we'll come back to Chloe and give her a nice pink or red or blond or black or brown or......blue (?) hair xD
Till then, practice the shading part, it's your homework from me ;)
----------------
Right. So. Cya next week :)
I hope you enjoyed ^^ Any questions, help requests, showing your final results....you can reach me via my DevArt account http://seiorai.deviantart.com/ or my Facebook page, http://www.facebook.com/profile.php?id=100001907117980
Happy Painting! <333
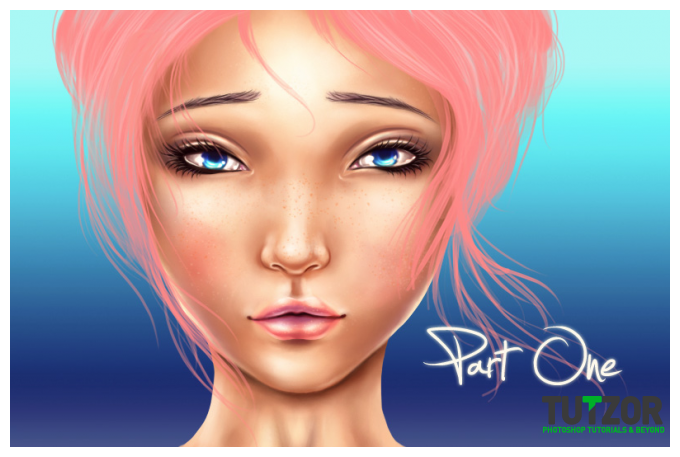
Final progress so far:
