

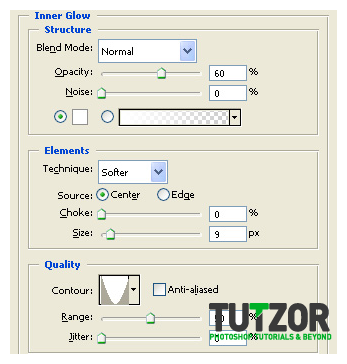
 Seiorai
Page two of the Create a Star Wars Themed Media Player.
Please first view Page 1.
Seiorai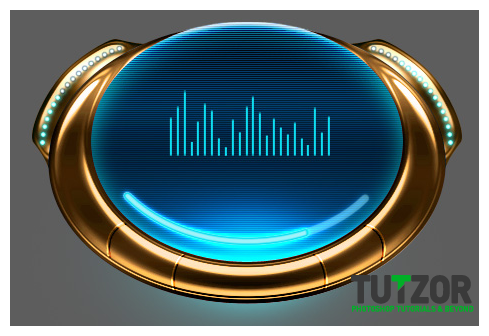 Seiorai
 Seiorai
 Seiorai
 Seiorai
 Seiorai
 Seiorai
 Seiorai
 Seiorai
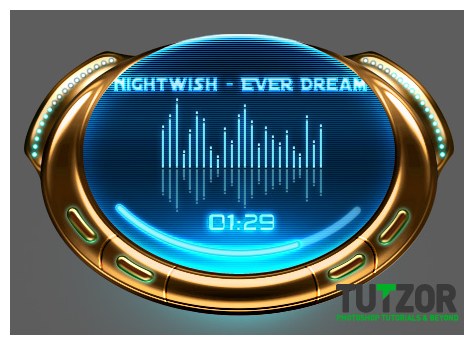 Seiorai
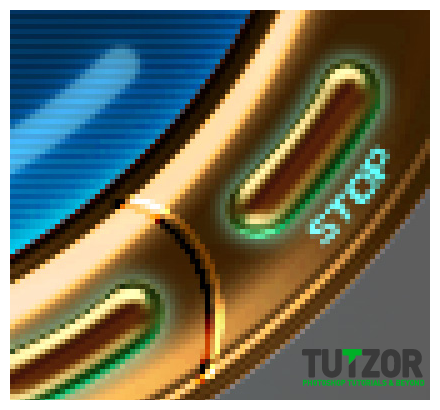 Seiorai
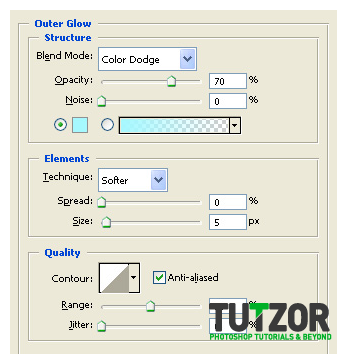
 Seiorai
 Seiorai
 Seiorai
 Seiorai
 Seiorai
 Seiorai
 Seiorai
 Seiorai
 Seiorai
 Seiorai
 Seiorai
 Seiorai
Copyright© 2012 Tutzor All Rights Reserved | Developed by: Iceous Design


Comments
Re: Create a Star Wars Themed Media Player - Part 2
yo yo ,
thank u ,
i got a new thing , u have the credit .
thank u .
Re: Create a Star Wars Themed Media Player
Thanks for the feedback,
we'll upload the psd, soon.
Cheers,
Joko
Re: Create a Star Wars Themed Media Player
hi,
thnx for the tutorial.. bt my output is not same like ur's.. so can u plz add download for the psd file of your tutorial so I cud check that where I ws wrong.
Thanx